1970RT
Well-Known Member
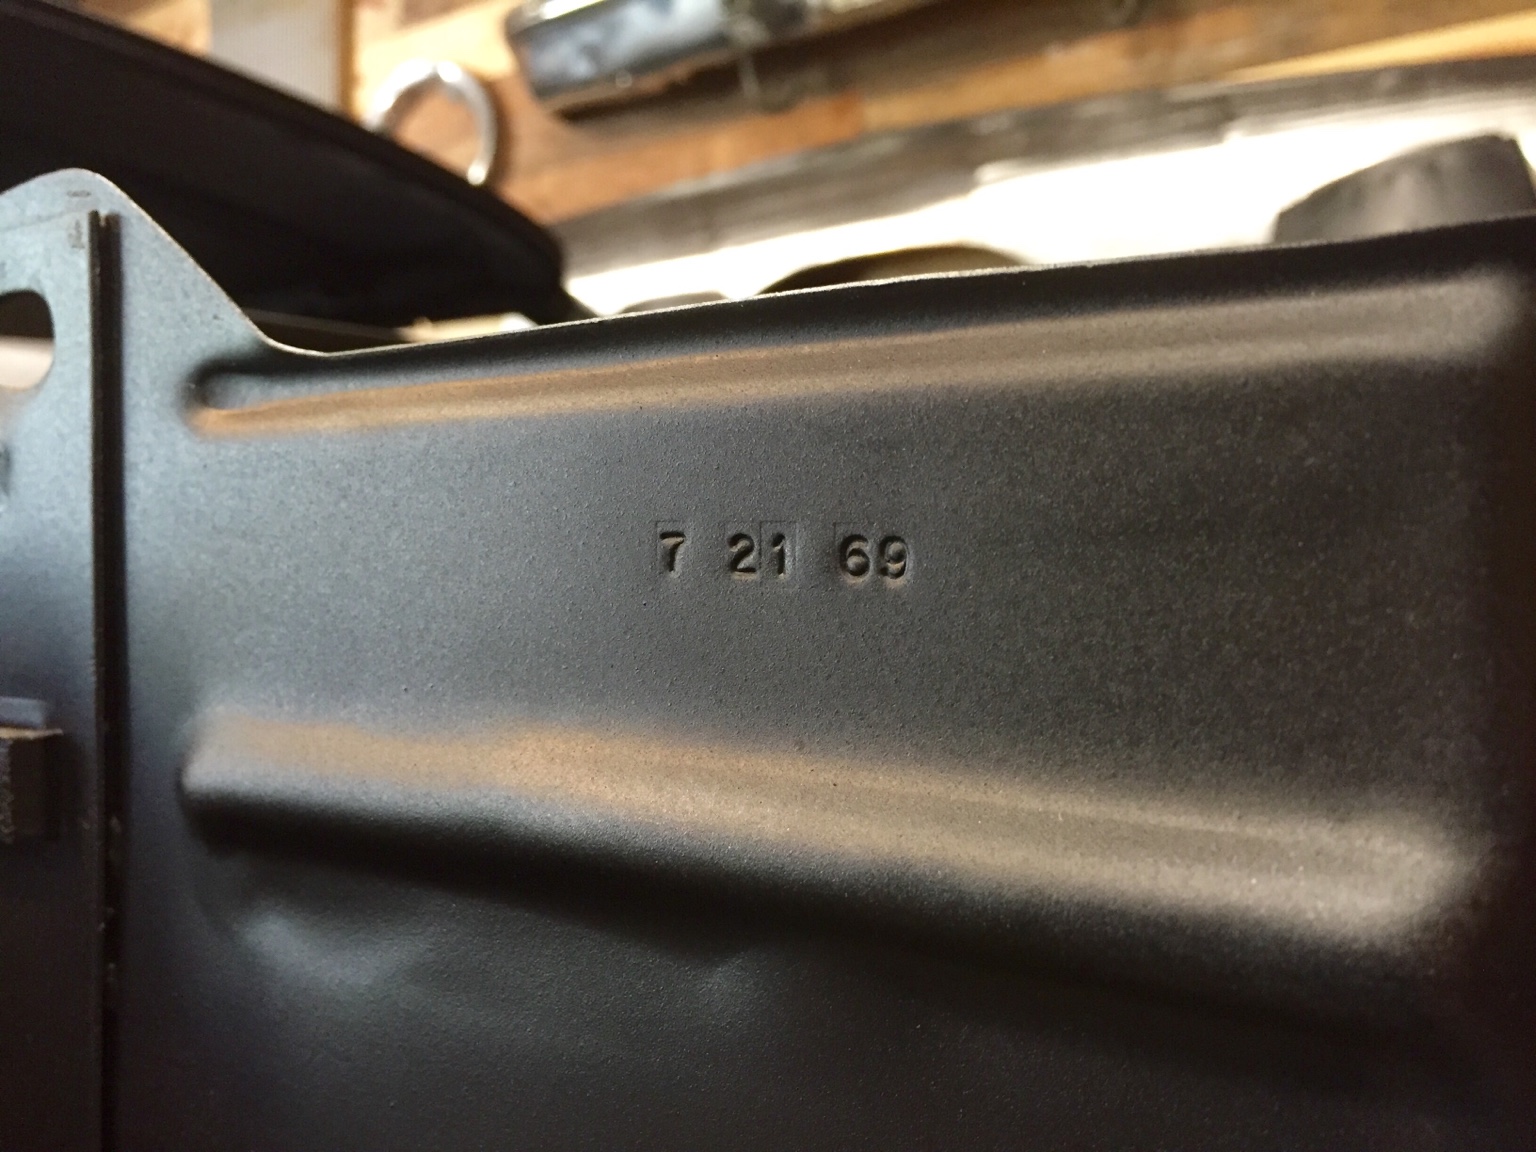
Also fun to find the various date stamps. Inner fenders were pressed 3 months apart.
David
David
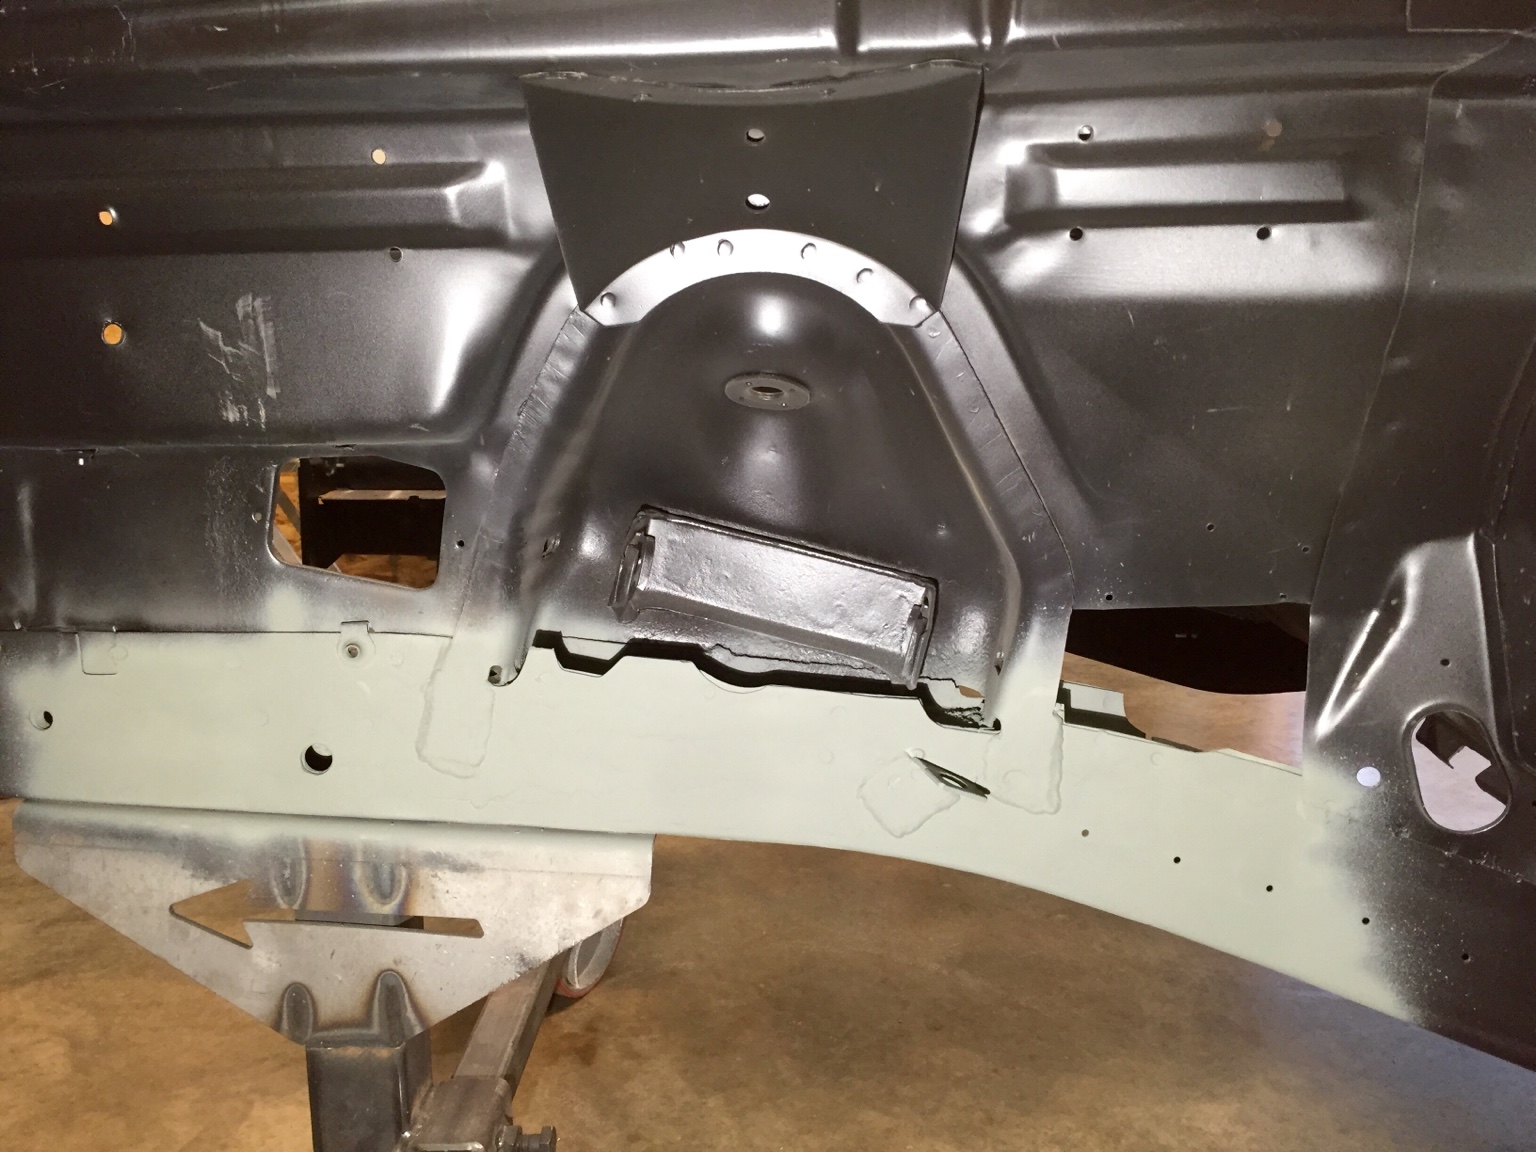
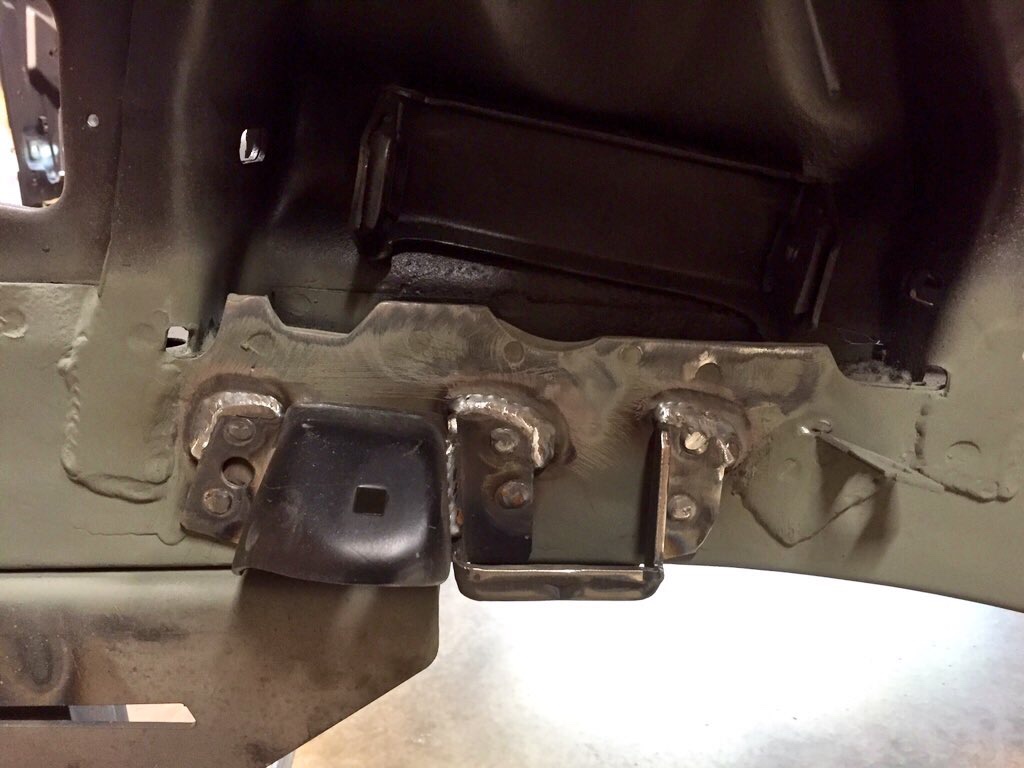
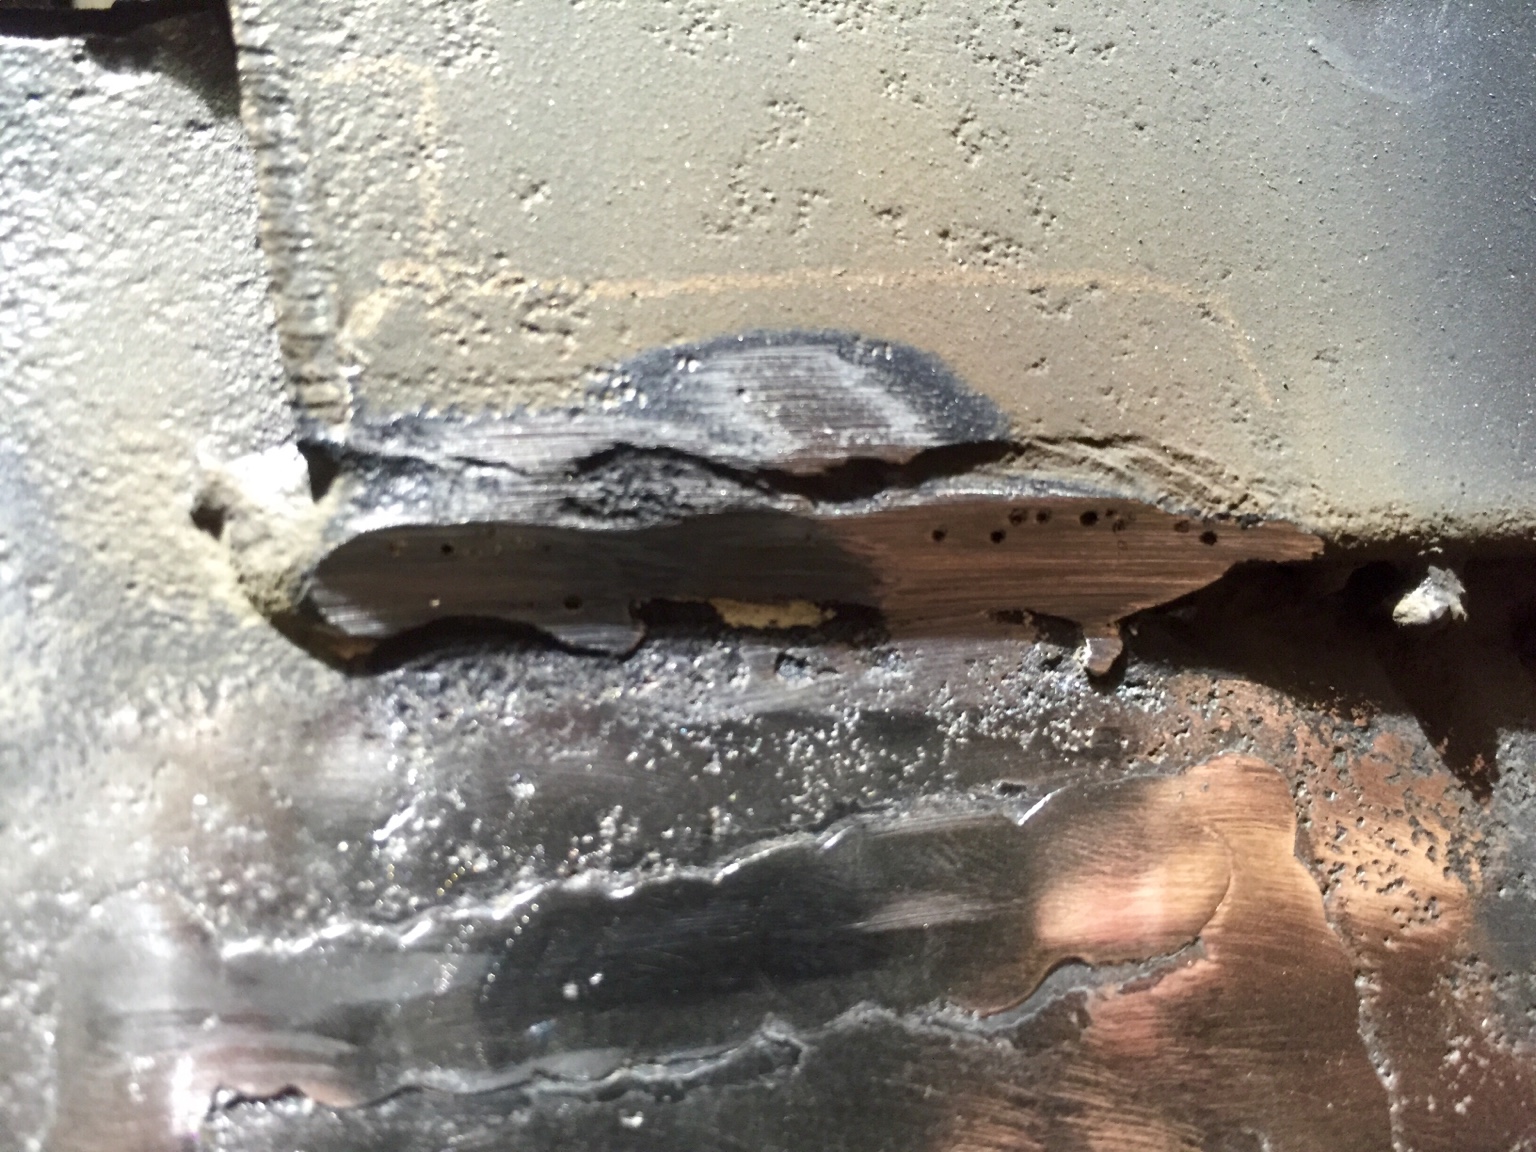
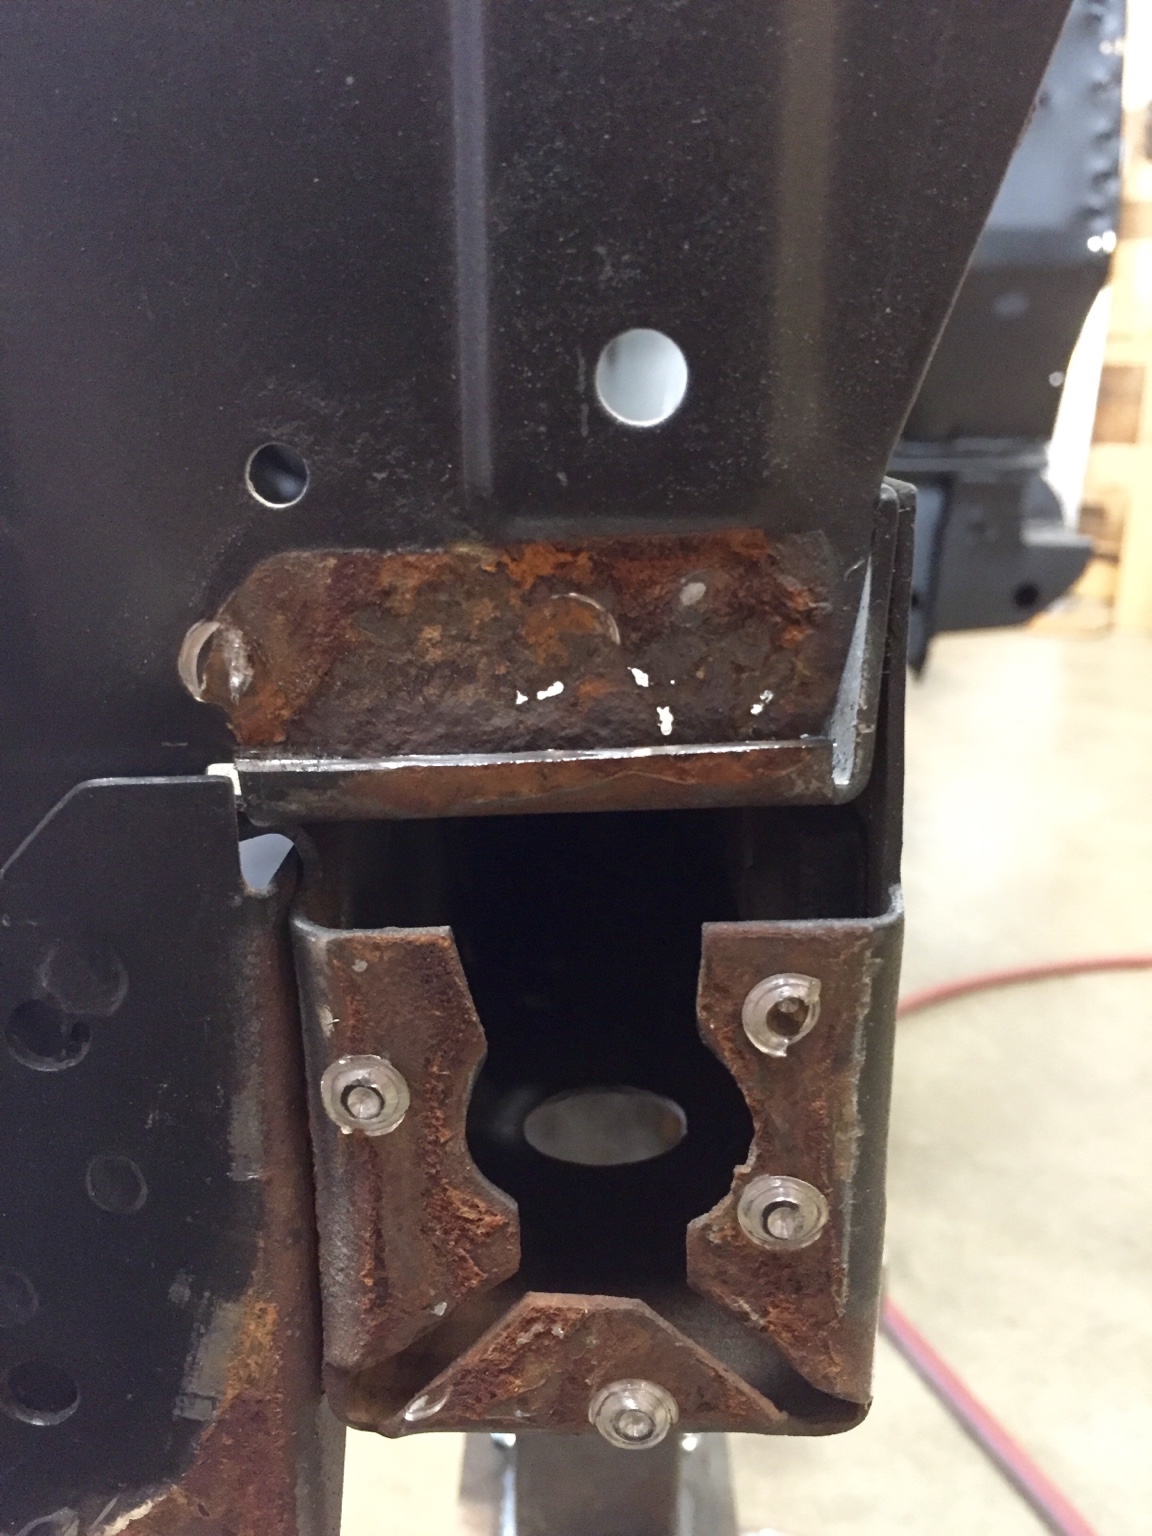
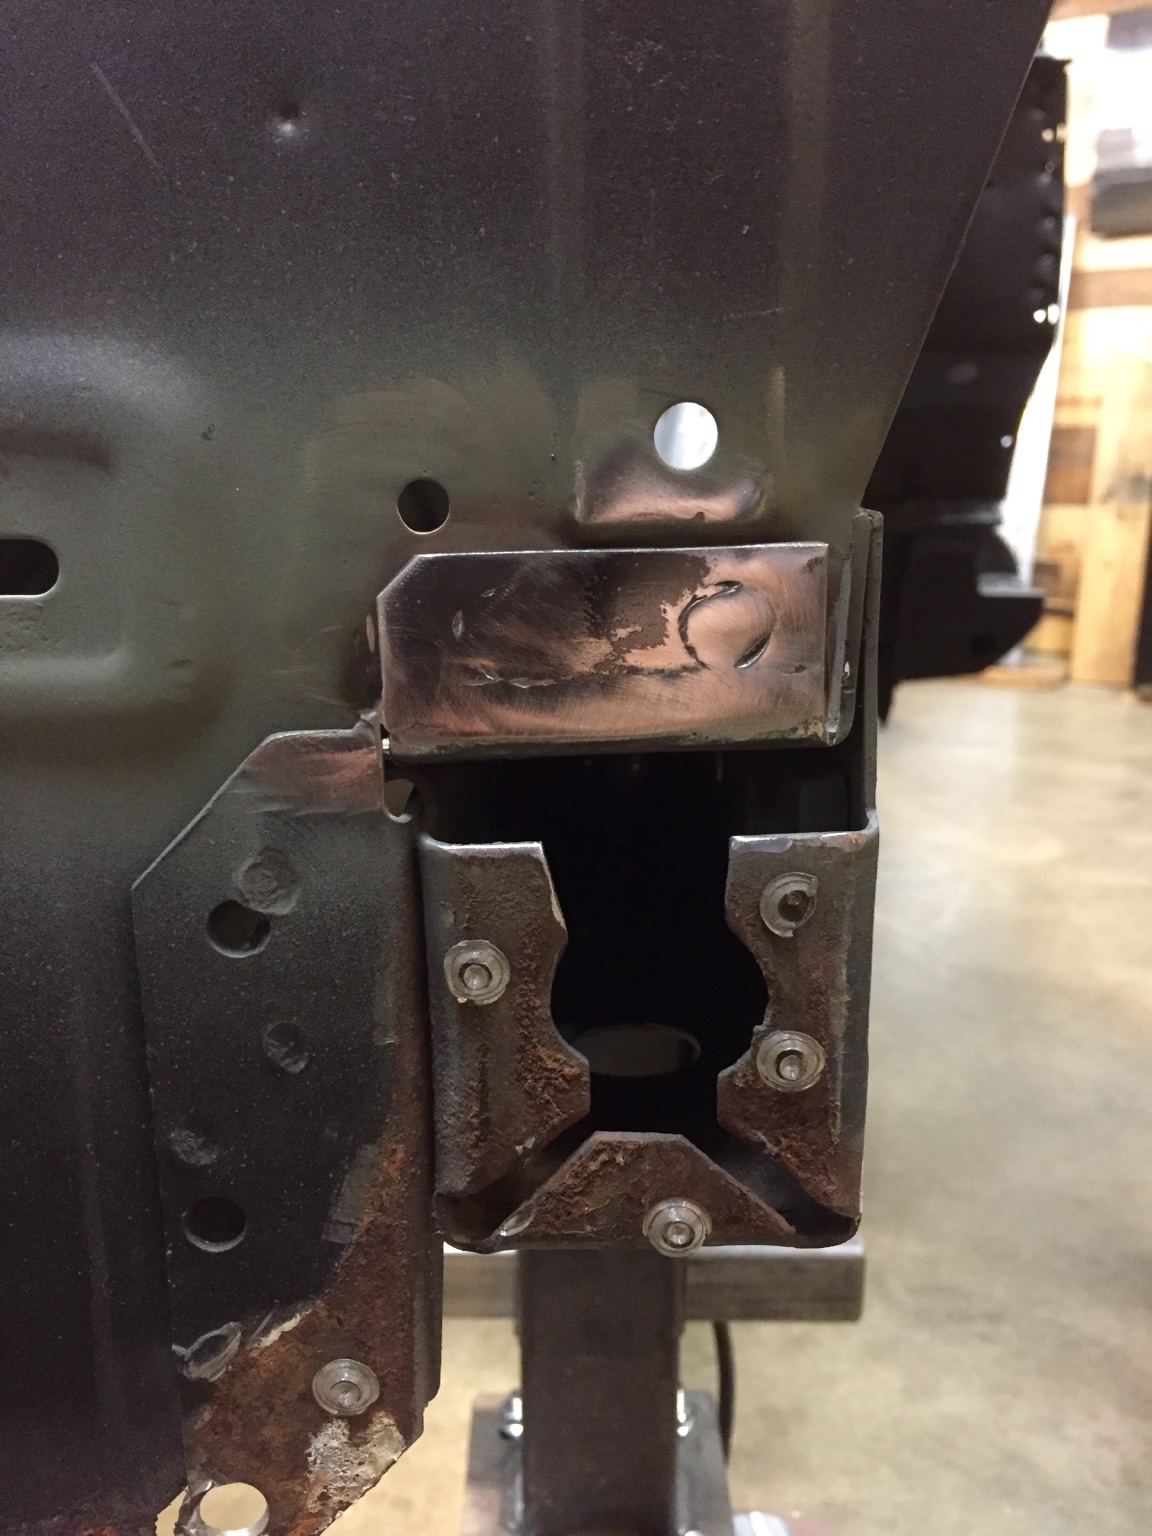
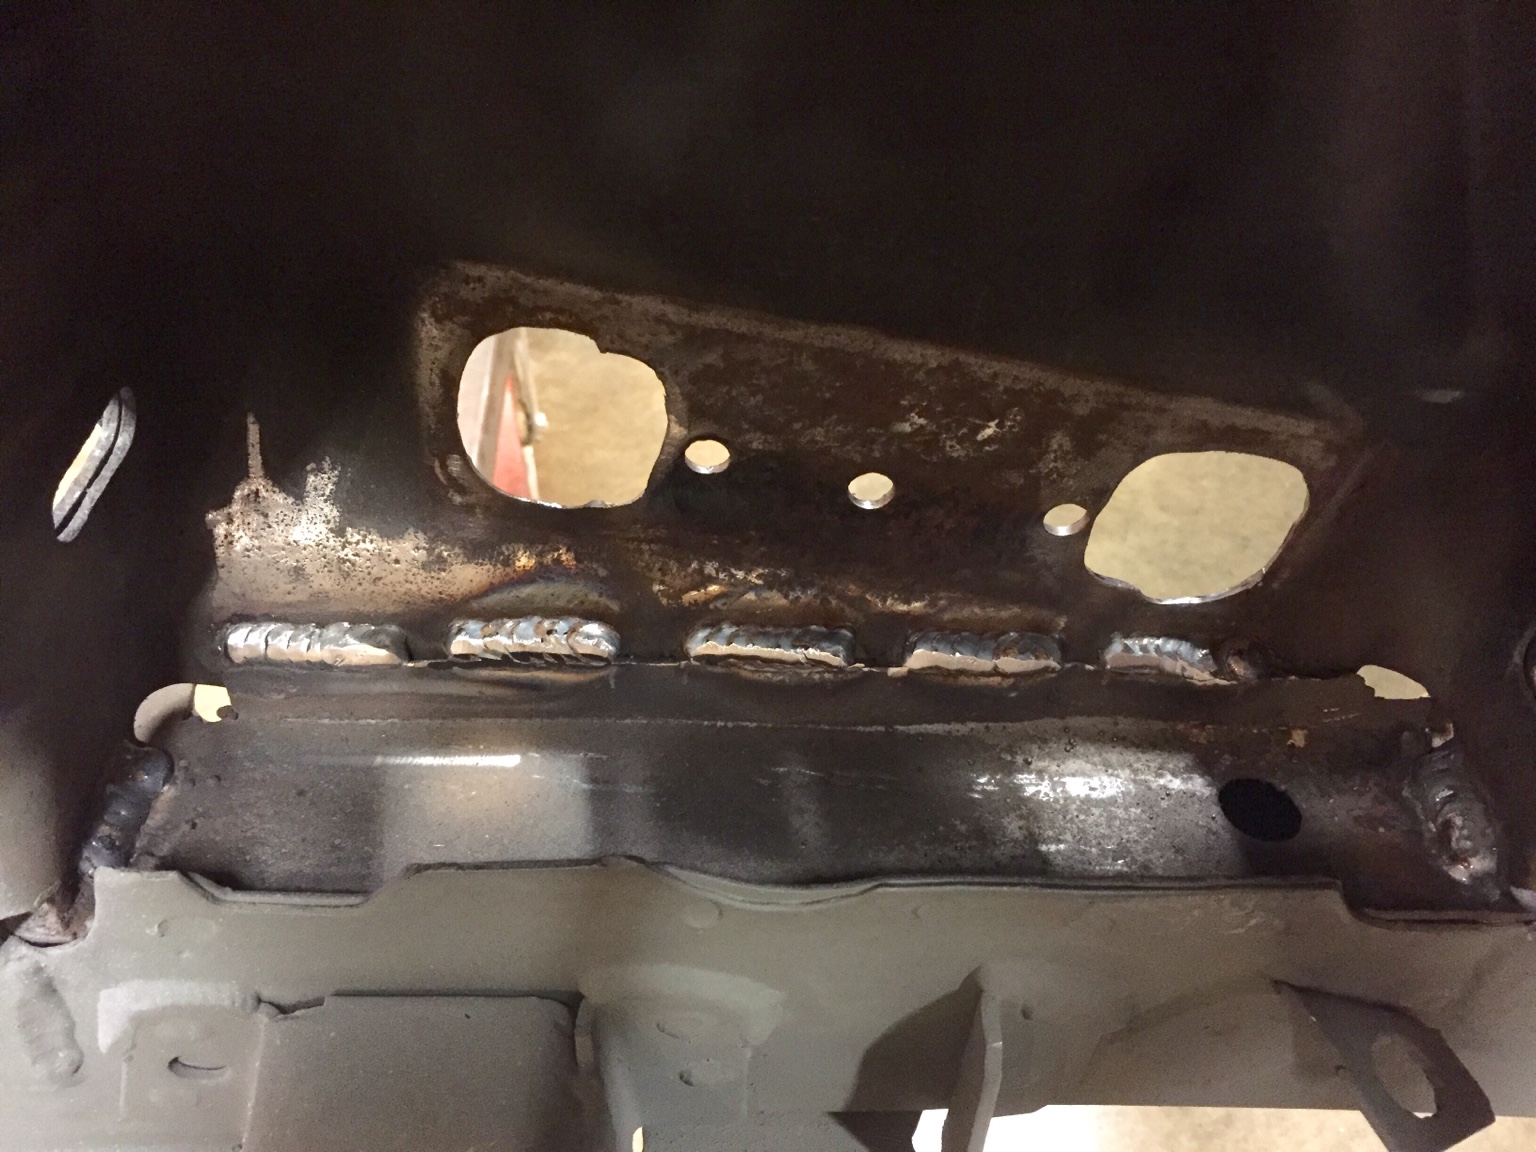
Look those front rails over really good, mine had a crack that you could not really see, seriously.. If not found it could have really messed things up for me in the future.
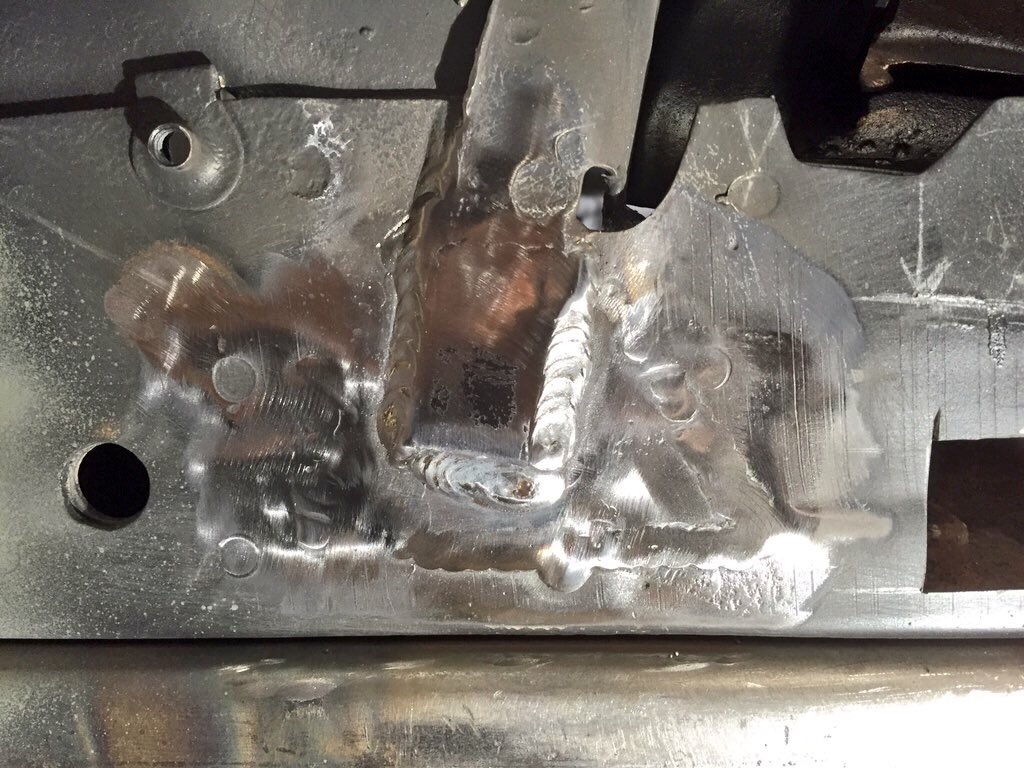

Glad I could help in some small way...

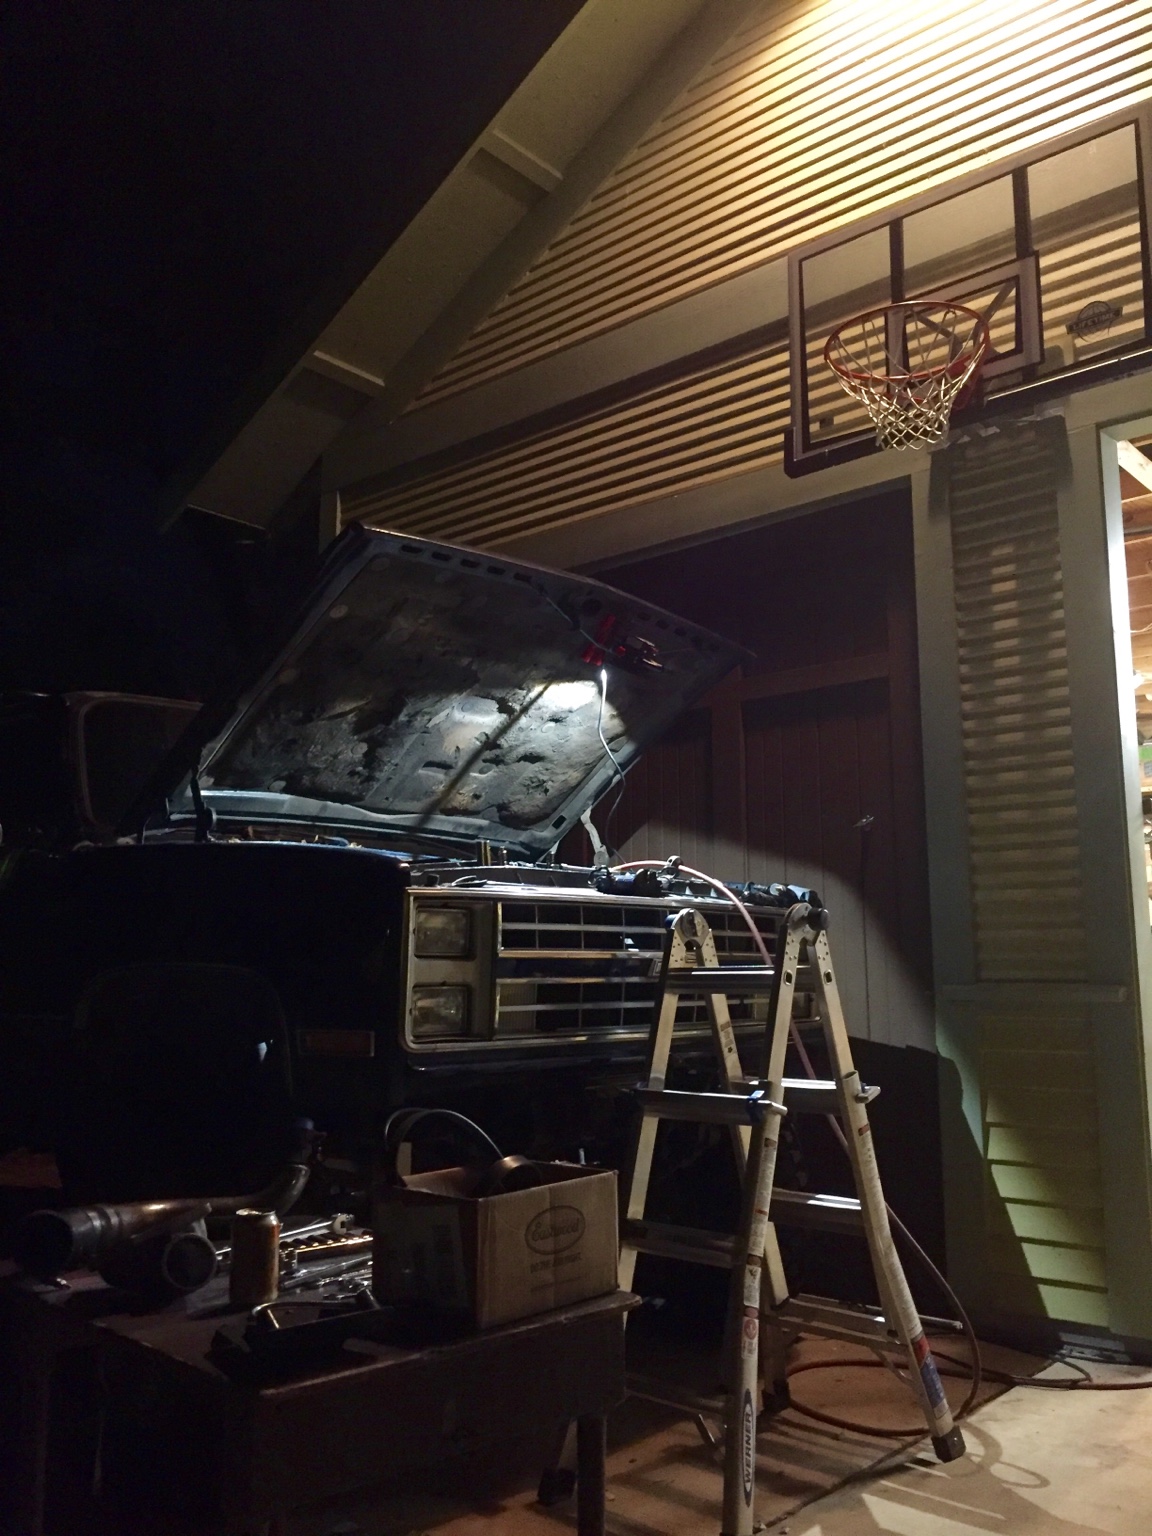


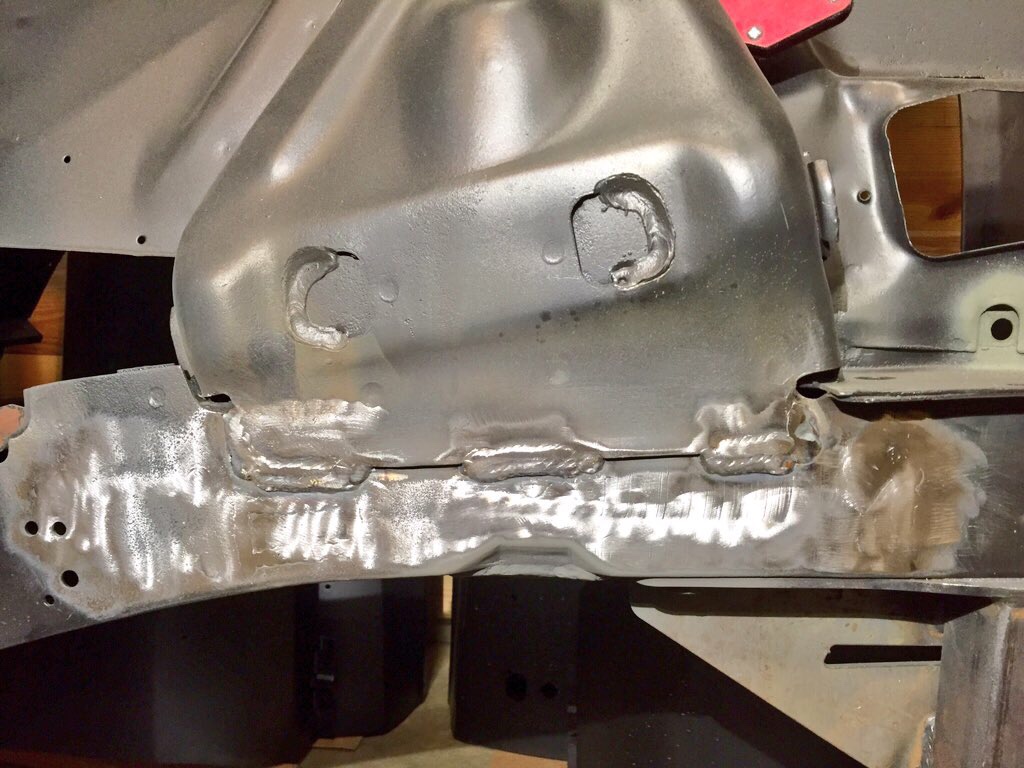
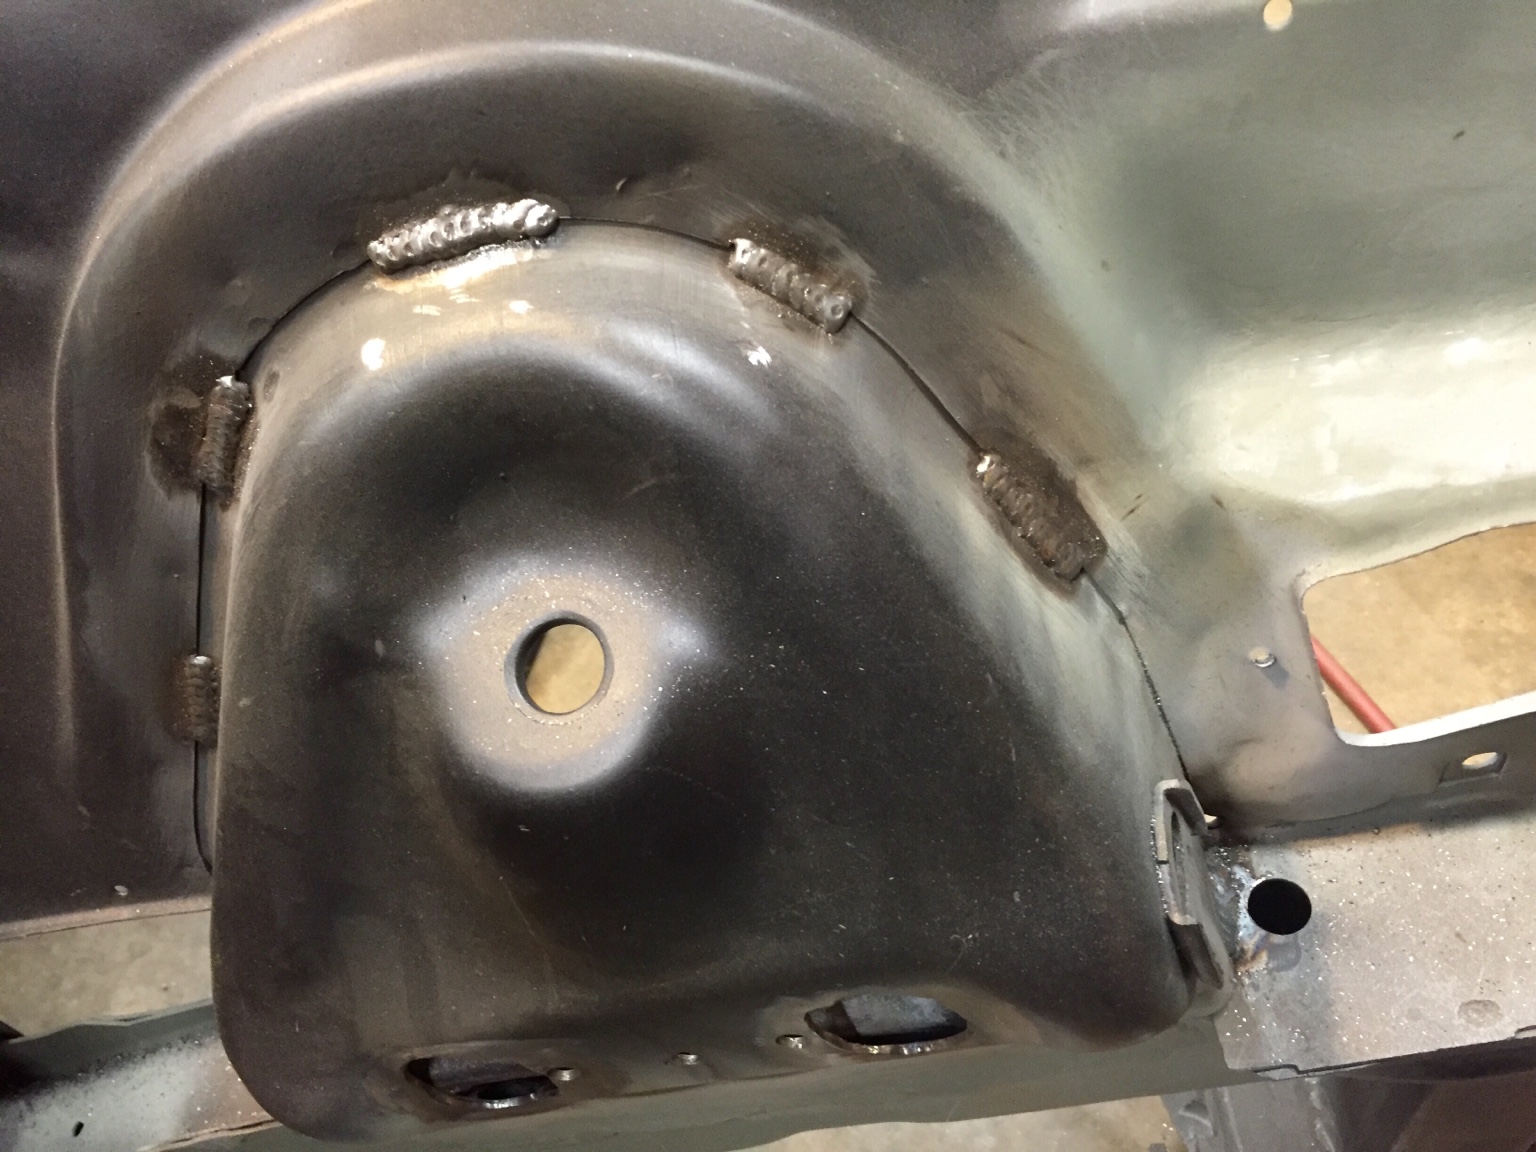
Hey its looking good!


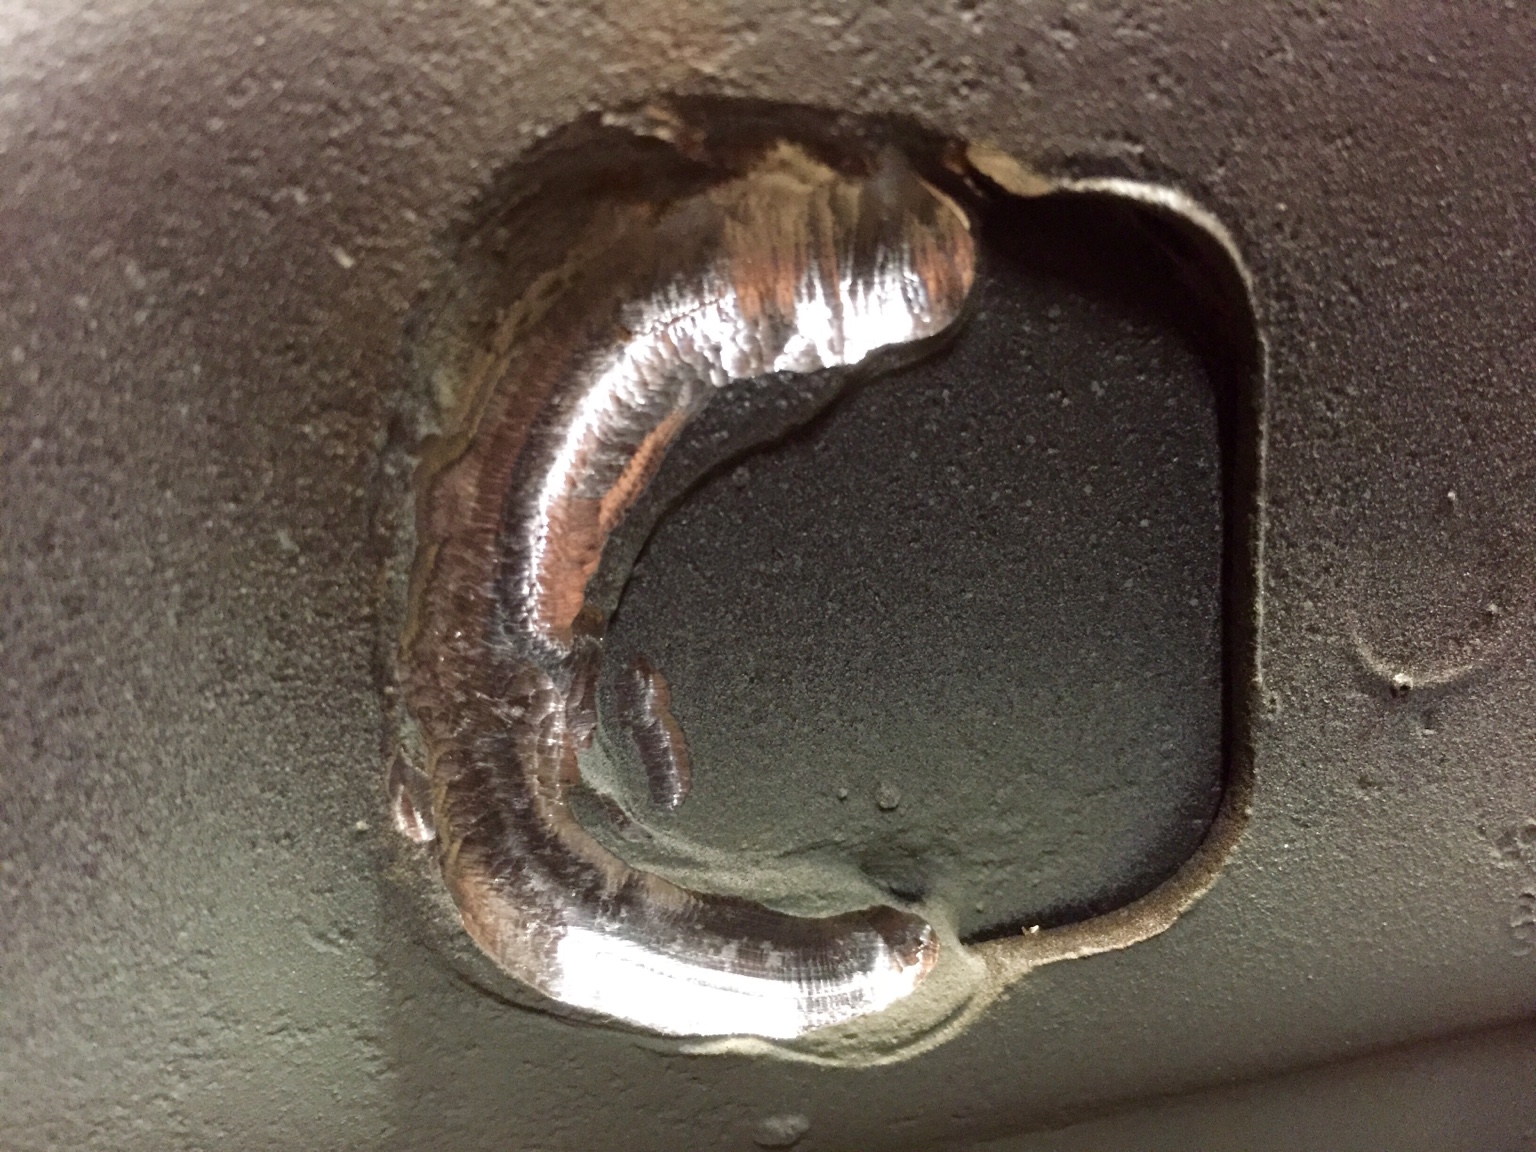
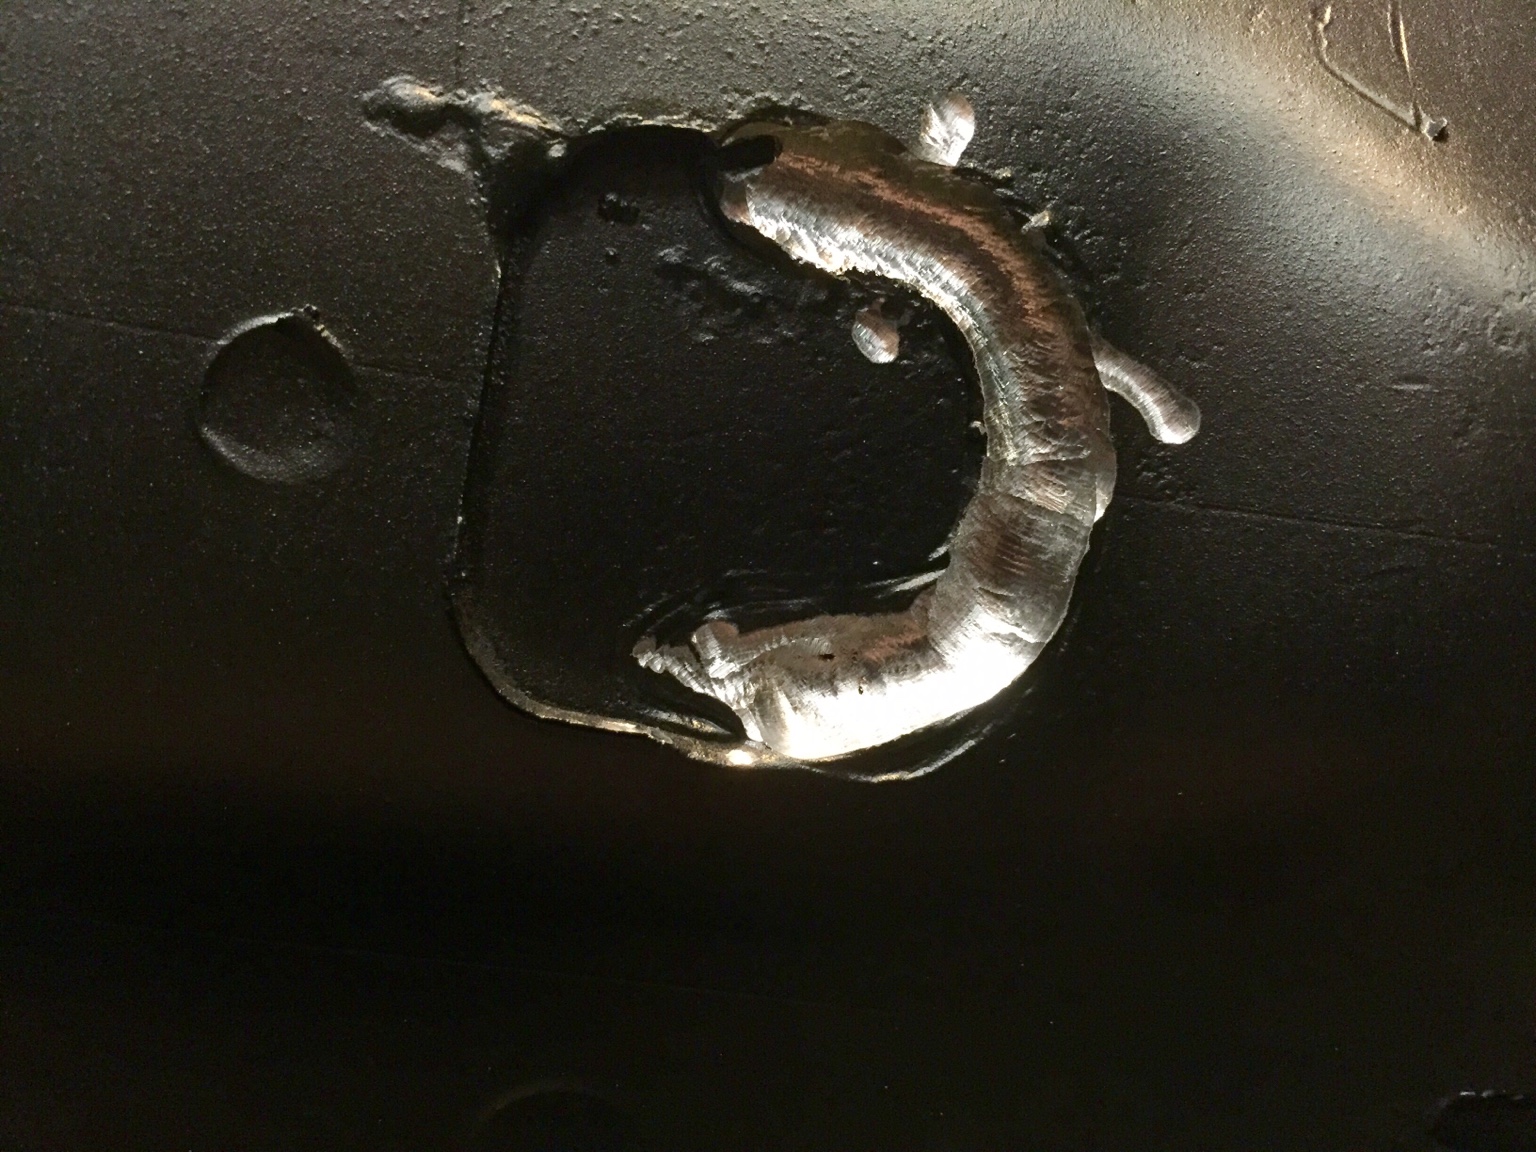
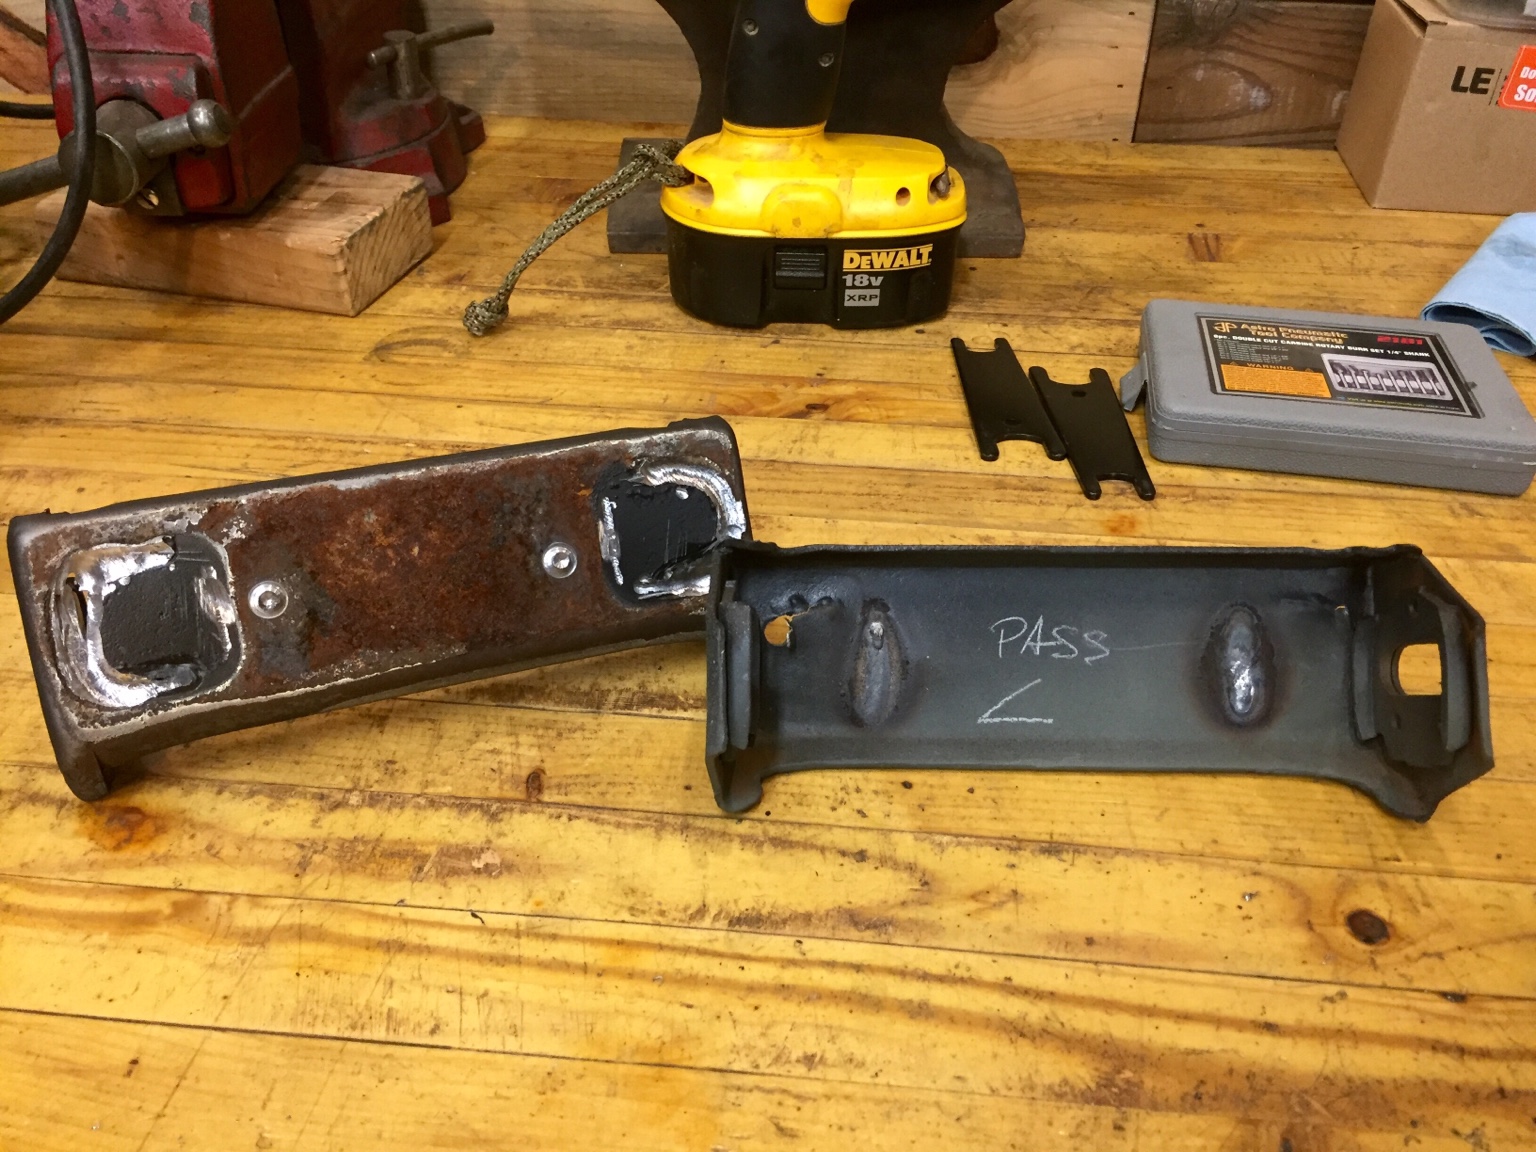
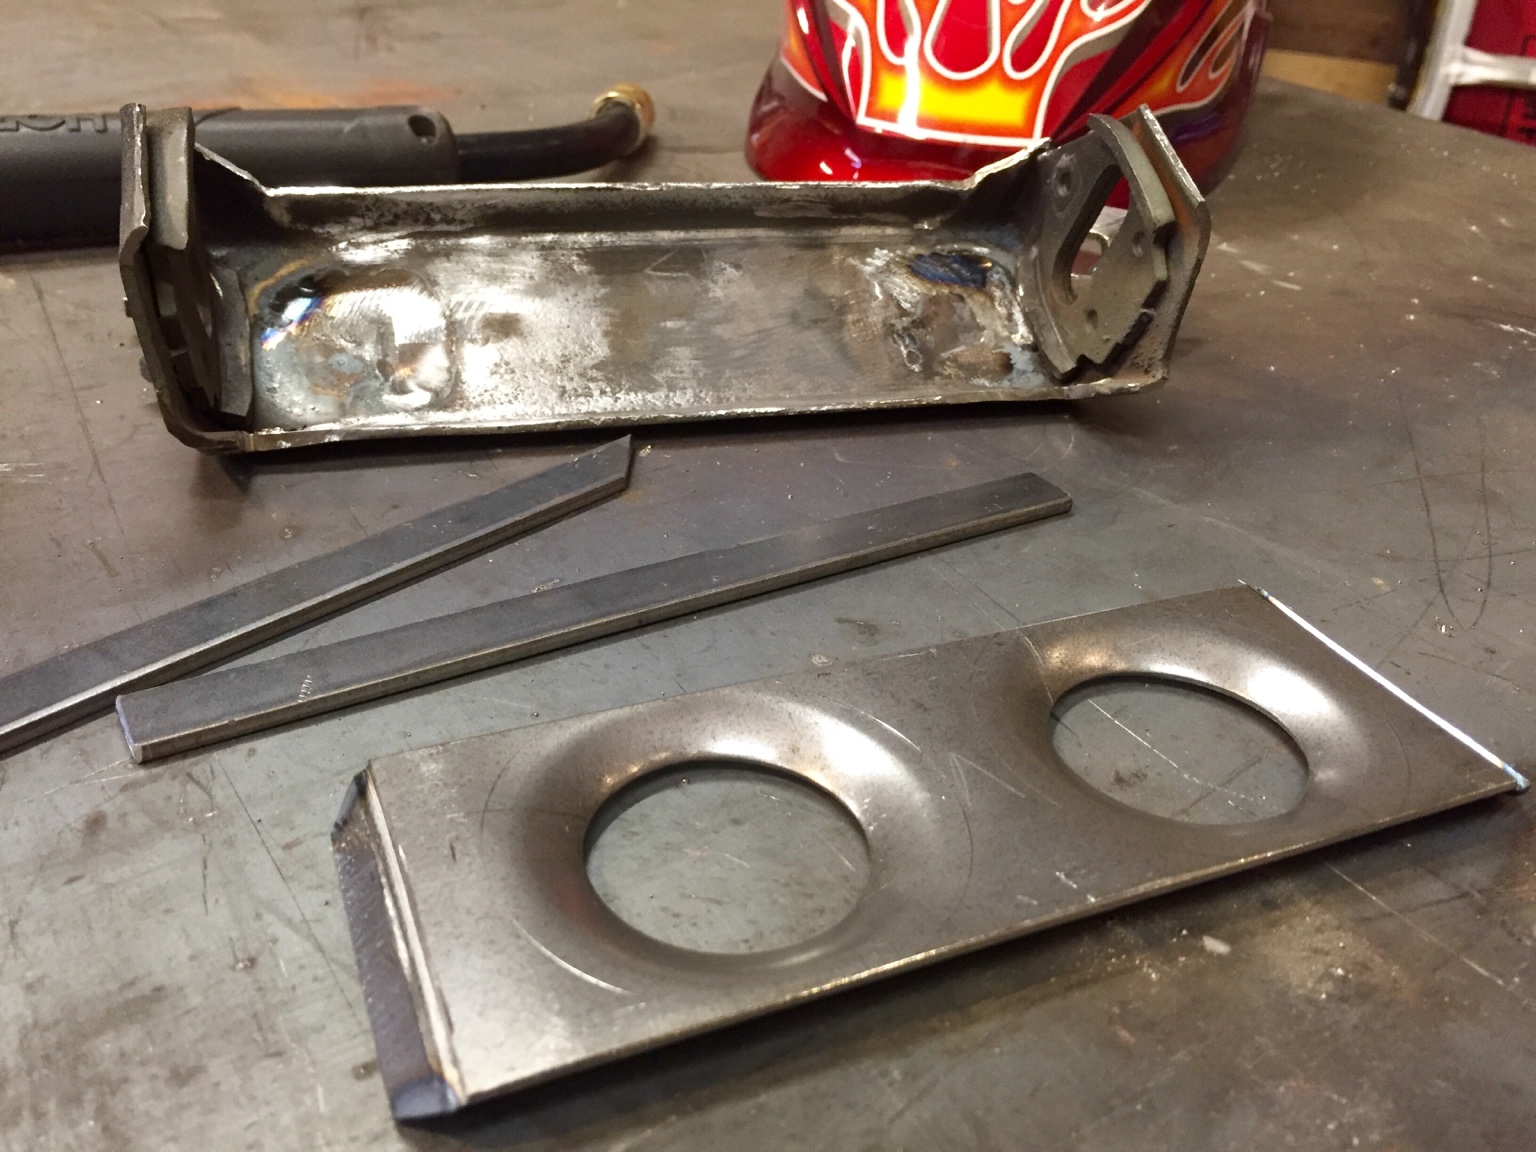

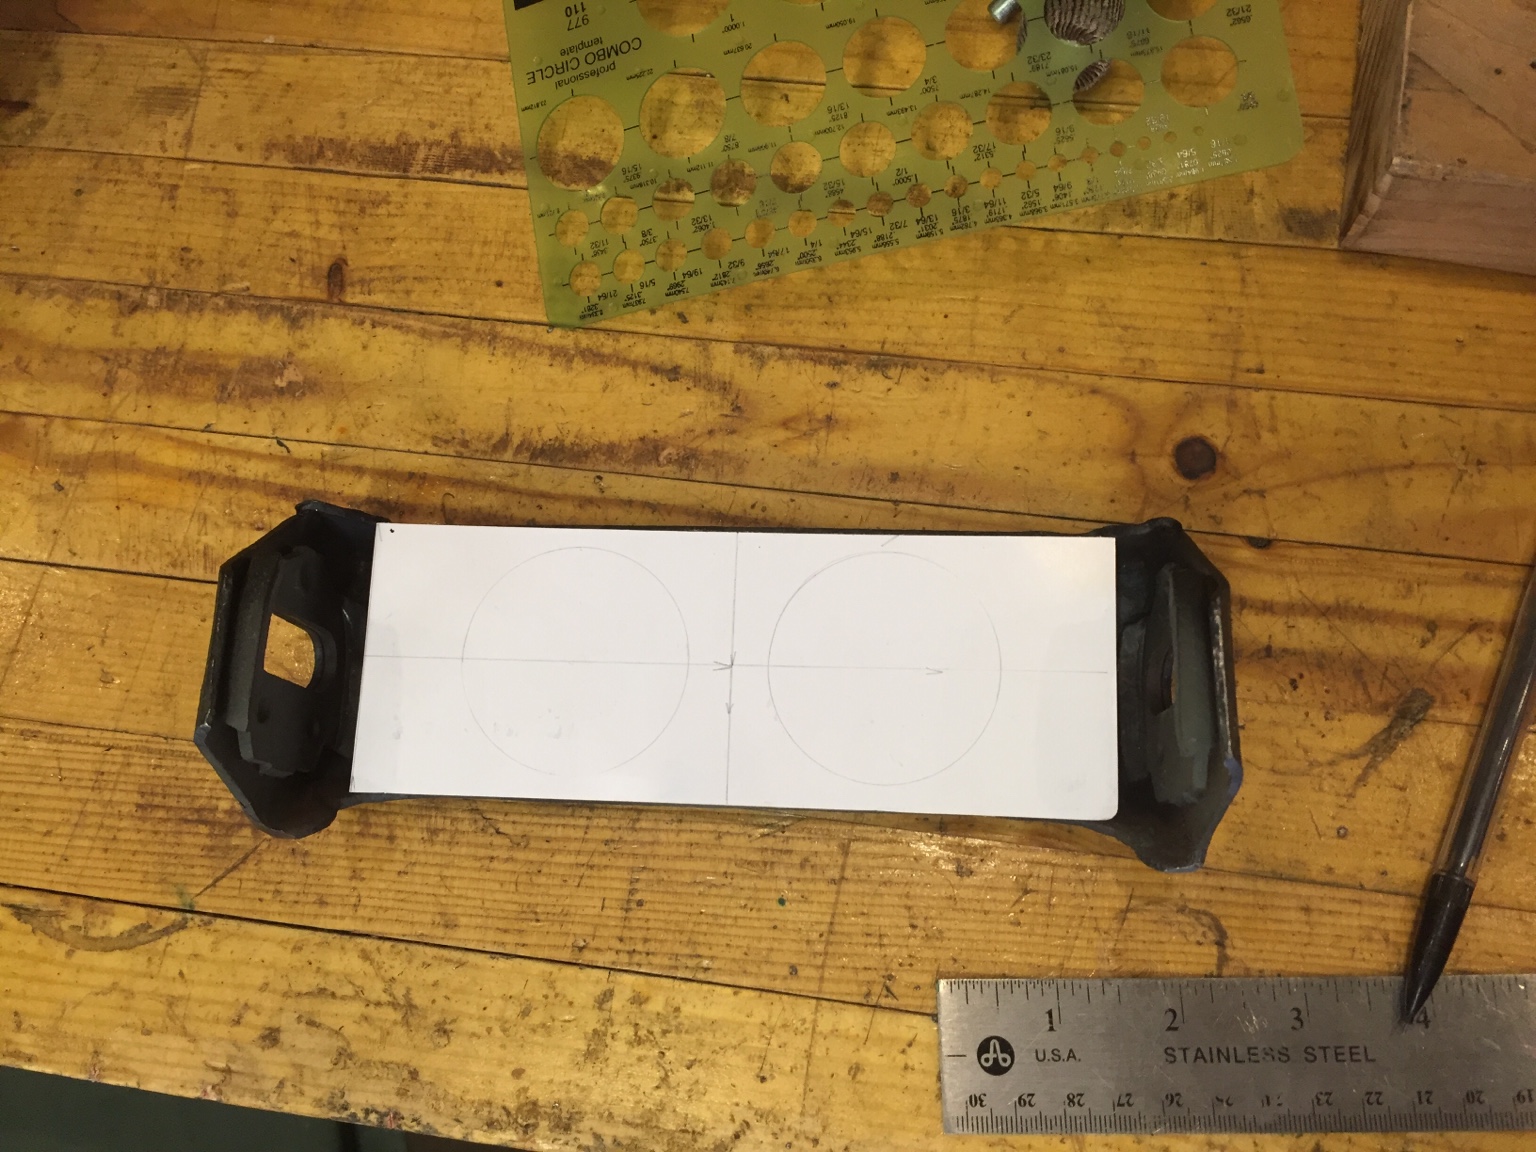
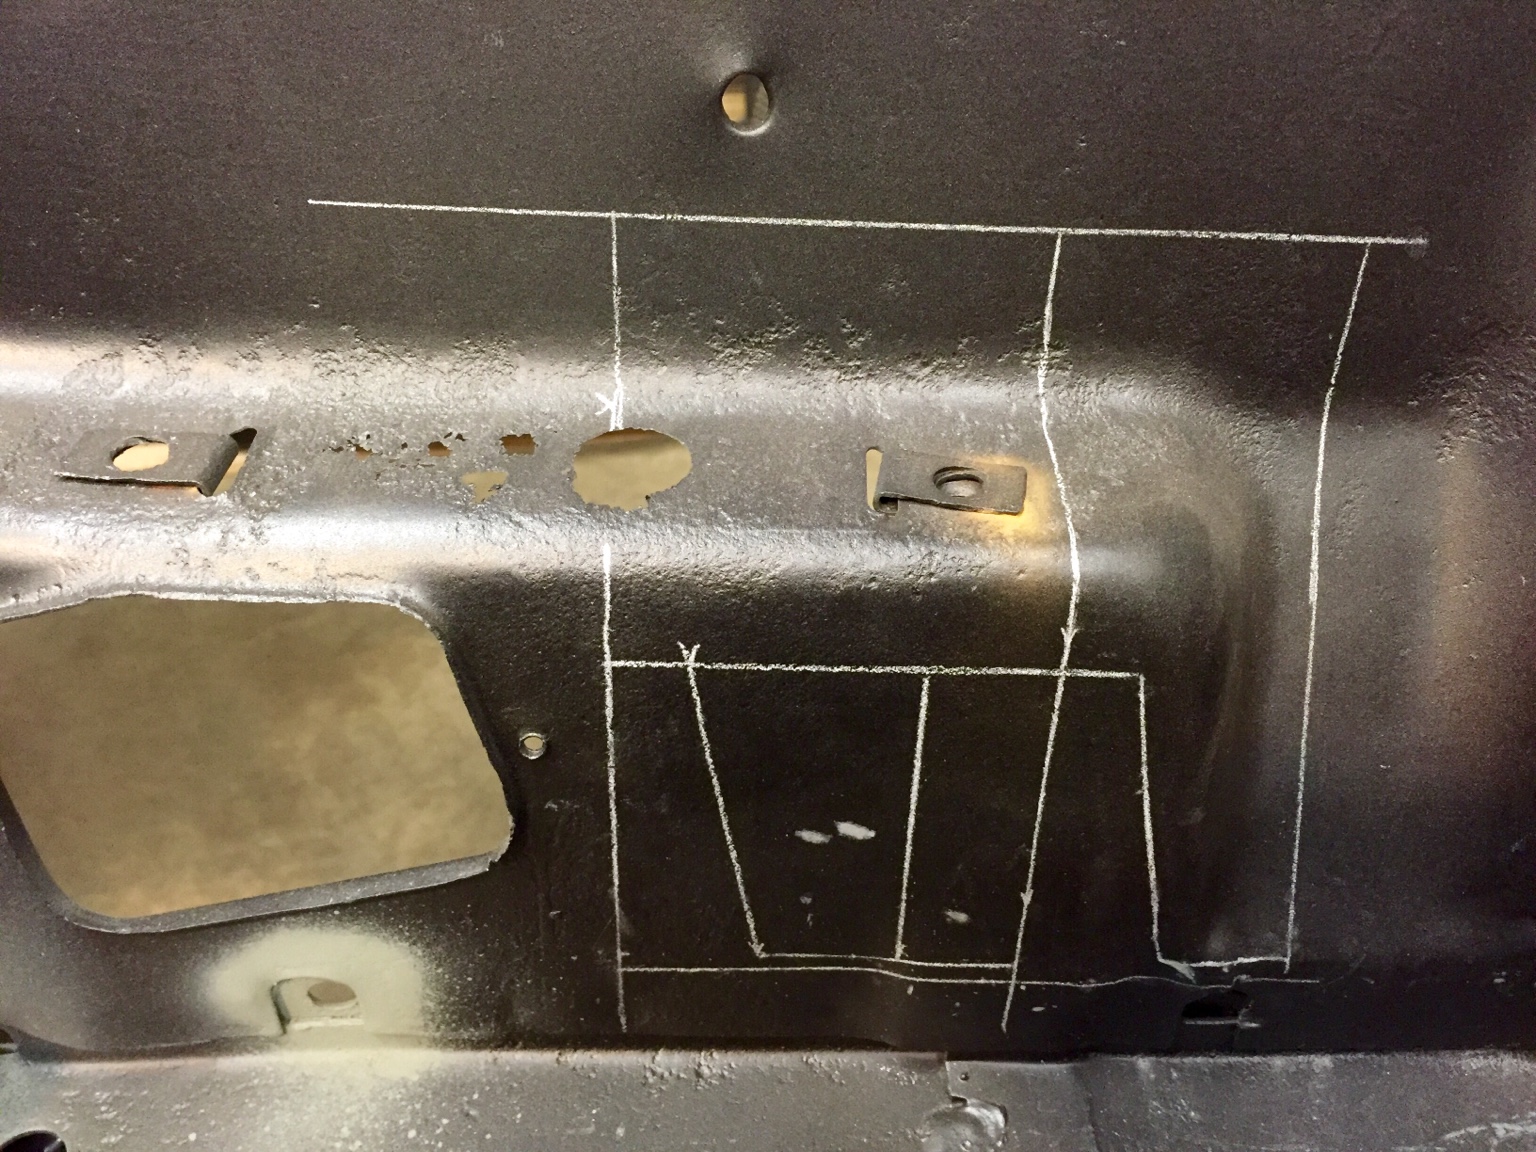
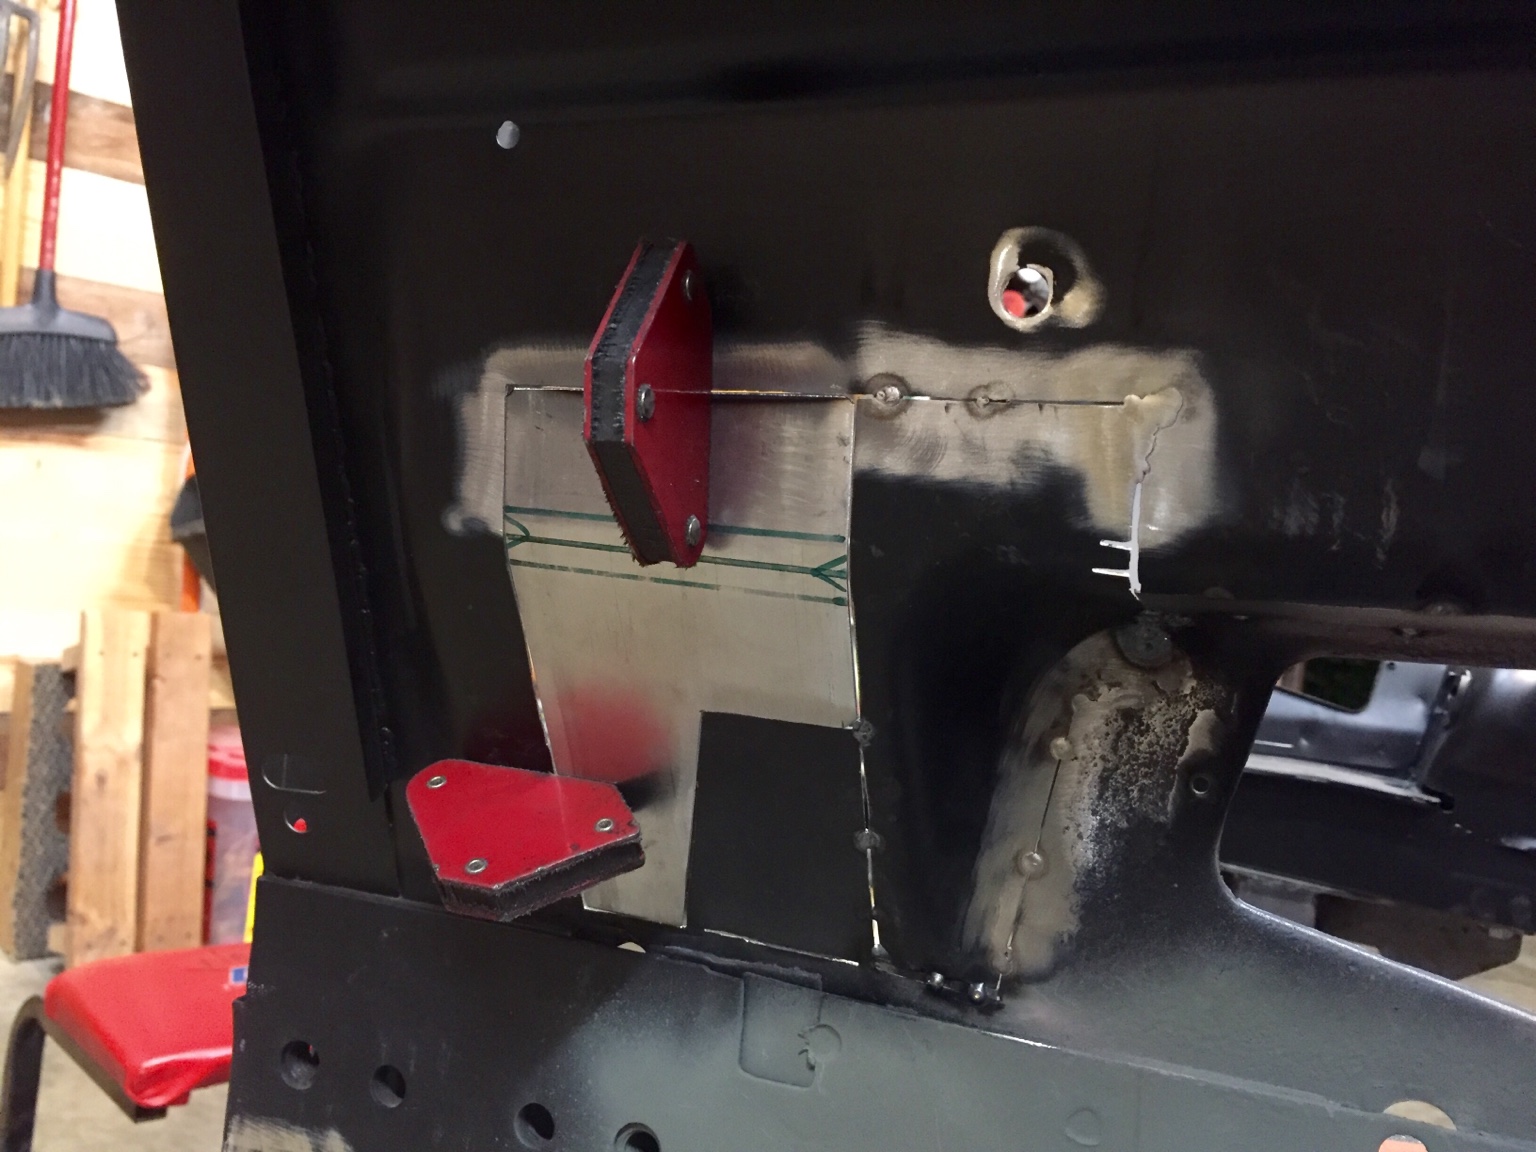
Very cool, never seen those.. Did you make those plates with the dimples?