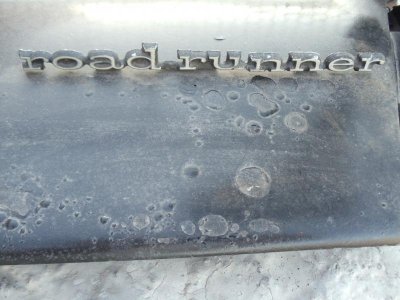
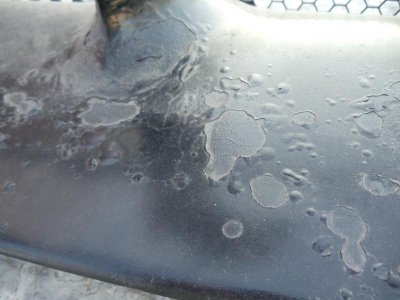
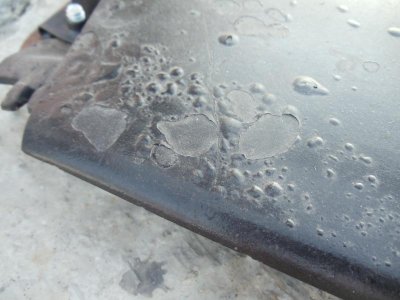
If I were to begin with the 180 as suggested above, is wet or dry sanding recommended?
first dry, just to remove any loose material and get through the top coats that are going to be completely removed, no need for a ton of pressure, just blow everything off there by hand, it may take an hour but you can see everything that is happening nice and slow... I do it this way because I am not a pro body man, pro's can preidict what a panel is going to do because they do it all day, so they may throw 80 grit on a DA and go to town for 1 minutes then 320 and then wet sand it with 400/600 etc, I would hate to ruin a part I just had shipped in or would have to ship in a replacement so I tend to go slow and take my time.
I restored 70 charger tail lights tonight, started at lunch time & just finished, lol. I did go in the pool when my kids got home, ate lunch, dinner, had a beer or 4, etc but I truthfully spent 8-9 hours on them and they were already taken apart before I started.
I Bead blasted the buckets and hardware (mice were living in them for a while), washed them, primed them, then cleaned the lenses, touched up the black with VHT nite shade paint, while that dried I wet sanded the buckets, rehung them, and gave them their first coat of paint (it was 80's earlier so everything was drying nicely), then another coat of tint on the lenses, then back to the buckets, I finished painting the buckets, took a break, by the time I got back to them everything was dry, I polished the unpainted portion of the lenses, checked the buckets out and painted the hardware up (screw heads}, another brake and I put them all back together. When I was younger I would have been itching to finish them in an hour, now I dont mind spending a day on a pair of taillights, I am home anyway...
Anyway go slow enjoy the restoration..


