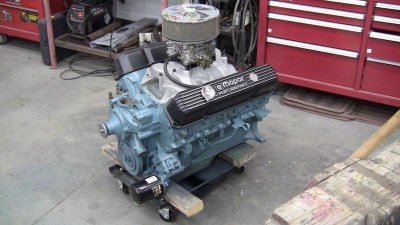
The MP valve covers have eluded me for to long, im going to get me a set, I think there the best looking ones there is, M/T isint bad either though!
You are using an out of date browser. It may not display this or other websites correctly.
You should upgrade or use an alternative browser.
You should upgrade or use an alternative browser.
1966 Coronet 440 field find
- Thread starter gdrill
- Start date
gdrill
Just enjoying "B"-ing here
- Local time
- 9:49 AM
- Joined
- May 29, 2013
- Messages
- 6,719
- Reaction score
- 13,749
- Local time
- 10:49 AM
- Joined
- Jan 1, 2013
- Messages
- 8,038
- Reaction score
- 3,467
- Location
- Mascoutah, Illinois
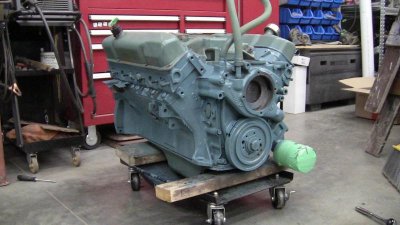
A friend had some old Autopar turquoise paint, so I figured I would go with it. It's a bit more blue than it was, but it'll do.
View attachment 150297
Very nice work gdrill and cool idea for moving you engine around
gdrill
Just enjoying "B"-ing here
- Local time
- 9:49 AM
- Joined
- May 29, 2013
- Messages
- 6,719
- Reaction score
- 13,749
- Local time
- 10:49 AM
- Joined
- Jan 1, 2013
- Messages
- 8,038
- Reaction score
- 3,467
- Location
- Mascoutah, Illinois
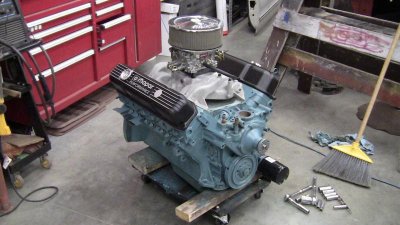
It looks very good esp with the intake and valve covers added. Pics and you naked eye view may be affected by lighting. Is is florescent? It looks great to me as I'm looking forward to when my engine is that clean.
gdrill
Just enjoying "B"-ing here
- Local time
- 9:49 AM
- Joined
- May 29, 2013
- Messages
- 6,719
- Reaction score
- 13,749
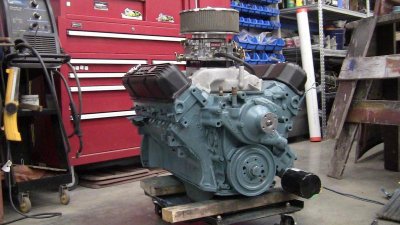
Yes it is florescent. You are right, the pics definitely are different than looking right at it. Now I just have to search and find some pics of the alt brackets and pulleys. I have brackets but the engine didn't come with any pulleys. The fellow I got it from kept them for his 440.
Sure looks mean sitting there! Good luck finding the hardware, Thats going to look sharp when your done with it and sitting in the car..
gdrill
Just enjoying "B"-ing here
- Local time
- 9:49 AM
- Joined
- May 29, 2013
- Messages
- 6,719
- Reaction score
- 13,749
Thanx Ron. I may even have to throw the headers on for a look see!
gdrill
Just enjoying "B"-ing here
- Local time
- 9:49 AM
- Joined
- May 29, 2013
- Messages
- 6,719
- Reaction score
- 13,749
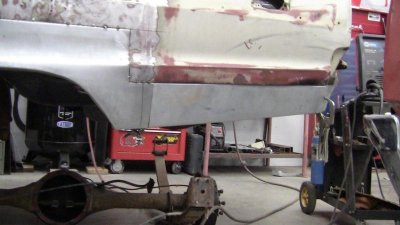
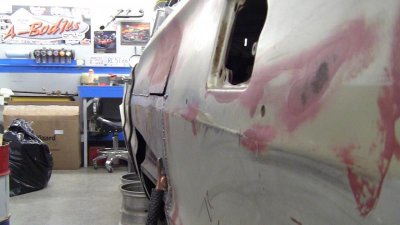
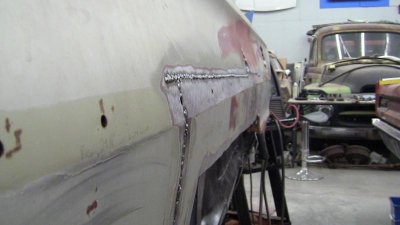
So I decided I screwed up, as some of you more experienced body guys probably knew already. When I got my Sherman patch panels I figured I would use the whole thing. I went ahead and cut out the area to be replaced. But soon after I realized the patches have extremely soft lines and I had cut out the main body line along the side. Oops! After looking at the line and figuring it would be very hard to get as sharp as the original, I decided to repair the piece I cut out and weld it back in. I created a lot of extra work for myself, but it is definitely a lesson learned. Only replace what you need to. I realized this after looking through some other restorations and seeing they only used sections to do their repairs. Oh well, 4 or 500 spot welds and it will be back in! It is good practice to ensure I am getting full penetration.



Last edited:
daredevil
Well-Known Member
lookin good
gdrill
Just enjoying "B"-ing here
- Local time
- 9:49 AM
- Joined
- May 29, 2013
- Messages
- 6,719
- Reaction score
- 13,749
Thanx D.D. I sure wish I had not done this, but I am one of those who seems to learn the hard way!
I haven't gone to that graveyard yet, but I haven't forgot about the parts you asked about.
I haven't gone to that graveyard yet, but I haven't forgot about the parts you asked about.
Photon440
Well-Known Member
- Local time
- 8:49 AM
- Joined
- Mar 14, 2012
- Messages
- 18,696
- Reaction score
- 34,847
- Location
- Surrey, B.C. Canada
Good decision on deciding to repair the original metal to keep the edge. Plus you'll have the satisfaction of knowing that more of the car is original.
gdrill
Just enjoying "B"-ing here
- Local time
- 9:49 AM
- Joined
- May 29, 2013
- Messages
- 6,719
- Reaction score
- 13,749
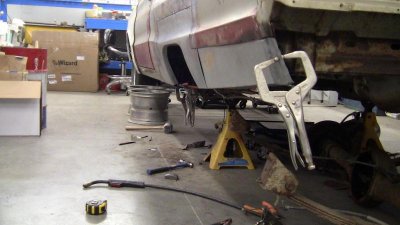
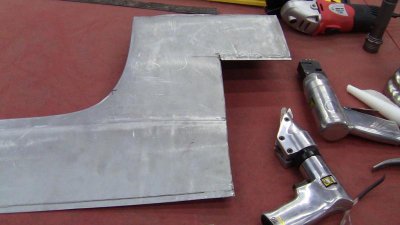
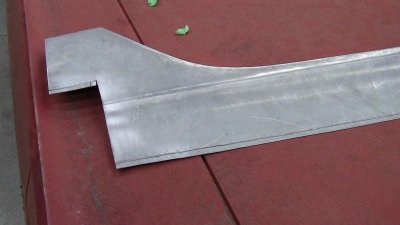
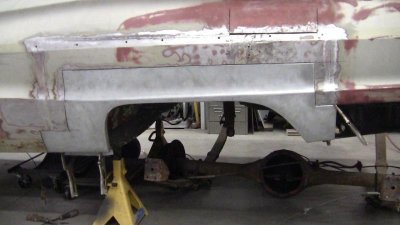
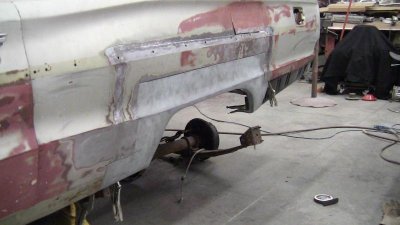
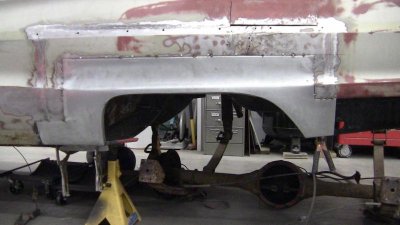
Well after lots of searching and reading, I am going to take several peoples advice and mix it together. I read about welding quarters and saw several opinions on which way to do it, some based on talent. I figure I am a "fair" welder so I am going to do butt welds on the vertical cuts and flange the horizontal runs to help prevent warping. My earlier work reinstalling my cut out gave me a good idea of my capabilities. I didn't warp my panel at all due to the body line being right there. The vertical sections turned out perfect only requiring a skim coat of putty. The long section along the top pulled in a little though and will require 1/16" to 1/8" to smooth out. I decided I like about a 1/16" gap to fill. Any less and I'm not sure I would get full penetration. Not bad for a first time panel install. I air cooled as I ground off the welds as well to reduce the heat. I think it helped.


roadrunnerman
Well-Known Member
DANG, that matched up perfect!!!!!!!!!1
daredevil
Well-Known Member
Dang dude you got skills.
gdrill
Just enjoying "B"-ing here
- Local time
- 9:49 AM
- Joined
- May 29, 2013
- Messages
- 6,719
- Reaction score
- 13,749
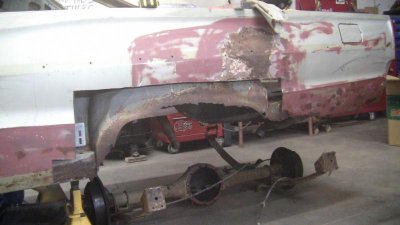
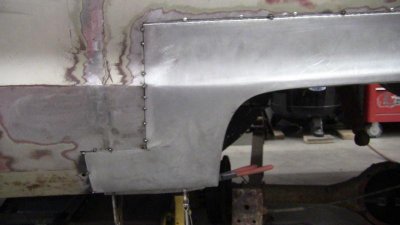
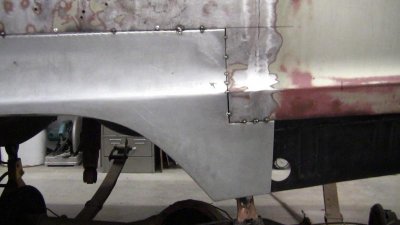
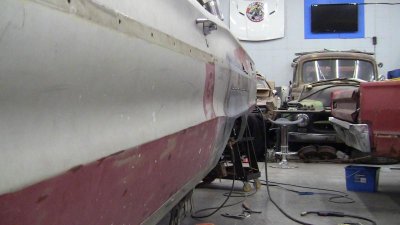
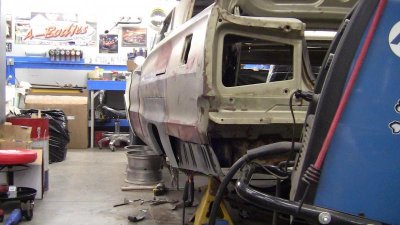
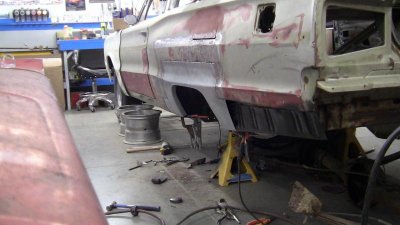
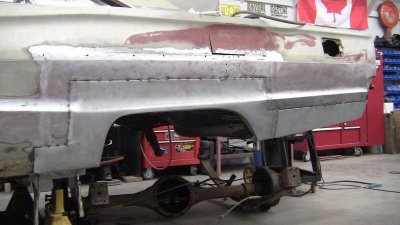
Well this is it. The "Almost point of no return"! I spotted it, screwed it on and tacked it in place. I'm fairly happy with the lines. Tomorrow it should be a permanent part of the car. Thanx for the compliments guys. It is nice to hear at least a couple or a few people think it looks alright too! I will have to use putty to sharpen the line over the arch. I didn't want to start hammering and take the straightness away from it. It wont take much.


Last edited:
Basket case
Well-Known Member
that's gonna be great!
- Local time
- 10:49 AM
- Joined
- Jan 1, 2013
- Messages
- 8,038
- Reaction score
- 3,467
- Location
- Mascoutah, Illinois
Nice work gdrill. Looking good ;)
gdrill
Just enjoying "B"-ing here
- Local time
- 9:49 AM
- Joined
- May 29, 2013
- Messages
- 6,719
- Reaction score
- 13,749
gdrill
Just enjoying "B"-ing here
- Local time
- 9:49 AM
- Joined
- May 29, 2013
- Messages
- 6,719
- Reaction score
- 13,749
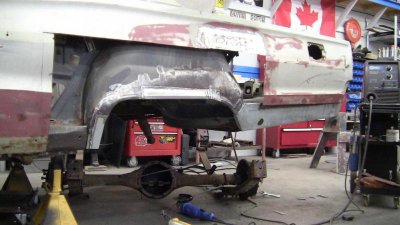
Well I got distracted by other stuff today, so I didn't get the panel welded up completely. Darn life getting in the way of hobbies! But I did final fit and tack weld the quarter extension on. That's it for the night, it's Friday, I'm gonna relax, suck back a couple beer and admire my accomplishments!

Similar threads
- Replies
- 47
- Views
- 3K
- Replies
- 7
- Views
- 495
What's it Worth
1970 Dodge Charger R/T 440 Manual Track Pack Car Barn Find
- Replies
- 73
- Views
- 4K
- Replies
- 32
- Views
- 732

