You are using an out of date browser. It may not display this or other websites correctly.
You should upgrade or use an alternative browser.
You should upgrade or use an alternative browser.
1968 Coronet 500 Project
- Thread starter JimKueneman
- Start date
JimKueneman
Well-Known Member
JimKueneman
Well-Known Member
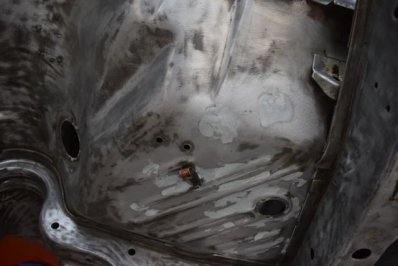
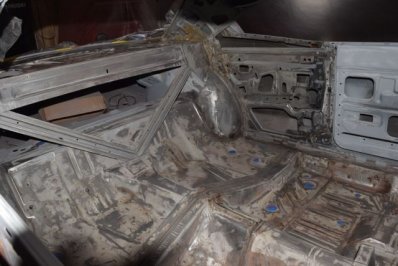
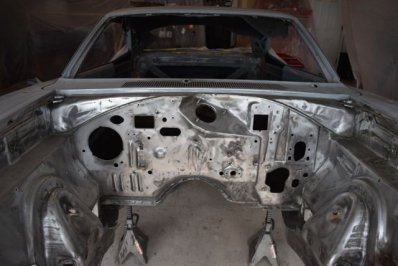
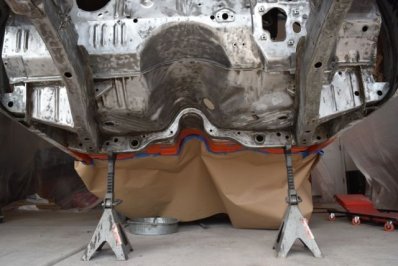
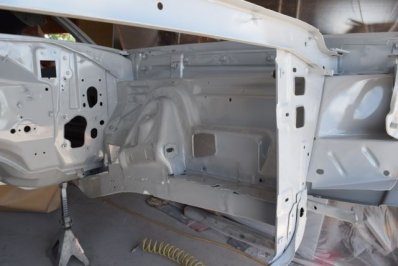
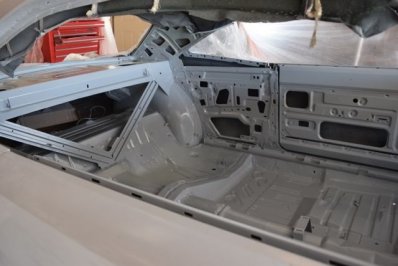
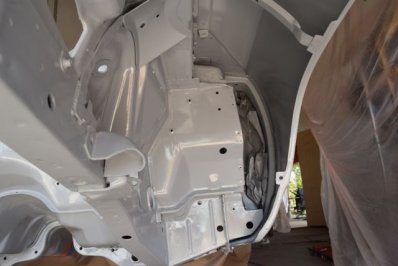
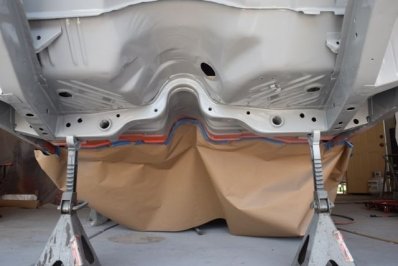
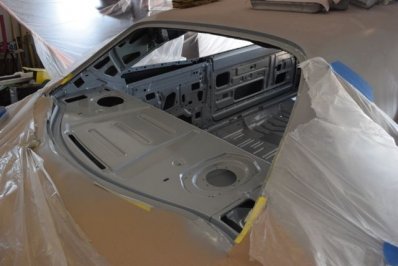
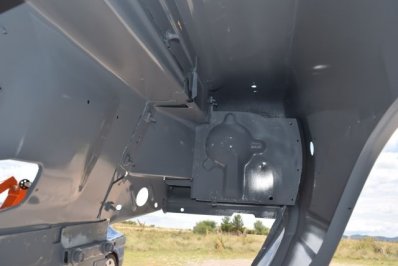
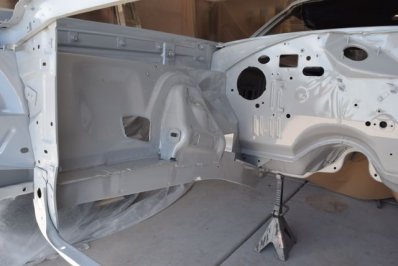
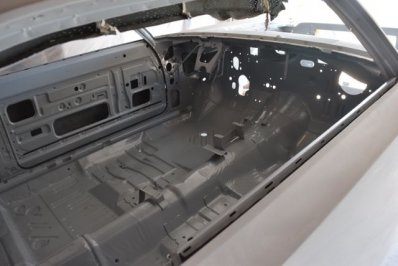
A little Southern PolyUrethane Inc Epoxy Primer and the 1968 Coronet has been stripped and is now sealed under Epoxy! I got a few runs in higher visibility areas but at this stage it is much more important to get good coverage rather than perfect paint. I will give these areas a light sanding before I shoot the Orange. Yes I love the SPI sand able Epoxy! I can envision the Orange on these parts now….


Nice work
JimKueneman
Well-Known Member
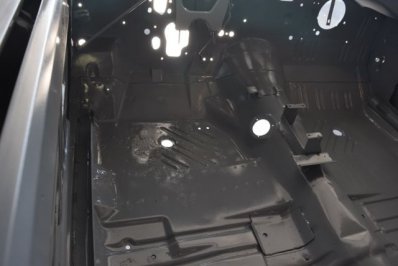
The camera hides all the crap in the paint on the floorboards. It is IMPOSSIBLE to get all the chunks of crap out of the floorboard. No matter how hard I trying I always find one pocket of debris that I hit with the gun and it blows everywhere. At least now it is all stuck down in epoxy. 
JimKueneman
Well-Known Member
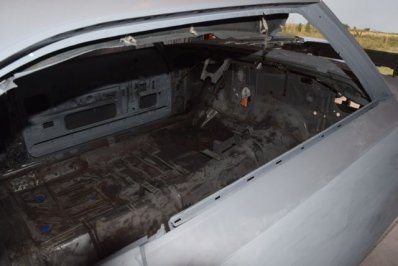
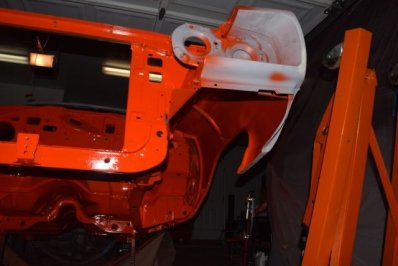
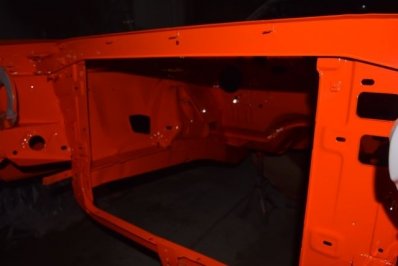
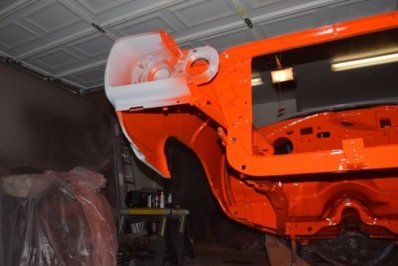
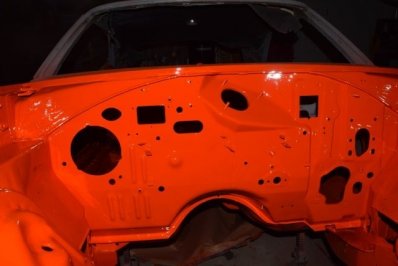
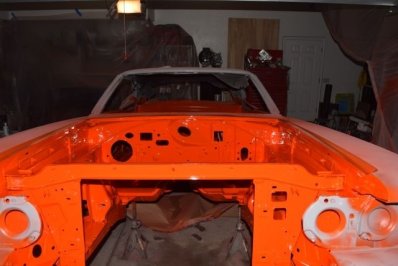
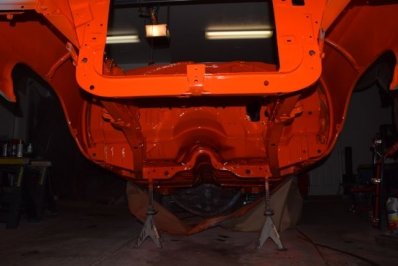
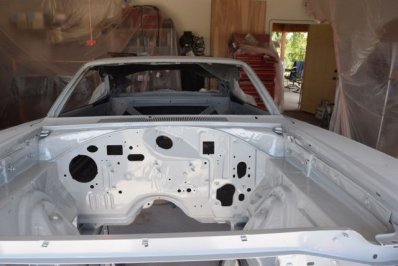
Ok I shot the underbody, inner front fenders, engine compartment and interior tonight. It came out INCREDIBLE for not knowing what I am doing… All I can attribute it to is Barry and the folks at Southern PolyUrethane Inc and their incredible products and support…. http://www.southernpolyurethanes.com
The color difference is just the flash where the body is really close to it. I think I now understand the paint and my gun to attack the main body and put on a show shine!
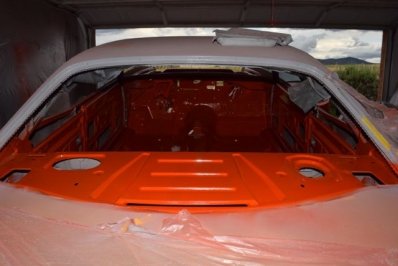
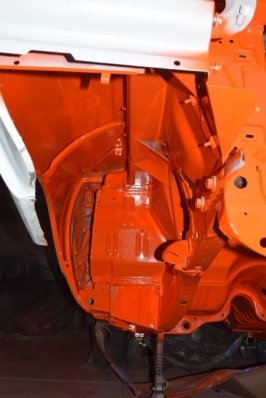
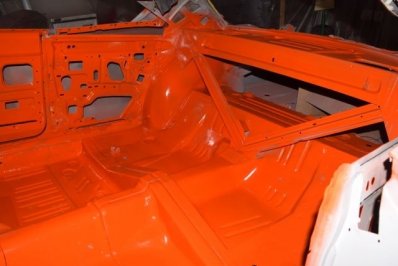
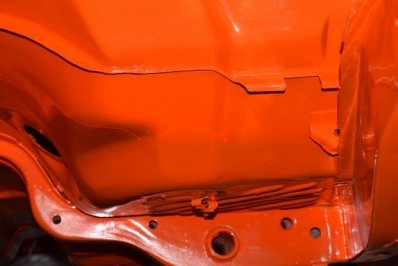
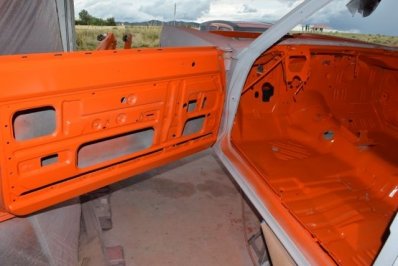
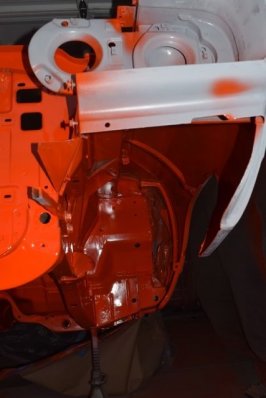
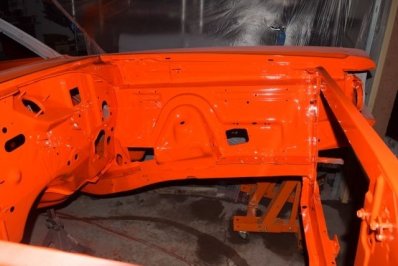
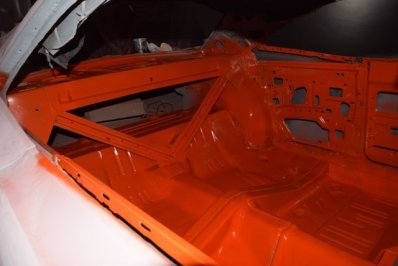
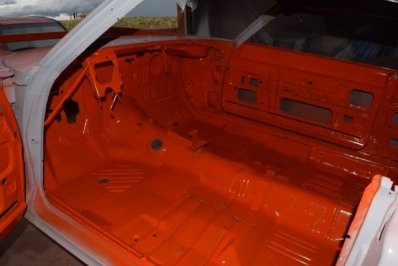
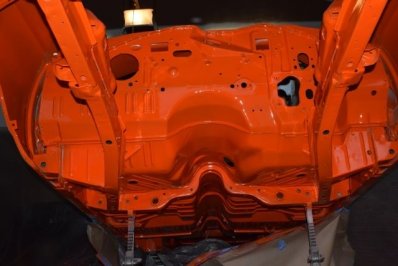
The color difference is just the flash where the body is really close to it. I think I now understand the paint and my gun to attack the main body and put on a show shine!


JimKueneman
Well-Known Member
jason79
Well-Known Member
Looking good! Are there no bugs where you live? We have so many flying insects here in IL, no way I could paint with the garage door open. Keep up the good work. Also what kind of paint are you using?
JimKueneman
Well-Known Member
One of the reasons I moved to the desert decades ago from the northeast. We where just back on vacation and forgot how many bugs there were. There are only flies here because of the horses. The summer rains are here and it was lightly drizzling when I painted it and that kept the flies away. Never saw a bug today 
Oh the paint is also from Southern PolyUrethane. They only have a few colors as their bread and butter is the primers and clears. I had to take a leap to not have a "real" Mopar color but I am glad I did.
Oh the paint is also from Southern PolyUrethane. They only have a few colors as their bread and butter is the primers and clears. I had to take a leap to not have a "real" Mopar color but I am glad I did.
Sixtynine_Bird
Well-Known Member
Nice progress looking so far so good! ;)
JimKueneman
Well-Known Member
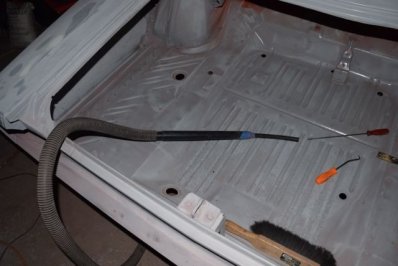
Trick for getting old broken glass and crap out of the tight space between the quarter panels and body. Take a piece of irrigation hose and cut it to the length of a long screwdriver or threaded rod. Tape it to the end of your shopvac and suck away. Make it short so when it plugs up (it will) you can jamb the screwdriver down it to open it back up.
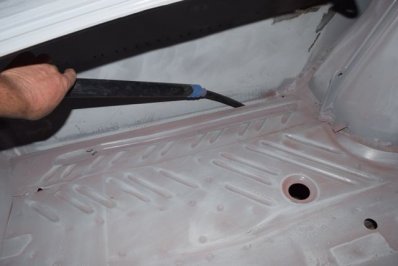
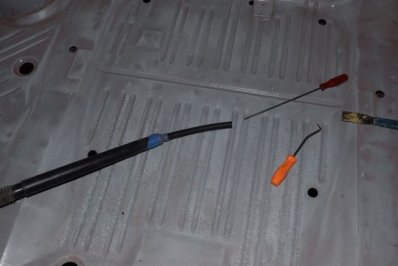


JimKueneman
Well-Known Member
Next pile of parts sand blasted and ready for paint. Damn kids got me sick so after 4 hours in the garage I am done. I did buy a new sandblasting item. Worth every penny. It does not make it quite enjoyable but makes it tolerable to sand blast.
http://www.northerntool.com/shop/tools/product_200327071_200327071
I am also trying some new media. I really like this stuff. It is not dusty and contains almost no silica. I have run it through the blaster 3 times and it is not getting beat down much. It will last a long time.
https://chemours.com/Titanium_Technologies/en_US/products/starblast/index.html
My local paint supply store carries it. It is more expensive but worth it.
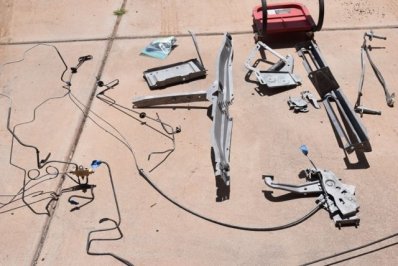
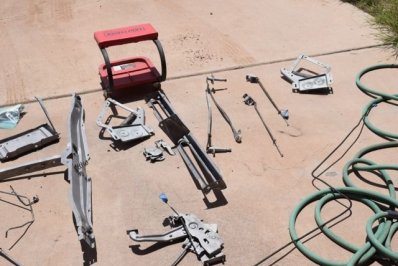


JimKueneman
Well-Known Member
Sealed up the sand through spots with epoxy primer. It is time for some high build tomorrow and the start of the final blocking!!!!!!!


While the epoxy was mixed and the gun was dirty I shot the items that I sandblasted yesterday too.

Then I used some Seymours Stainless Steel spray paint on the wiper mechanism and parking brake. After it dries I will mask it off and shoot the lever black and the pull lever gold wheel paint to simulate the plating.


I had some epoxy left so I used a brush and brushed a LOT of epoxy on the inter rear wheel wheel area. I had some welds here from the body work and this seals the back side of the welds and it is thin enough to run down in the seams between the body panels to help seal and etch any surface rust that is hidden deep in the seams…

Guess I should have put the plastic on the floor soon. Damn….. at least I seem to have enough

While the epoxy was mixed and the gun was dirty I shot the items that I sandblasted yesterday too.
Then I used some Seymours Stainless Steel spray paint on the wiper mechanism and parking brake. After it dries I will mask it off and shoot the lever black and the pull lever gold wheel paint to simulate the plating.
I had some epoxy left so I used a brush and brushed a LOT of epoxy on the inter rear wheel wheel area. I had some welds here from the body work and this seals the back side of the welds and it is thin enough to run down in the seams between the body panels to help seal and etch any surface rust that is hidden deep in the seams…
Guess I should have put the plastic on the floor soon. Damn….. at least I seem to have enough
JimKueneman
Well-Known Member
Finished up the parking brake restoration…

I also shot the Clear/Base psudo single stage in the trunk and finished up the rest of the parts that needed to be painted under the hood, hood hinges, battery box and brackets and hood latch cross brace…


Lastly, before the family took me out for my birthday dinner I shot the entire thing with 2 coat of Southern PolyUrethane Inc High Build primer and spent a little time in and out of the garage blocking it with 220. I have the car so straight that so far these 2 coats is all I need save for a couple spots I knew about. I may take my birthday off from work tomorrow and finish blocking and shoot another coat so I can block it with 400 and prepare for the big finale of shooting base and Universal Clear next weekend or the weekend after Then I can FINALLY start assembling this puppy!


I also shot the Clear/Base psudo single stage in the trunk and finished up the rest of the parts that needed to be painted under the hood, hood hinges, battery box and brackets and hood latch cross brace…
Lastly, before the family took me out for my birthday dinner I shot the entire thing with 2 coat of Southern PolyUrethane Inc High Build primer and spent a little time in and out of the garage blocking it with 220. I have the car so straight that so far these 2 coats is all I need save for a couple spots I knew about. I may take my birthday off from work tomorrow and finish blocking and shoot another coat so I can block it with 400 and prepare for the big finale of shooting base and Universal Clear next weekend or the weekend after
JimKueneman
Well-Known Member
I can see the light at the end of the tunnel! 220 grit blocking is done and she is straight as an arrow. Shot 2 more coats of SPI high build and now for 400 grit blocking to fill my evening this week. My final order went into SPI early this morning so it should be on my doorstep Friday. Shoot a coat of Epoxy Primer as a sealing coat on Saturday and a 400 grit wet sand on Sunday and she is ready for COLOR! I need to really work on getting fresh plastic up for as dust free as possible when I shoot the color the weekend after next.


I also took one of the parts out in the sun to see what the color will look like once I get it rolled out of the garage….

It should not be hard to find in the parking lot
I also took one of the parts out in the sun to see what the color will look like once I get it rolled out of the garage….
It should not be hard to find in the parking lot
Last edited:
RT68440
Well-Known Member
Nice work! It's not easy doing what you're doing on your back, but it looks like you did it on a rotisserie from the pics...
JimKueneman
Well-Known Member
Nope on my back. I did lift it quite high but still on my backNice work! It's not easy doing what you're doing on your back, but it looks like you did it on a rotisserie from the pics...
JimKueneman
Well-Known Member
Good grief my garage is a complete disaster area after looking at these photos....
Hemirunner
Well-Known Member
Great work Jim. I plan on using this thread as a reference when I get to the body and paint stage!
- Local time
- 7:12 AM
- Joined
- Jul 17, 2008
- Messages
- 4,987
- Reaction score
- 3,287
- Location
- Southeastern, PA
Looks great Jim. Been following this here and over on the SPI forum.
Keep up the good work.
Keep up the good work.

Similar threads
- Replies
- 11
- Views
- 580
- Replies
- 131
- Views
- 4K
- Replies
- 41
- Views
- 6K
- Replies
- 47
- Views
- 2K

