You are using an out of date browser. It may not display this or other websites correctly.
You should upgrade or use an alternative browser.
You should upgrade or use an alternative browser.
1969 Charger Restro - Now my turn
- Thread starter moparfanUSA
- Start date
moparfanUSA
Well-Known Member
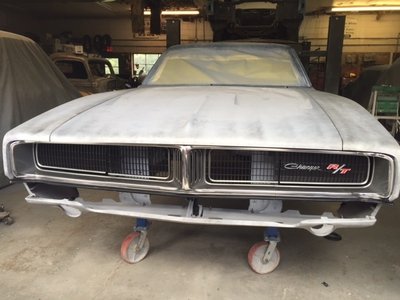
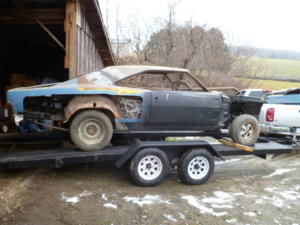
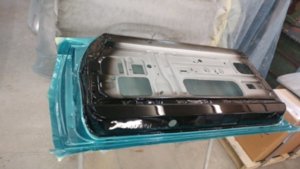
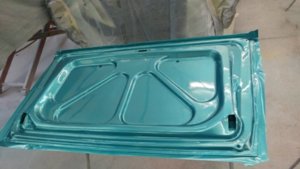
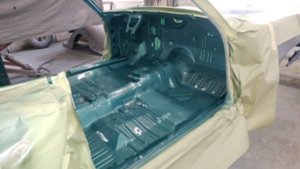
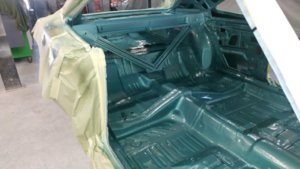
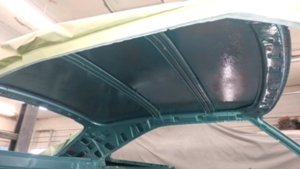
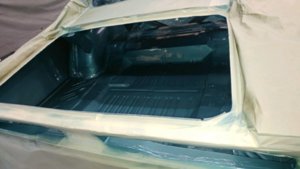
Well, its been a long time......almost 5 years to day that I picked up the charger and I'm finally seeing paint on the car! I have been helping him sand and block so many times. My body guy goes not only go the extra mile, but even beyond that. He has made sure everything is right, right down to the small details.
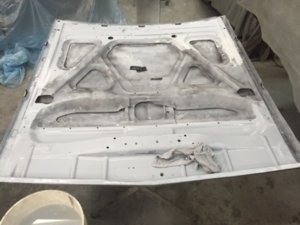
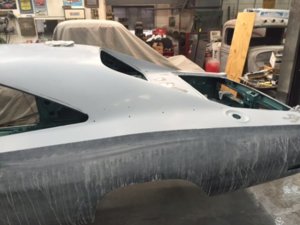
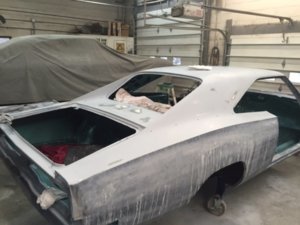
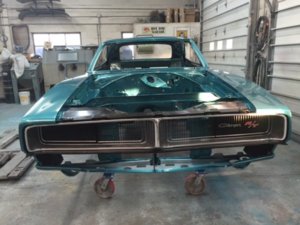
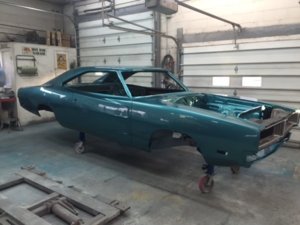
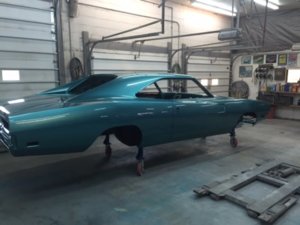
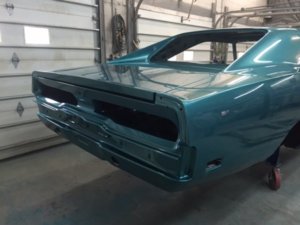
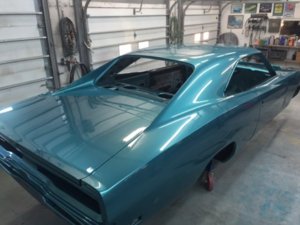
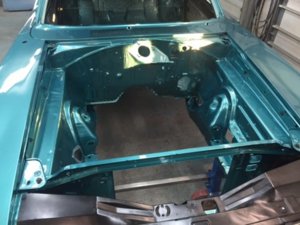
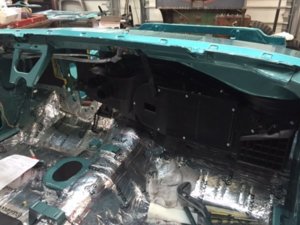
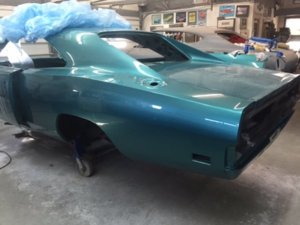
The outside of the car is in final prime, with just the wet sanding to finish and then total paint.
Midway I changed my mind on the color, I started to see that mango color on so many cars, so I went with my second choice. It is almost a QQ5 color. I added a touch more metal flake. So far I like the choice. As stated before, It will have a black vinyl top. We are debating on the black or white rump stripe. Once the car is painted I can start to put it together. I hope to have it finished painted and buffed within 3 weeks. Still can't believe that has taken this long. Thought I would never see parts of it painted.


camtra
Well-Known Member
- Local time
- 5:10 AM
- Joined
- Sep 6, 2015
- Messages
- 317
- Reaction score
- 124
- Location
- French Settlement, Louisiana
Sweet. I love the Turquoise. I also keep changing my mind on colors. A few I've considered: Turquoise, Silver, Purple, and Red. I love black but I have a 38 Chevy Truck that is black and don't want another. LOL
Godd luck with her!!
Godd luck with her!!
Sixtynine_Bird
Well-Known Member
Wah looks great!! Ican't to have that feeling when you finally see some paint on your car!
Awesome must feel real good!
Keep up the good work, she will be a beauty!
Awesome must feel real good!
Keep up the good work, she will be a beauty!
moparfanUSA
Well-Known Member
moparfanUSA
Well-Known Member
Well, after 5 years I was not sure I would ever see the day this car was painted! I could not have received a better Christmas present than this! I know there is a lot more to do ( like putting it all back together) but at least I can start in a week to put things together.
My Body Guy FINALLY put the first round of paint on the car yesterday. Today he is wet sanding the first coat (coats) then later today putting more color on for the final paint, then on to the clear coat. His comment was....."what a large car" it sucked up a gallon of paint just to get this far. He said it is one of the hardest cars he has done and he has done over 100 cars. Just the amount of different body lines he had to make sure was straight I'm sure didn't make things easy. I'm going up there today to see the next coat go down and to take pictures. As I write this, I still cant believe how much time has past and remember back how much he has done to make this car really special. He is a true master at his craft, I have been there so many times in 5 years, either helping him or going to see the progress, I should have my own room by now. After this one he is going to slow down on his projects, so I am glad that I was able to get with him before that happens. I'm floating on cloud 9 today.
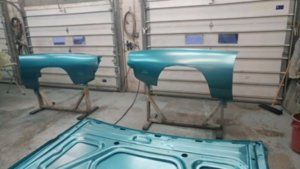
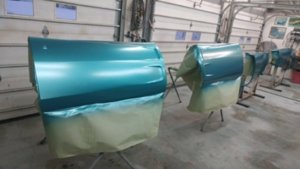
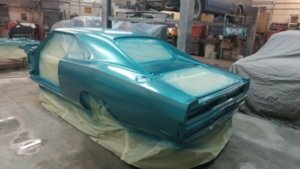
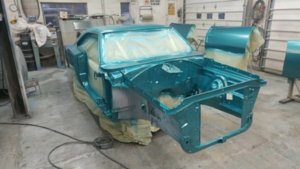
My Body Guy FINALLY put the first round of paint on the car yesterday. Today he is wet sanding the first coat (coats) then later today putting more color on for the final paint, then on to the clear coat. His comment was....."what a large car" it sucked up a gallon of paint just to get this far. He said it is one of the hardest cars he has done and he has done over 100 cars. Just the amount of different body lines he had to make sure was straight I'm sure didn't make things easy. I'm going up there today to see the next coat go down and to take pictures. As I write this, I still cant believe how much time has past and remember back how much he has done to make this car really special. He is a true master at his craft, I have been there so many times in 5 years, either helping him or going to see the progress, I should have my own room by now. After this one he is going to slow down on his projects, so I am glad that I was able to get with him before that happens. I'm floating on cloud 9 today.


moparfanUSA
Well-Known Member
plymouthman72
Well-Known Member
Well, after 5 years I was not sure I would ever see the day this car was painted! I could not have received a better Christmas present than this! I know there is a lot more to do ( like putting it all back together) but at least I can start in a week to put things together.
My Body Guy FINALLY put the first round of paint on the car yesterday. Today he is wet sanding the first coat (coats) then later today putting more color on for the final paint, then on to the clear coat. His comment was....."what a large car" it sucked up a gallon of paint just to get this far. He said it is one of the hardest cars he has done and he has done over 100 cars. Just the amount of different body lines he had to make sure was straight I'm sure didn't make things easy. I'm going up there today to see the next coat go down and to take pictures. As I write this, I still cant believe how much time has past and remember back how much he has done to make this car really special. He is a true master at his craft, I have been there so many times in 5 years, either helping him or going to see the progress, I should have my own room by now. After this one he is going to slow down on his projects, so I am glad that I was able to get with him before that happens. I'm floating on cloud 9 today.
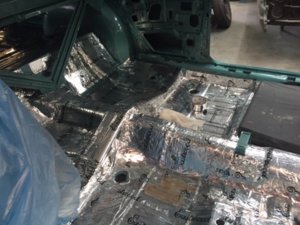
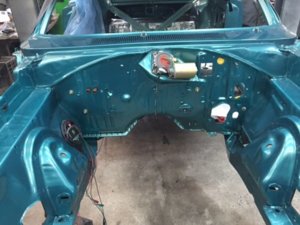
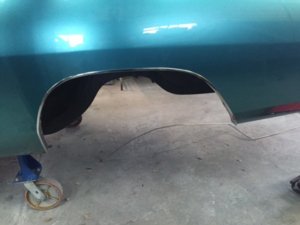
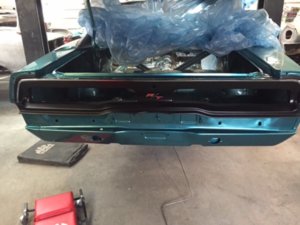
View attachment 550382 View attachment 550383 View attachment 550384 View attachment 550385
Congratulations on getting to this point and I can honestly say I know just how you feel! I just got the pictures back on Friday of my car being re-assembled after paint and have been on cloud 9 this whole weekend. I have had mine just over 4 years so we are very close to each other on time. How long do you think it will take before she is back on the road?
Edit: By the way, that is a kick *** color and will look awesome with the black top. I think you made a great choice.
moparfanUSA
Well-Known Member
I hope to have it back on the road in the spring.
moparfanUSA
Well-Known Member
moparfanUSA
Well-Known Member
The color seems darker in the pictures, it is a little brighter in person.
6PKRTSE
Well-Known Member
Way to go! Love seeing them come out of the paint booth, looks great!
Man, you guys inspire me the amount of work you get done over the years. I have had My 70' Charger 500 S.E. over 7 years now & it still looks exactly like the day I picked it up with the addition of several newer acquired parts along the way. I will get on it's resto someday.... Being a single Dad with 2 of my 3 kids in college now takes a toll on the projects. The third will start college after next school year. Maybe 2025 or so will be the year for me... LOL.
I snuck my project in while the kids were young and not expensive yet lol. I can definitely see how having kids in college might make it a challeng, family first. Your a good man for doing itMan, you guys inspire me the amount of work you get done over the years. I have had My 70' Charger 500 S.E. over 7 years now & it still looks exactly like the day I picked it up with the addition of several newer acquired parts along the way. I will get on it's resto someday.... Being a single Dad with 2 of my 3 kids in college now takes a toll on the projects. The third will start college after next school year. Maybe 2025 or so will be the year for me... LOL.
 .
.moparfanUSA
Well-Known Member
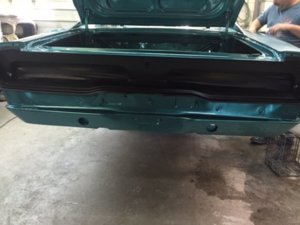
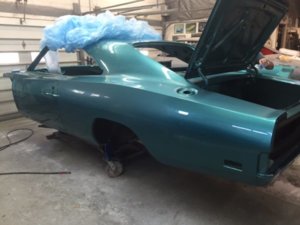
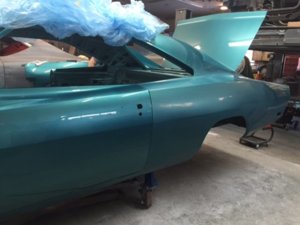
Well, went up there today to see how things were going and I saw that he painted the tail panel and has both qtrs. sanded out, so the hard part is done. He buffed a small spot on the drivers rear qtr just to show me what it would look like when finished. It shined up really well! I'm HOPING that 10 days from now I will be starting to put it back together again.....we'll see.


moparfanUSA
Well-Known Member
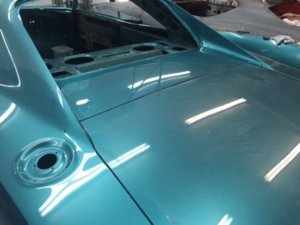
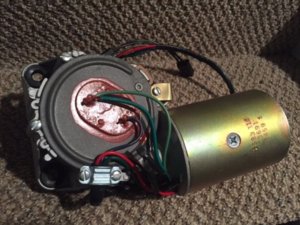
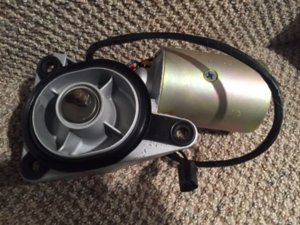
Still making progress. Went up there on Sat. and he was buffing some of the car. The pictures show the panel below the rear window and the drivers side Qtr almost finished ( hopefully you can see the difference between these pictures and the ones above). Never knew that you had to sand the clear coat 3 different times and also put 3 different kinds of buffing compound on. I so want it done, but I know that it has to be the right way. The roof is not getting buffed since we are putting on a vinyl top. The tops of the doors were also done. He takes the doors off to buff them so they are flat. Also got the wiper motor back...looks really nice.


moparfanUSA
Well-Known Member
Sixtynine_Bird
Well-Known Member
Keep up, always the little things causing the biggest lost of time. But we have to deal with it.
You are doing great! Interior looks good so far! ;)
You are doing great! Interior looks good so far! ;)
moparfanUSA
Well-Known Member
moparfanUSA
Well-Known Member
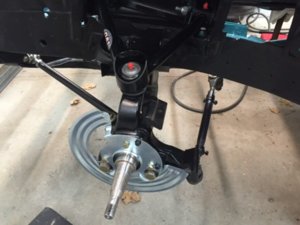
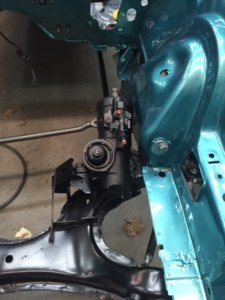
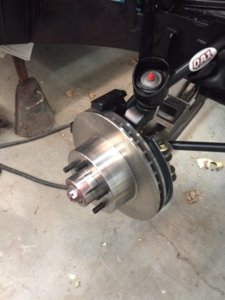
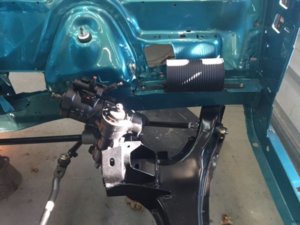
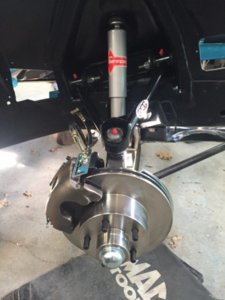
Then I installed the wiper motor and transmission arm, next step was the front end. Put in the K frame, and the torsion bars along with the boots and clips. We had no problem at all installing them. Put the boots in really hot water for 5 minutes, greased up the end of the bars real well ( and the whole length) and they slid right on. Then put the lower control arms all the way down, bars slid right in on both ends with no issues. Added the power steering box, then the disc brakes and the upper control arms.


Similar threads
- Replies
- 47
- Views
- 3K
- Replies
- 44
- Views
- 1K

