• When you click on links to various merchants on this site and make a purchase, this can result in this site earning a commission. Affiliate programs and affiliations include, but are not limited to, the eBay Partner Network.

1969 Dodge Super Bee Coupe Restoration

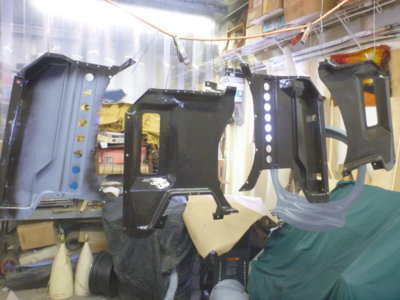
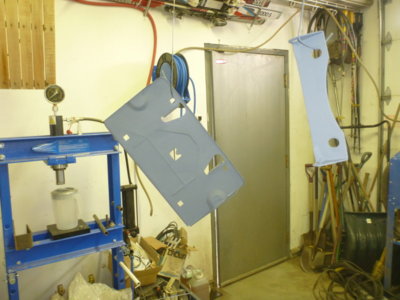
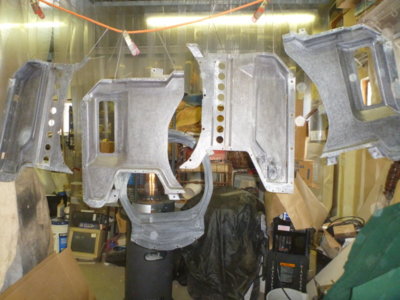
All five parts scuffed, wiped, hung and ready to prime and hopefully paint.

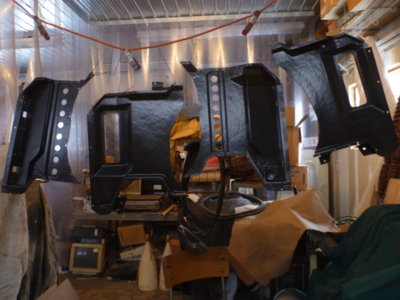
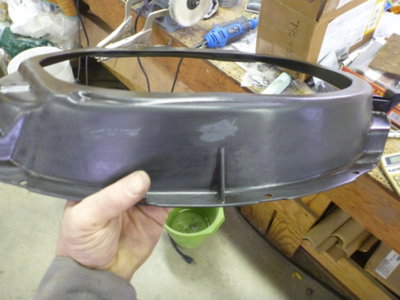
Primer on and some days I just amaze myself, it covered all repairs good enough for paint!

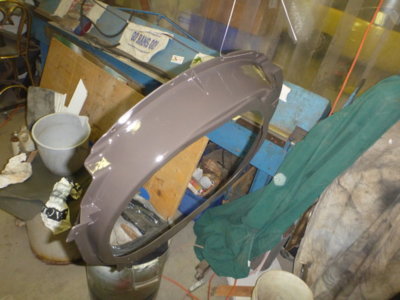
Paint going on.

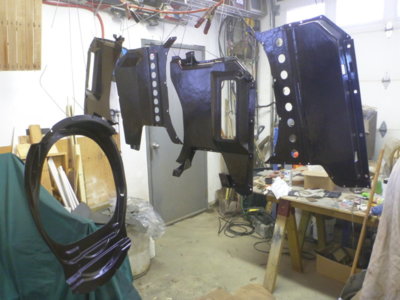
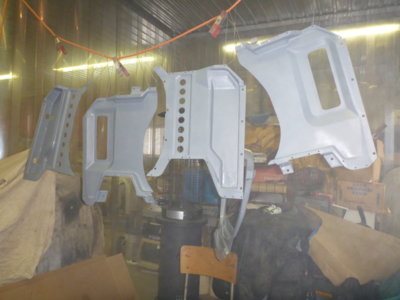
Everything painted and most important I used a flashlight to look in all the tab areas to verify coverage and get the spots I missed!

About an hour later. I couldn't have hit that colour better if I'd tried. No runs even, what happened to me...

Now to see if I can get the boxes riveted back together with out breaking humpty dumpty again! :praying:
beerestorationfall2018 399.JPG beerestorationfall2018 403.JPG beerestorationfall2018 404.JPG beerestorationfall2018 418.JPG beerestorationfall2018 427.JPG
 
All five parts scuffed, wiped, hung and ready to prime and hopefully paint.

Primer on and some days I just amaze myself, it covered all repairs good enough for paint!

Paint going on.

Everything painted and most important I used a flashlight to look in all the tab areas to verify coverage and get the spots I missed!

About an hour later. I couldn't have hit that colour better if I'd tried. No runs even, what happened to me...

Now to see if I can get the boxes riveted back together with out breaking humpty dumpty again! :praying:
View attachment 684401 View attachment 684402 View attachment 684403 View attachment 684404 View attachment 684405
Looks nice!
 
Damn fine job you did! I salute your perseverance and patience getting that all done!
 
Thanks fellas! 28 hours to get the Ramcharger box to this stage, in case anyone plans to pay to have it done!
 
Slow day today, but every little bit moves me towards the goal.

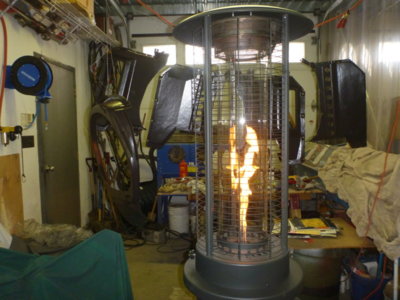
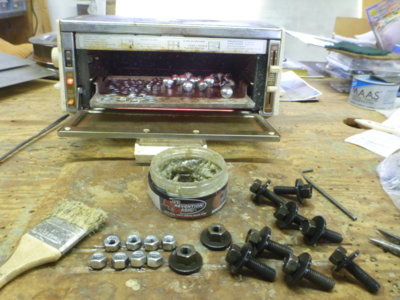
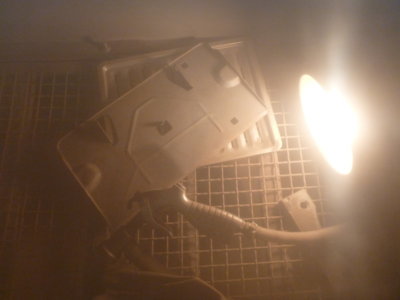
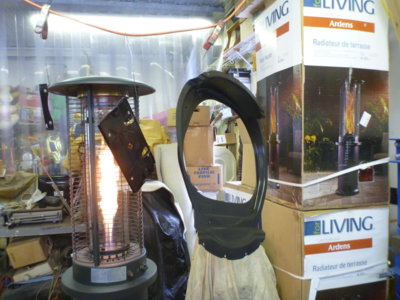
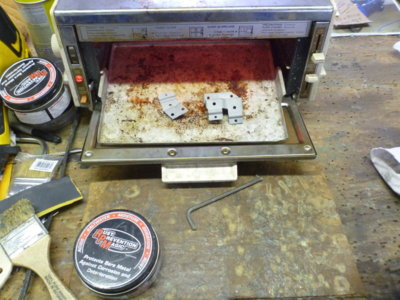
Paint "booth" set on bake and RPM'ing bumper attach and Ramcharger hood hardware.

beerestorationfall2018 431.JPG beerestorationfall2018 435.JPG
 
Never seen that stuff
What, the RPM?? It's a Dave Walden production / product from ECS, seems to be working so far as nothing I've coated shows any signs of rust... when other stuff I've blasted clean and even coated with 80W90 gear oil has in the same shop. Others on here are using Boeshield T-9 as a preventive coating.
 
If anyone has followed the entire build, you would have seen where I was a bit pissed the resto shop that did my car shell sent all my chrome and stainless out without telling me, to the tune of 5 G's +. The only thing I'm ticked about now is I wish they'd had ALL the pieces when they sent it out!
................................................................
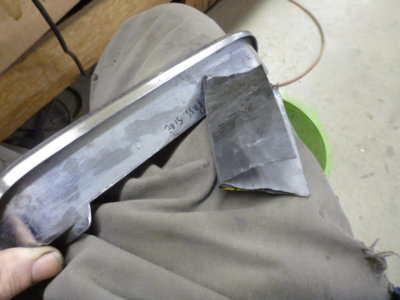
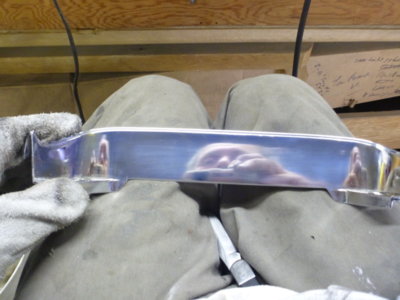
Trying to sand out pits on the hood scoop bezels. 400/800/1000/2000 and praying I don't go too far !

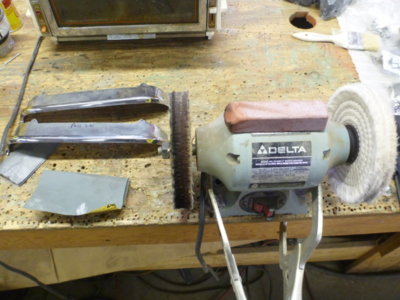
Polishing time. I ended up having to use the courser green (stainless) vs the Red rouge to get some marks out, but at least got things presentable.

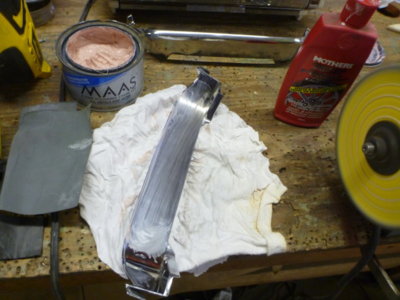
Did my final buffing by hand using MAAS.

Getting there..

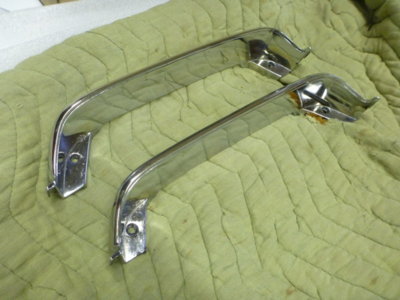
Good as they're gonna be, unless I send them out for rechrome.

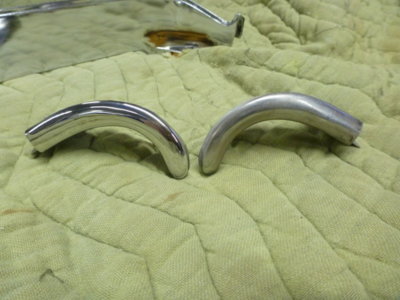
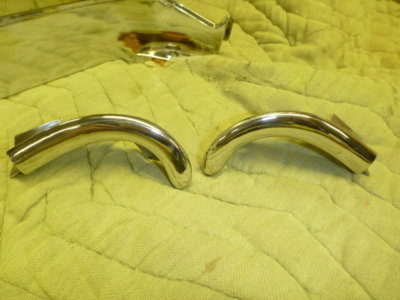
Next up the drip rail trim rear corners that they forgot to send out. One on left almost there vs "as removed" on the right.

Both pretty good, could use a bit more work.

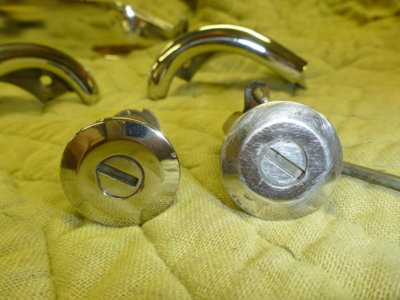
One door key tumbler almost there, still has a bit of scratching I need to sand out, vs the "as removed" on the right that the previous body shop in '88 just sanded right across. Scoop bezel sanding to here is 5 hours of hard work!

beerestorationfall2018 449.JPG beerestorationfall2018 448.JPG beerestorationfall2018 451.JPG beerestorationfall2018 453.JPG beerestorationfall2018 456.JPG beerestorationfall2018 461.JPG beerestorationfall2018 467.JPG beerestorationfall2018 466.JPG
 
If anyone has followed the entire build, you would have seen where I was a bit pissed the resto shop that did my car shell sent all my chrome and stainless out without telling me, to the tune of 5 G's +. The only thing I'm ticked about now is I wish they'd had ALL the pieces when they sent it out!
................................................................
Trying to sand out pits on the hood scoop bezels. 400/800/1000/2000 and praying I don't go too far !

Polishing time. I ended up having to use the courser green (stainless) vs the Red rouge to get some marks out, but at least got things presentable.

Did my final buffing by hand using MAAS.

Getting there..

Good as they're gonna be, unless I send them out for rechrome.

Next up the drip rail trim rear corners that they forgot to send out. One on left almost there vs "as removed" on the right.

Both pretty good, could use a bit more work.

One door key tumbler almost there, still has a bit of scratching I need to sand out, vs the "as removed" on the right that the previous body shop in '88 just sanded right across. Scoop bezel sanding to here is 5 hours of hard work!

View attachment 685145 View attachment 685149 View attachment 685150 View attachment 685151 View attachment 685152 View attachment 685153 View attachment 685154 View attachment 685155
Good thing the snow is coming,lots of time to do the tedious crap,lol.
 
LOL.. I wish. Just hope it's a light snow year, otherwise I end up wasting 3 hours a day in the plow truck with our 1200' laneway. That and what I know is going to be a nightmare getting the resto shop to work my car into their schedule to cut and buff and ever so carefully seam seal and paint my friggin roof rails! Oh well it is what it is... I should be working on a couple airplanes, but it's cold out in the hangar! :canada:
 
LOL.. I wish. Just hope it's a light snow year, otherwise I end up wasting 3 hours a day in the plow truck with our 1200' laneway. That and what I know is going to be a nightmare getting the resto shop to work my car into their schedule to cut and buff and ever so carefully seam seal and paint my friggin roof rails! Oh well it is what it is... I should be working on a couple airplanes, but it's cold out in the hangar! :canada:
13 months waiting on mine! There are times I say “glad it’s not in the garage”; most times I want it back. I’m getting a real good price though, oh well.

30AF779A-98DB-4E88-B268-22875F6CAA58.jpeg 1D4AF488-BFC8-4627-9349-7E2DDD6FC51F.jpeg
 
Distractions.. distractions. My "new" 7UP machine all cleaned up and in a proper place! (exact width between doors, what's the chance?) Now to stock it for guests.. and then back to work tomorrow on the Bee.
popmachine 047.JPG
 
Okay so I lied, I'll work on the Bee tomorrow! I just couldn't leave the machine with the lights not working, so tore it apart again today (yesterday I modified the selection tumblers to fit 710ml plastic up top, glass beer in the middle and cans down low). Bulb in the front door light, 8 bucks, and for the selection door light I needed bulb, starter and ballast. Borrowed all from a cheap $15 light I had in my small media blast cabinet.

Tomorrow my special rivets had better show up so I can get the Ramcharger airbox going back together...
popmachine 086.JPG
 
Media blasting the rear licence plate holder and the ramcharger airbox cable brackets.

Plate holder in primer.

I wasn't happy with a couple repair spots that go under the Ramcharger sticker, so I smoothed them out so that the label will sit nice and repainted.

Quick repaint

Booth on "bake" again. At least I know how many hours a 20lb tank lasts now, so I'm ready for the Daughters wedding!

Ramcharger hood cable brackets lightly blasted to get incorrect paint off them and coated in RPM ready for assembly... if my rivets ever show up (they sat in Montreal for over a week, now Barrie for over a week.. f'n posties!)

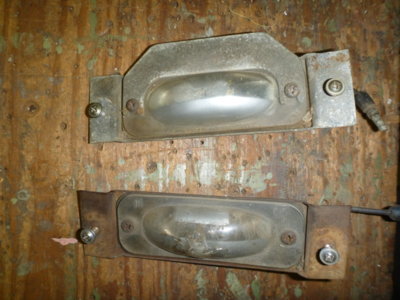
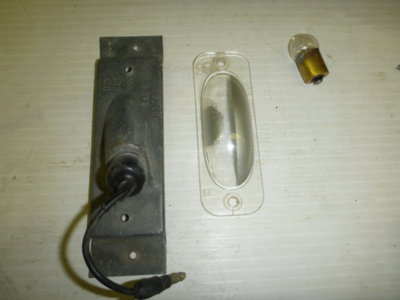
My OE licence plate light bottom and one I bought from a DC . com member a year + ago to combine the best parts. Looks like it will be all his.. lol.. and mine didn't have this "shield". Probably discarded during a bulb change?

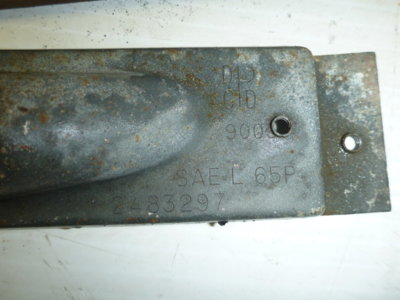
OE part number for reference and determining what the correct OE finish was. Almost looks like it was painted black.

Cleaned up by hand to this point, till I determine correct finish.

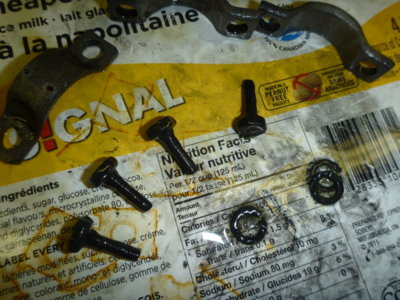
DO NOT forget that you put parts in the evaporust bucket. They may not be there when you remember. 3/16" bolts are down to 1/8" diameter. Guess they're not much use as spares in the glove box now! Been in there since Spring!

beerestorationfall2018 472.JPG beerestorationfall2018 482.JPG beerestorationfall2018 490.JPG beerestorationfall2018 491.JPG beerestorationfall2018 497.JPG beerestorationfall2018 487.JPG beerestorationfall2018 502.JPG beerestorationfall2018 510.JPG beerestorationfall2018 514.JPG beerestorationfall2018 511.JPG
 
Auto Transport Service
Back
Top