• When you click on links to various merchants on this site and make a purchase, this can result in this site earning a commission. Affiliate programs and affiliations include, but are not limited to, the eBay Partner Network.

1969 Road Runner facelift

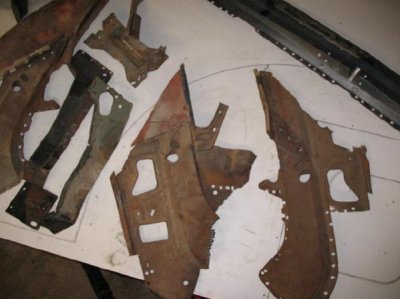
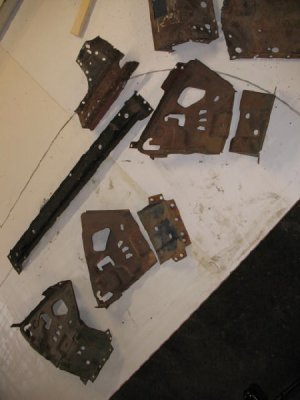
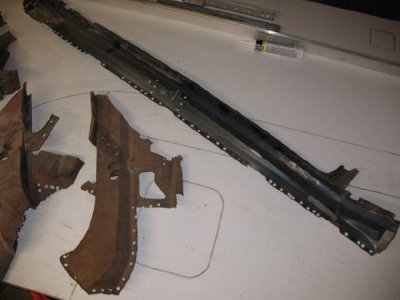
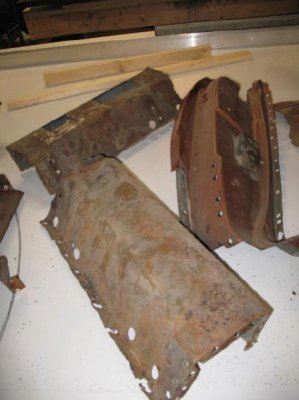
Looks like it's time to visit your friendly neighborhood Media Blaster....what, you mean your neighborhood has no Media Blaster, and if you do, he's not friendly? Jeesh!
 
Best I can do is with my little pot bellied buddy the small sand blaster and 100# bag at a time. looking at the forecast they are talking rain for saturday which is when I wanted to wheel it outside and do a little blasting.

We'll see how it goes I guess. The stupid weather man has been wrong before.

I'll do my best to clean things up in those frame rail and rear crossmember areas prior to some rust proofing efforts then it's on to fitting the new trunk floor.
 
That will work! Have fun, don't breath the dust, get a positive pressure helmet, get a chair and sit down; it will take a while. I'd be surprised if you get the inside frame rails done in one sitting, but, sand is cheap, and if you have time, go for it! Gotta get this crap cleaned off!
 
Yeah, it will take a while. I'll probably just end up wearing a half mask under a hood. I need all my air for the blaster, I have a 2 stage 7.5HP compressor but it's no beast. I can air it down with my blaster so I have to pace myself.

I doubt I'll get things squeaky clean but I gotta do what I can right?
 
yep

3m-6000-series-half-mask-paint-spray-pesticide-respirator-2846.jpg
 
I doubt I'll get things squeaky clean but I gotta do what I can right?

You're right about that Dave. Gotta work with what you got.

I definitely agree with Donny and the ideals of Media blasting. If time is money, I would be loaded right now with the amount of grinding, wire wheeling and sanding i've done. I'm quite confident grinding in cuts deep enough in, but has been a bit destructive and has cost me some extra work there as well. My next project (Hopefully 70' Superbee) will be media blasted. Nobody around here to do full car blasting, but I'm not going to let driving all the way down to Milwaukee or Madison deter me doing it next time. The time factor for that vs. what i'm doing now is huge!

Looks like those frame rails are in pretty good shape Dave. Gotta be a little refreshing after opening up that wheel well and rocker area.

Keep up the awesome pace!! I'm hearing 50's and maybe the 60's come this weekend. Great working temps for ya!
 
I wonder if it would be worth shipping a car all the way to me here in TX? I've been thinking this is very doable; strip it completely bare, install the doors back on with just 2 or 3 bolts, fenders with just a few bolts, hood back on, deck lid, basically a car with nothing in it.

The way I'd see it would be around 800 bucks to ship it, maybe less. To alleviate the bare-metal in shipping back to the client would be car in self etch, then epoxy primer with a sealer added in. This might work, wonder how much shipping would be?
 
Good question Donny...Obviously we know the great work you do down there and I would prefer to send a project your way anyways

Dave, what are you running for a dry air system..Some sort of Dessicant filter or an actual air dryer?
 
For my shop air I'm running a simple oil water separator can pretty close to the compressor.

For my paint air I actually have a sharpe brand 3 stage dryer like this :

406760_lg.jpg


Final stage is a desiccant bead can. And I have had it new in the box for probably 8 years lol!! I haven’t even hung it on the wall yet.

I’ve been getting by with the stupid oil/water separator and whirlwind filters screwed the gun inlet for quite a few paint jobs now.

How lame is that? All because I never seem to have time to hang that nice 3 stage dryer on the wall in my booth. :grin:


Well it’s a little more than that, I need to actually take the time to measure for some black pipe, have it cut, threaded etc & buy a hand full of elbows, fittings etc to run my air correctly with the slopes, tee’s facing up, drain tubes etc.

I guess I better finally take that unit off the shelf and hang it on the wall for this project huh?
 
Looks like a good set up when it actually makes it to your wall..LOL. Not fun hanging/threading the steel piping.. I actually went with Type "K" copper tubing on my set up..Hell of a lot easier to hang and sweating in the joints is a breeze.

You don't have any fish eye issues's with the route you're going right now? That's one heck of a nice set up you got sitting in a box. Know how that goes though..So many things to do, not enough time....
 
naw, no fish eyes.

I've found that fish eyes more often than not are a surface contaminant.

But it is possible to get them from your atomizing air too.

Hmm, copper huh? that would work too.

last time I did pipe for air I rinsed the ID with solvent to get rid of any oil.
 
Finally got to my stash, let me know if you could use any of this treasure.
 

Attachments

  • IMG_6192_9.jpg
    IMG_6192_9.jpg
    39.9 KB · Views: 817
  • IMG_6184_1.JPG
    IMG_6184_1.JPG
    194.7 KB · Views: 833
  • IMG_6186_3.jpg
    IMG_6186_3.jpg
    29.3 KB · Views: 833
  • IMG_6187_4.jpg
    IMG_6187_4.jpg
    26.8 KB · Views: 832
  • IMG_6189_6.jpg
    IMG_6189_6.jpg
    32.5 KB · Views: 829
  • IMG_6195_12.jpg
    IMG_6195_12.jpg
    31.6 KB · Views: 834
  • IMG_6194_11.jpg
    IMG_6194_11.jpg
    33.5 KB · Views: 822
  • IMG_6197_14.JPG
    IMG_6197_14.JPG
    191.3 KB · Views: 821
  • IMG_6193_10.JPG
    IMG_6193_10.JPG
    171.2 KB · Views: 846
  • IMG_6196_13.jpg
    IMG_6196_13.jpg
    32.3 KB · Views: 826
Ya know, it frightens me that I can ID pretty much all of those parts. LOL!

Actually, I have issues with my LH door jam and I see you have one there.

Really all I need is the area that the striker/latch bolts to.

See, mine is freakin bubba'd up. when the car was hit in the drivers side umpteen years ago the striker was driven in tearing the metal and the repair was limited to exterior access and it isn't good. Because of this the door now closes too far.

I was going to make a mirror image replica of the passenger side and weld it in but...
 
Wow great pictures and beautiful car.

It looks like your RH quarter is trimmed above the top body line? Did you fit a quarter skin with the weld seam above the top body line? up on top?

I really want to try placing my weld seams in that area on this project (close to the top body line bend for strength of course)

Thanks. The guy that did my paint and body work wanted to keep as much of the original body lines as possible so he trimmed the 1/4's about 1/8 in. below the body line (as I recall) and trimmed the replacement panel to fit. He left the entire tail light/ extension area in place since that was all still solid. All of the welds in the trunk were gound down so you'd never know the 1/4 skins were replaced.
 
whats this?

That's what should be in place of the gaping hole that used to be your rocker in front of your rear wheel well

BTW......Nice Cannibal parts Matt. Good looking OEM stuff
 
Auto Transport Service
Back
Top