2059
Well-Known Member
- Local time
- 2:23 PM
- Joined
- May 4, 2012
- Messages
- 1,332
- Reaction score
- 659
- Location
- North Central Indiana
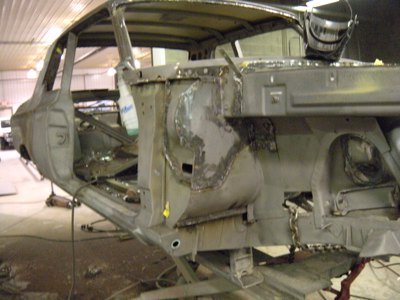
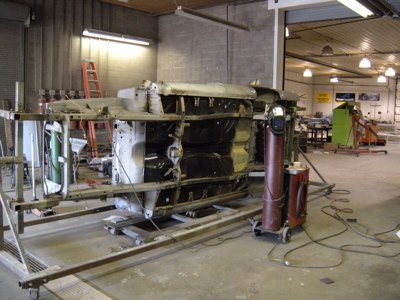
debated whether or not to post this then I thought, it might help someone thinking about this type of project. this is the rear seat and back modified to clear the minitubs. you might ask why mess with it? Because when Grandma and Grandpa want to go to town for a Martini, we can take the car...
Guess there won't be any monkey bars:edgy: