HYRDGOON
Well-Known Member
- Local time
- 5:55 PM
- Joined
- Apr 20, 2013
- Messages
- 3,372
- Reaction score
- 2,745
- Location
- Breslau, Ontario, Canada
Awesome seeing/reading consistent progress. Looks like the cat was successful!
You make it seem liking your winging it. NO PUN INTENDED...But it seems like to me you know exactly what your doing. Either case it's coming out awesome.
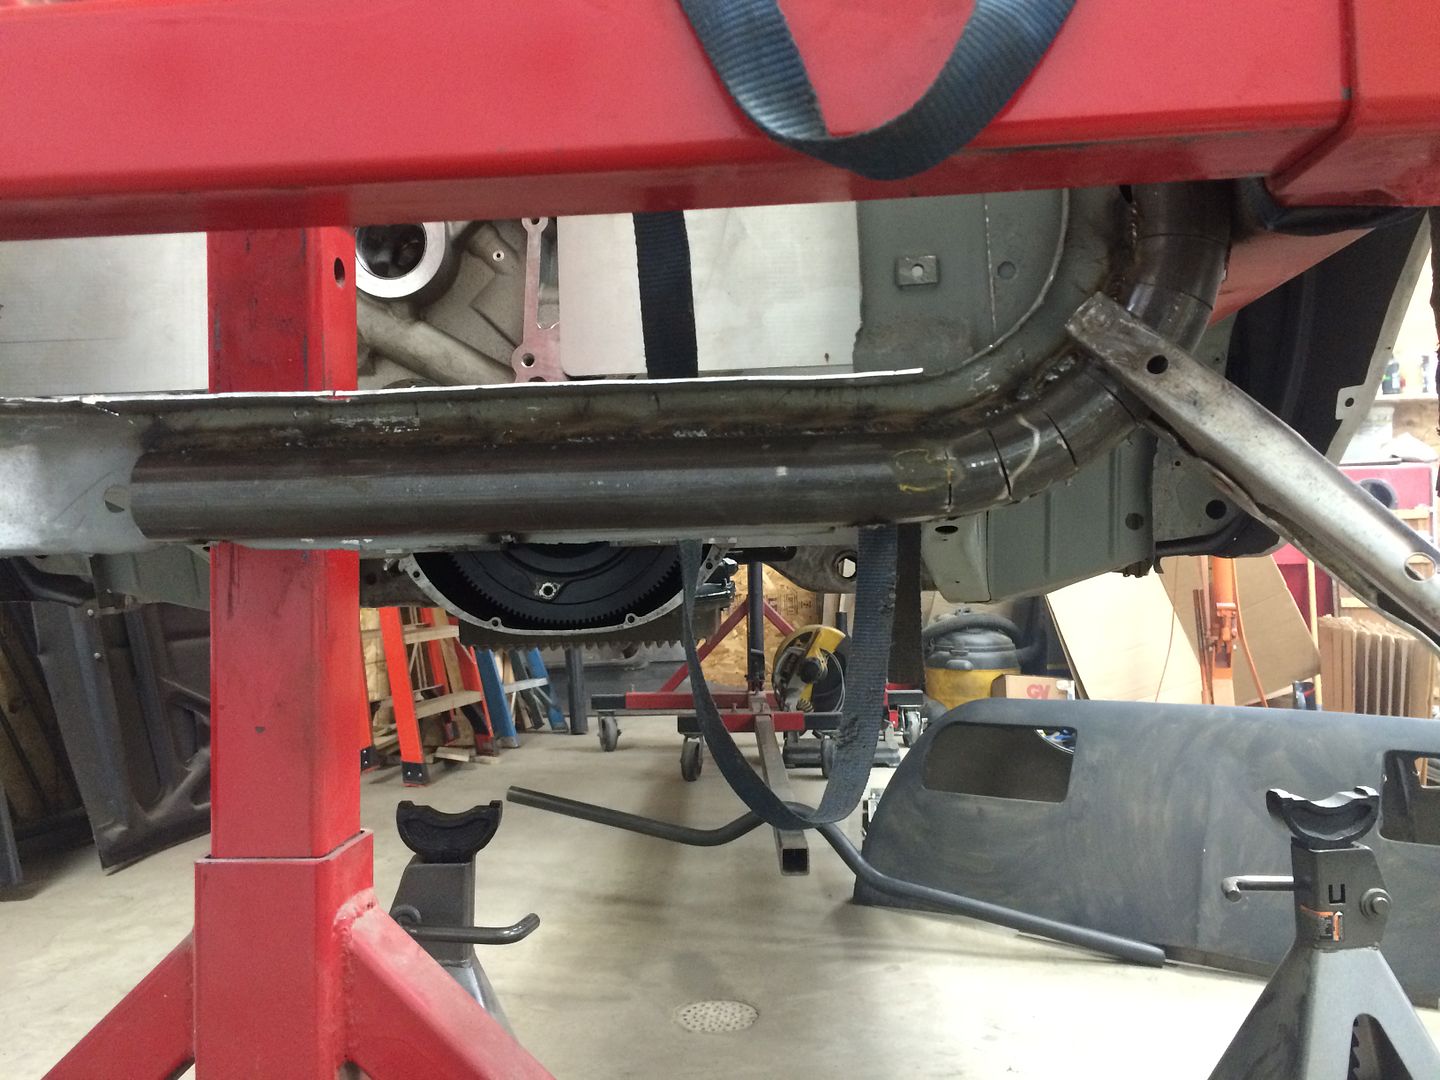
") I keep going back and referencing things that you've done to your bird and it gives me some great ideas on what to do with my Coronet. An example of this would be the rear spring relocation you did. I bought the kit from USCartool and the brackets for the rear spring shackles drop the shackles down by 2 to 3 inches. After seeing how you notched your frame rails for the sliders, maybe I can do the same for the shackle mounts to get it back to where it's meant to be.
I keep going back and referencing things that you've done to your bird and it gives me some great ideas on what to do with my Coronet. An example of this would be the rear spring relocation you did. I bought the kit from USCartool and the brackets for the rear spring shackles drop the shackles down by 2 to 3 inches. After seeing how you notched your frame rails for the sliders, maybe I can do the same for the shackle mounts to get it back to where it's meant to be.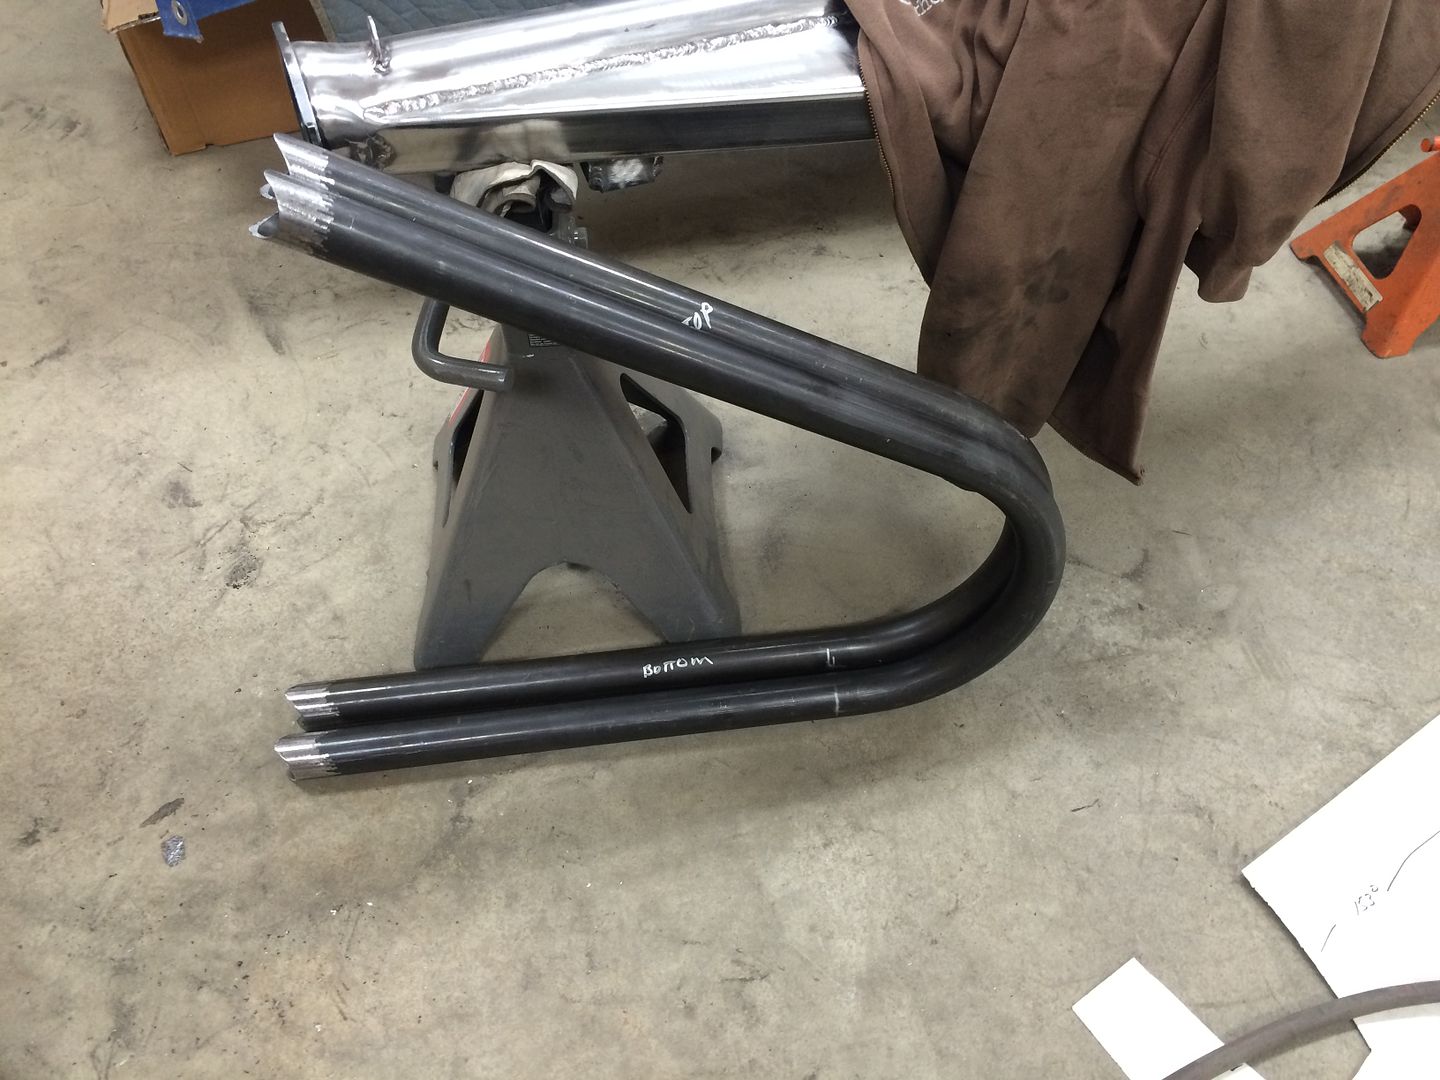
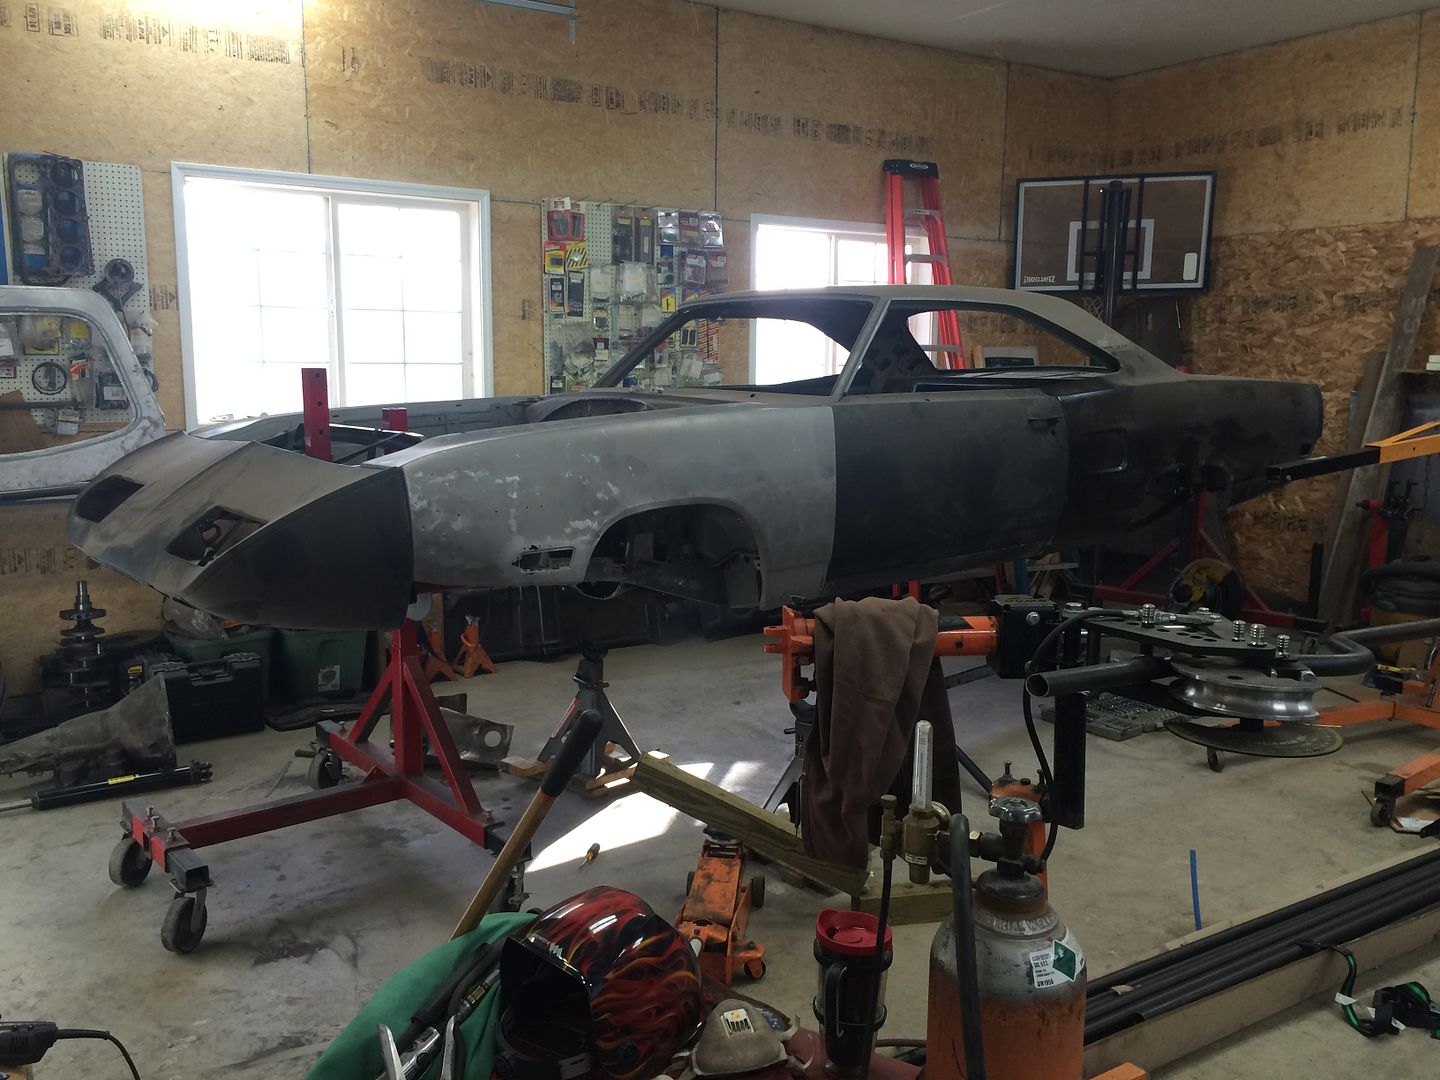
Where is the track you are running in May?Thanks Goon. I'd like to have this car on the ground and in primer by May. We'll see if I make it.
I hear that on the wallet!!!


