You are using an out of date browser. It may not display this or other websites correctly.
You should upgrade or use an alternative browser.
You should upgrade or use an alternative browser.
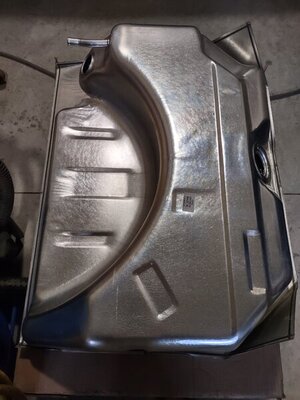
Fuel tank questions
- Thread starter qkcuda
- Start date
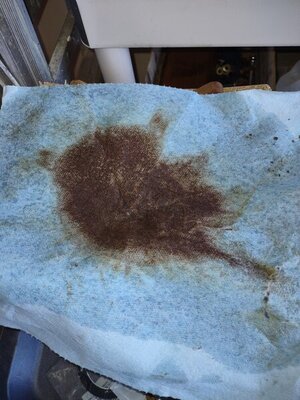
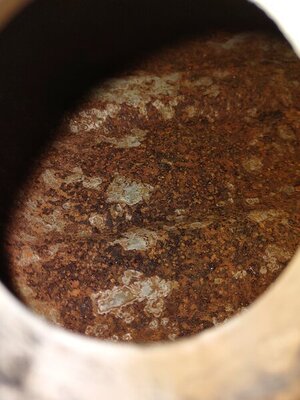
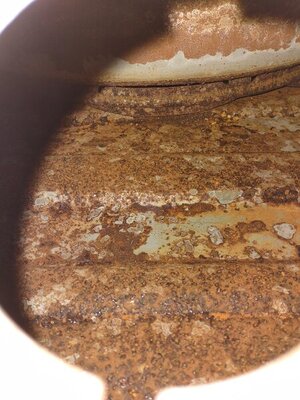
With the tank looking like that I would have back flushed the line from the pump.
Looks good.
Looks good.
Don
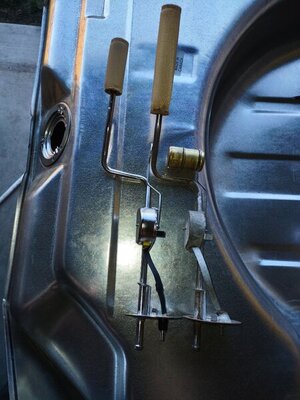
I drained it from the fuel pump end so 9 gallons of gas flushed through the line. I also ran a rifle brush through the original sender and flushed it with brake clean. I'll pop on a new filter and we should be good.
I drained it from the fuel pump end so 9 gallons of gas flushed through the line. I also ran a rifle brush through the original sender and flushed it with brake clean. I'll pop on a new filter and we should be good.
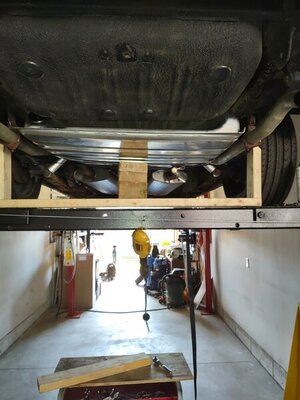
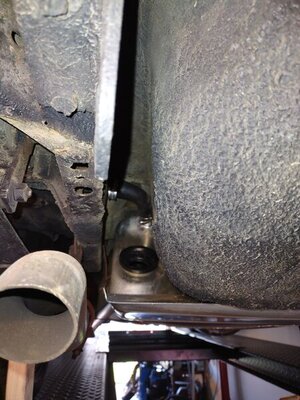
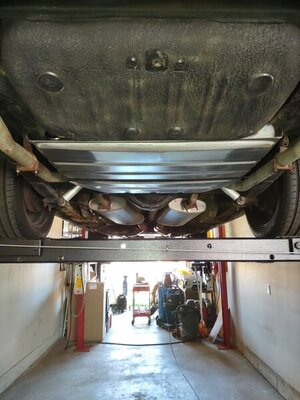
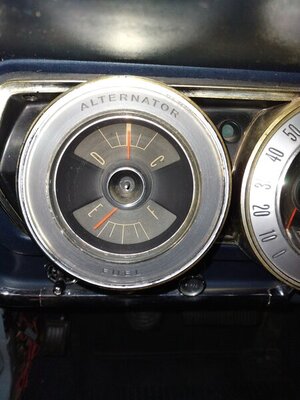
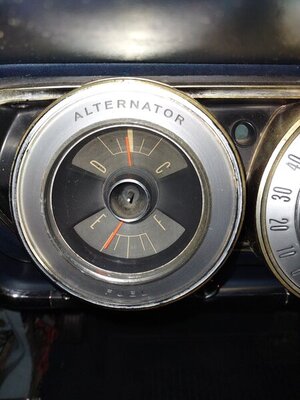
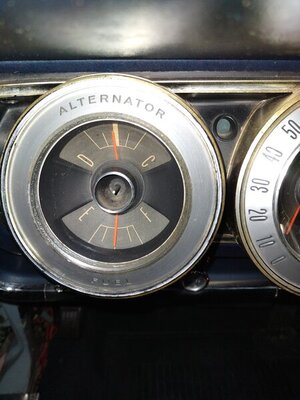
I figured out why my tank was crooked. The seam was hitting the frame at the front passenger corner. I fixed that and it lined up pretty well. I ended up undercoating it the same as the factory tank. I changed the fuel filter and put 5 gallons of gas in it and so far no leaks, and the gas gauge works now!
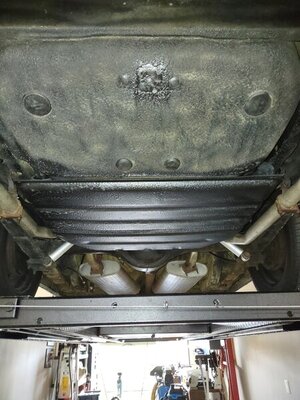


Last edited:
I would say that's a little low for 5 gallons but it may come up further after a few minutes. They are slow reacting.
He knows when there's 5 gallons in the tank.
It moved quite a bit from where it sits empty, but I'm going to test it again and then add another 5 gallon can and see where that brings it.
I double checked the reading with 5 gallons in it and it was the same. I added another 5 gallons which brought it up to half full. The gauge is a bit notchy. When I had it apart I bent the brass contact arm a bit so it was making better contact with the windings. I might have overdone it causing it to have too much tension and stick a bit. I hope it will smooth out over time.

A few things to make life easier.
1. Before you install the tank, rig up the sending unit and test the range of your sender to the garage. More than likely the ohms from the sender will be off....and you may need a MeterMatch to get it going
2. Prior to installing the tank....get the filler tube into the big grommet. It's literally impossible to do this while its in the car.
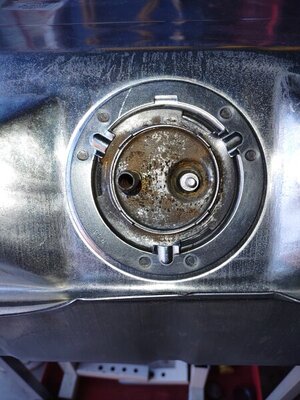
3. Check the seal for the sending unit prior to installing into car. This can be done with a gallon of gas, tilted at an angle....overnight.......slow drips ect.
4. Make sure you have a good thick pad for the top of the tank to protect against vibrations. If the old one looks ok, use it.
5. PM me.....If you need more info.
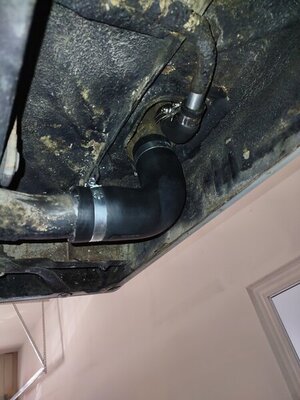
Interesting post, I was installing my gas tank today in my 67 Charger and the new vent tube grommet I bought did not fit, it was too large and I couldn't install. I did install the new elbow that fits onto the tube from the gas filler neck and I fortunately have the correct pliers to crimp the clamps that came with the kit from Vans. I had my original tank boiled out and lined. I ordered a vent line grommet from Classic Industries and hope it fits. I also am installin a new exhaust system and wanted to know if I should install the gas tank first or install after I install the exhaust tail-pipes. Any thoughts on the order of installation?
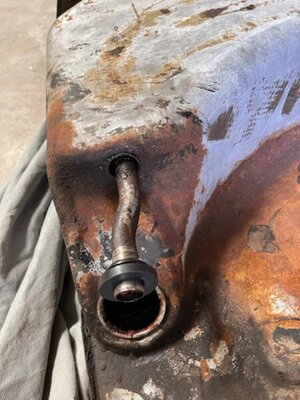
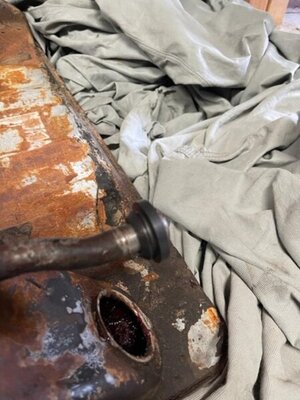
If you get a vent tube grommet that fits with vent tube installed. I'd like one I know someone else who'd want one.. I change one many years ago. If you look in large hole on top of tank vent tube has two straps hold vent tube to top of tank. I found the four spot welds and drilled them. Some wiggling and got vent tube out. Changed grommet put vent tube back in. To hold vent tube in I fished brass wire through drill hole around vent tube and out other drilled hole. Do the other drilled strap. Then you solder the 4 holes with wire closed. If you had some brass strips could be done neater, it's what I had to work with. Of course gas tank must be gas fume free if you use a torch! A soldering iron you preheat is one other way.
Thanks for the insight. I will install the tank first and then the tailpipe exhaust. I also received the new grommet yesterday, so I will install this weekend. I painted the tank with a stainless paint and I had planned to put undercoating on the bottom side, just like it came originally. When I get it in I'll post some photos. Thnaks to All of thr Forum members who responded to my questions.
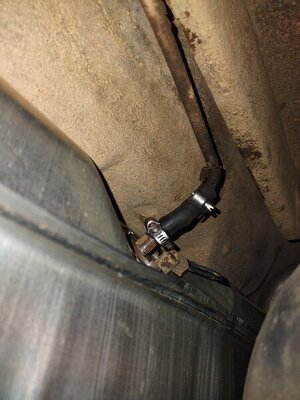
One other tip, measure your original hoses. The replacements were all too long and especially with the vent hose, because it butts up against the frame rail, it can make it hard to get the tank centered correctly. I had to cut mine in place, which was no fun.
Dave6T4
Well-Known Member
- Local time
- 3:43 PM
- Joined
- Dec 31, 2020
- Messages
- 9,411
- Reaction score
- 22,770
- Location
- Ontario, Canada
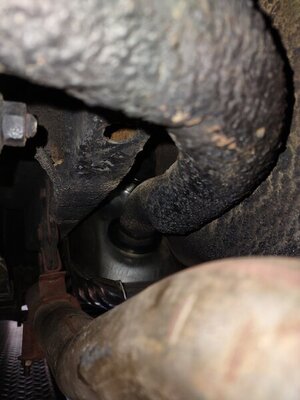
I just put a new tank in my 1967 R/T, and also noticed the new soldered in vent tube. I also had to bend those rear corner flaps up a bit to clear the tail pipes. Everything is pretty tight there. Aftermarket sender units do not work well with these tanks because of their shape, surrounding the spare tire well. I think the original Chrysler units were calibrated differently, allowing for the odd shape. Mine shows 3/4 tank when I fill it. I only have to drive about 25 miles before it shows 1/2 full. I know my my car gets about 15 miles per Can. gallon, and had 15 gallon tank, so range is 225 miles (these are all Can. measurements). So, at about 200 miles, I am looking for a gas station. I keep a little book in the car and make mileage entry at each full up.
Durandal25
Well-Known Member
I just put a new tank in my 1967 R/T, and also noticed the new soldered in vent tube. I also had to bend those rear corner flaps up a bit to clear the tail pipes. Everything is pretty tight there. Aftermarket sender units do not work well with these tanks because of their shape, surrounding the spare tire well. I think the original Chrysler units were calibrated differently, allowing for the odd shape. Mine shows 3/4 tank when I fill it. I only have to drive about 25 miles before it shows 1/2 full. I know my my car gets about 15 miles per Can. gallon, and had 15 gallon tank, so range is 225 miles (these are all Can. measurements). So, at about 200 miles, I am looking for a gas station. I keep a little book in the car and make mileage entry at each full up.
Metermatch sir. Its a calibration gizmo.
Similar threads
- Replies
- 22
- Views
- 1K
- Replies
- 6
- Views
- 167
- Replies
- 3
- Views
- 147

