pat1969charger
Well-Known Member
All`s I can say is Holy Sh#@
What? Is it that bad? :shruggy:
All`s I can say is Holy Sh#@
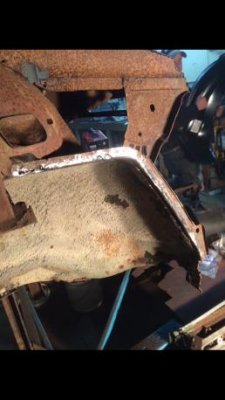
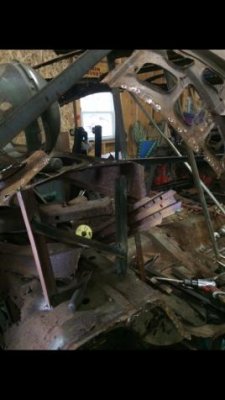
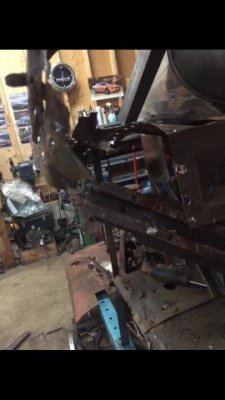
Pat, I meant no disrespect.Hey Don, I will have to take some with my wife's digital camera tomorrow. I took those with my phone. Can I question what you mean about saving me? More bracing inside the car? I was thinking of that earlier tonight, it's well braces underneith and I left the floors in for now. I have rechecked all
mu measurements from before I removed the rockers but am thinking I should add some bracing.


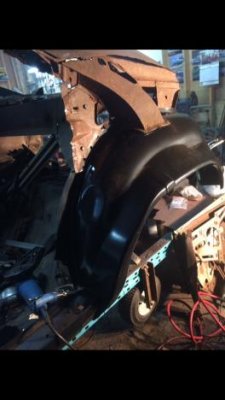
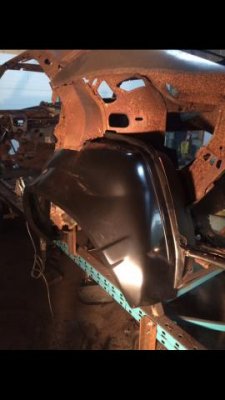
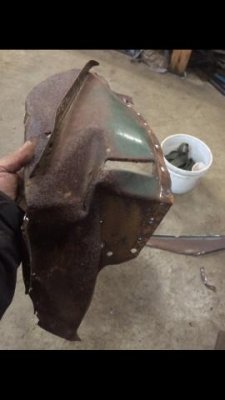
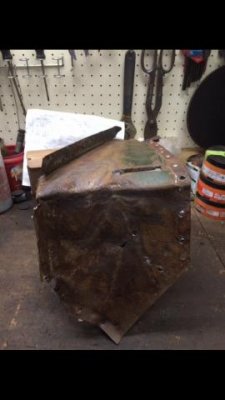
If your thinking of lowering or wider tires. Dehump those outer wheelhouses! Lots easier now than later, ask me how I know????