No safety net but it was a calm day. It actually felt pretty solid, but one of those 40 year old tires could have popped I suppose! I have used a backhoe before too in a pinch to pull out a front fender far enough to get back home from the jobshack on friday after tequila thursday.
You are using an out of date browser. It may not display this or other websites correctly.
You should upgrade or use an alternative browser.
You should upgrade or use an alternative browser.
Rocky's Red Road Runner Restoration
- Thread starter RJ Squirrel
- Start date
- Local time
- 11:44 PM
- Joined
- Dec 4, 2009
- Messages
- 34,747
- Reaction score
- 43,767
- Location
- Pasadena, Texas
In 78 I made a 20 lb slide hammer to pull a smashed fender forward on a 74 Dodge pickup lol. Got it pretty close to it's original state but it was way too messed up to totally fix it. Just wanted it to be better than it was until I could replace it. Was actually able to bolt it to the replacement core support, stick in the new grille and close the hood.No safety net but it was a calm day. It actually felt pretty solid, but one of those 40 year old tires could have popped I suppose! I have used a backhoe before too in a pinch to pull out a front fender far enough to get back home from the jobshack on friday after tequila thursday.
You can save those quarters, this one was pancaked and beat up by some chuckle head trying to do body work. Lots of work but turned out like this. You can do it!!!!!!


dsd1967
Well-Known Member
I did a 69 dart and tilted it like you show in your first post. Mine didn’t have the front or rear suspension or any doors or bolted panels and was on home made dollies. I was able to lift it by hand onto its side. I used a sawhorse on the opposite side to keep it from going over all the way. The roof rail rested on the sawhorse.
That’s a solid looking car underneath. Nothing like we would find here in the rust belt.
That’s a solid looking car underneath. Nothing like we would find here in the rust belt.
Nice work on those quarters bldrguy I hope I can get mine looking that good. The new set of fenders I got are pretty beat too after sanding off the old paint and bondo. Got alot of work to do for sure. I will have Popeye arms from sanding.
- Local time
- 10:44 PM
- Joined
- Feb 22, 2013
- Messages
- 3,880
- Reaction score
- 4,998
- Location
- The Red Anvil Dog House
As Builder guy said above, **** ton O' work. Anything can be done but a man has to know his limitations. Slow and easy. Take your time. Pretty easy to warp the hell out of things. Keep it cool.
My son's 72 Duster a few years back. Both sides.
(Door adjustment was made a little later.)


My son's 72 Duster a few years back. Both sides.
(Door adjustment was made a little later.)
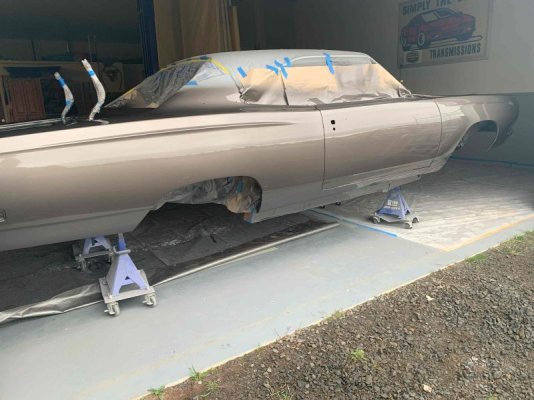
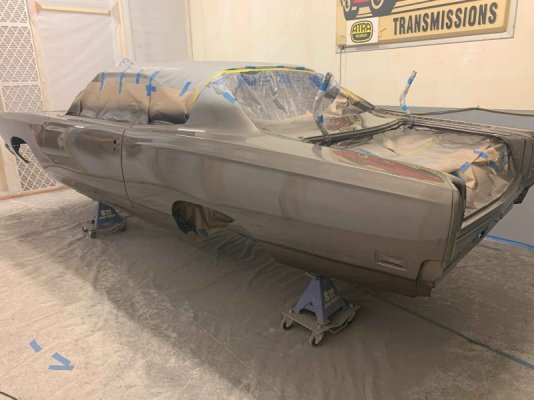
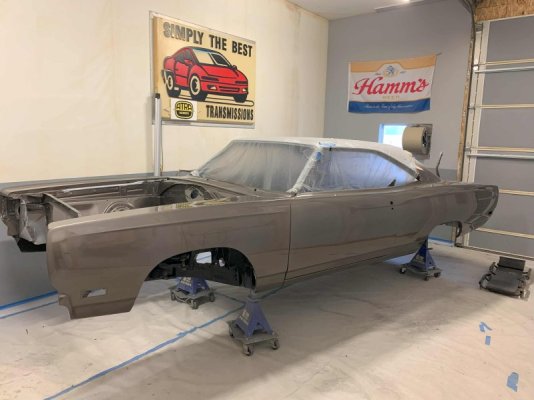
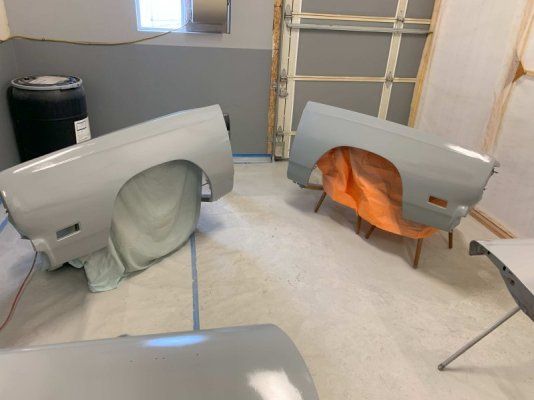
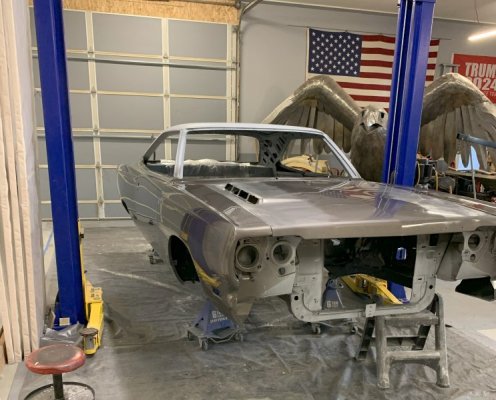
Thought I would stop working on the RR long enough to post some progress photos, been working on it every day since I drug it home. Body work is basically done except for a couple minor ripples and that new AMD hood that needs more work than a new hood should need.
She was rode pretty hard in her younger days, had alot of 70's used car lot body work in it hiding all the roadrash and probably some offroadrash as well. I had to to skim coat 80% of it below the belt line. Used 2 gallon kit of SPI epoxy, 2 gallons of filler, 2 gallons of high build 2K and a half acre of sandpaper.
Oh and also I decided to change the color, just could not get cozy with the R4 bright red, so going with Gray instead. I know -originality and all that -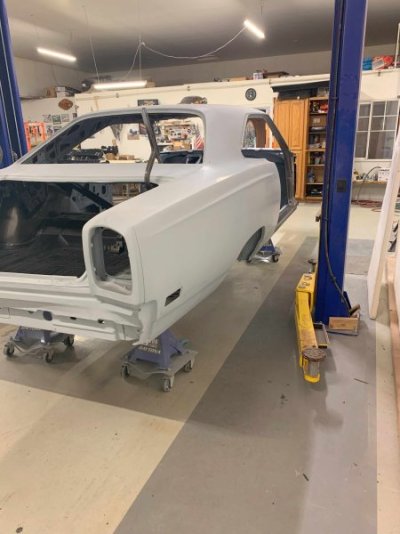
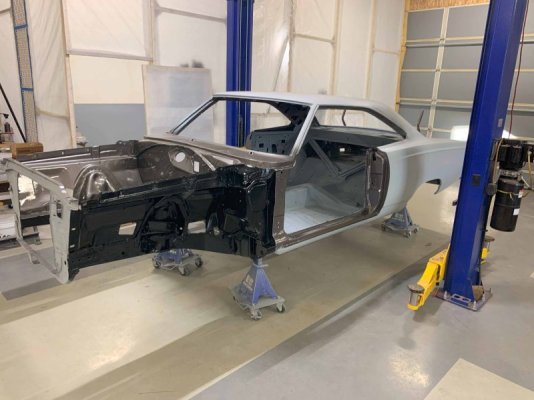
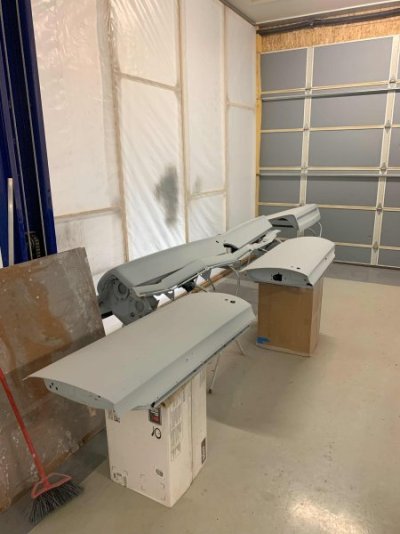
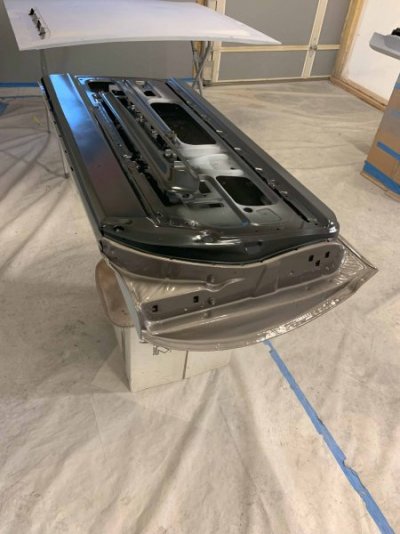


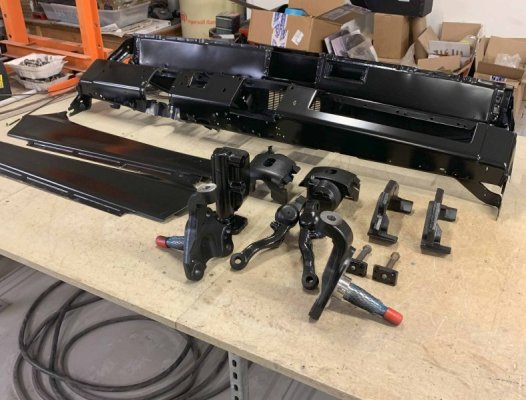
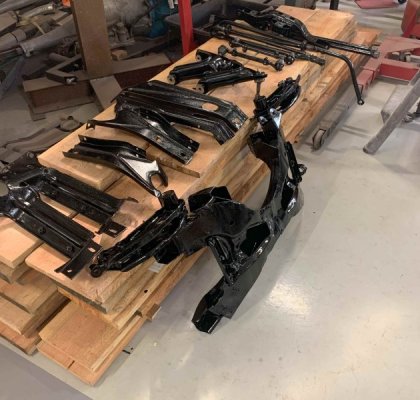
Been working on suspension parts off and on too, front end is all rebuilt and ready to bolt back together.
I used molasses to strip rust from all these parts, they need to soak in a 7 to1 mix molasses and water for 3-4 weeks, then pressure wash the gunk off. It wont take off old paint so I finish off with a wire cup brush then ready for paint. All these parts were heavily rusted, except for the new disc brake conversion parts. The K frame would not fit in there but luckily was covered with so much grease and oil that the hot water pressure wash cleaned it up pretty good.. The black barrel in the corner is the molasses tank
.
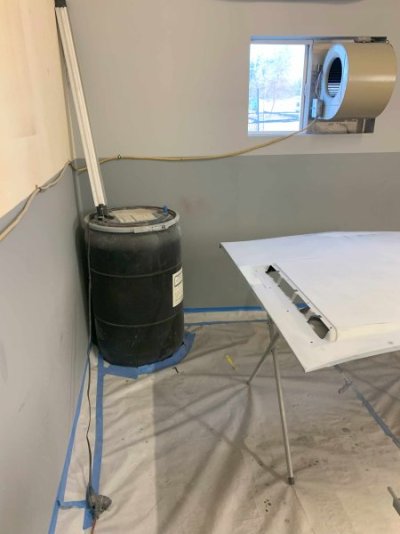


You've done alot of work! Looks great. Yeah, I got two AMD hoods that had 40 hours worth of work
so they both went back! Found a used hood that needed underneath work and re-caulked the little
dabs of stuff that holds the skin to the structure. Looks like you have enough room!
so they both went back! Found a used hood that needed underneath work and re-caulked the little
dabs of stuff that holds the skin to the structure. Looks like you have enough room!
ckessel
Well-Known Member
If someone doesn't like your color choice, they can buy it from you and make it their way.
Put the AMD hood on to paint the black stripes, noticed the right side is not a straight line when next to the fender it has a slight boomerang in it. Rats looks like another week of my life messing with that hood.
I hate to bash suppliers in public, and I am glad somebody is reproducing these parts, but I am starting to get annoyed with that blind old monkey dick that runs the quality control department.
I hate to bash suppliers in public, and I am glad somebody is reproducing these parts, but I am starting to get annoyed with that blind old monkey dick that runs the quality control department.

Hood is fitted up now and also the grille. Blackout stripes done. Another thing to watch for with these repop hoods is the inserts do not fit right, they need to be whittled on a little bit. The mount holes for the Plymouth emblem are crooked too.
Found some nice tail light bezels on EBAY and buffed out the lenses, they look pretty good.
So I am going to quit staring at the body now for awhile, and restore the wiring, dash, steering column and HVAC box.
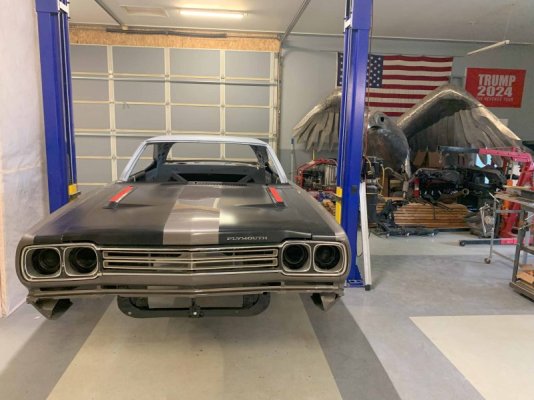
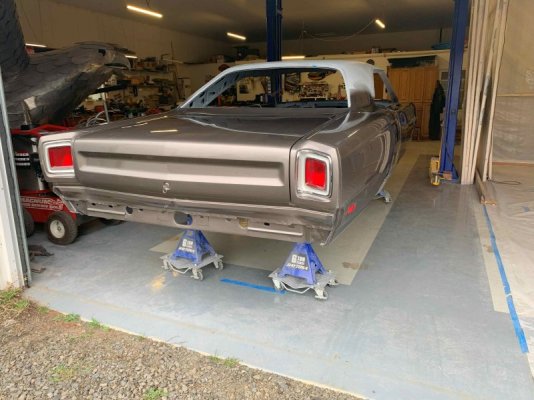
Found some nice tail light bezels on EBAY and buffed out the lenses, they look pretty good.
So I am going to quit staring at the body now for awhile, and restore the wiring, dash, steering column and HVAC box.


- Local time
- 10:44 PM
- Joined
- Feb 22, 2013
- Messages
- 3,880
- Reaction score
- 4,998
- Location
- The Red Anvil Dog House
Hood is fitted up now and also the grille. Blackout stripes done. Another thing to watch for with these repop hoods is the inserts do not fit right, they need to be whittled on a little bit. The mount holes for the Plymouth emblem are crooked too.
Found some nice tail light bezels on EBAY and buffed out the lenses, they look pretty good.
So I am going to quit staring at the body now for awhile, and restore the wiring, dash, steering column and HVAC box.
View attachment 1644837View attachment 1644838
I assume the Hood was AMD? The best available out there right. I had to put a repop AMD fender on my 68. I had to make about 7 different modifications to it to get to fit semi correctly. It's still only about 97%.
0DegreeEngineer
Well-Known Member
Looks great like all the progress you've made! Will you keep us posted on hvac? Adding air or was it a factory air car?
Yes it is an AMD hood. If I could do it over again I would have restored my old hood and sent the AMD hood back. It needed many hours of work and in the end it is still not right but it is at least presentable and functional.
I mis-spoke on the HVAC, it is just a heater box, no AC.
I mis-spoke on the HVAC, it is just a heater box, no AC.
ckessel
Well-Known Member
Aftermarket metal is notorious for having fit issues. Same goes for newer vehicles when you hit the repair shop. Body lines, contours, fastener holes etc etc. At the body shop I managed some years ago, we stayed away from AM stuff because of fit and you don't get paid to make it fit. The best thing about the replacement panels for our hobby is that it's at least new, not rotted out/beat up stuff.
Rich H.
Well-Known Member
It sure is coming along great, and I love the silver. Thanks for the thread.
Posts like yours totally talked me out of trying an AMD hood.
Posts like yours totally talked me out of trying an AMD hood.
ckessel
Well-Known Member
Some years ago before we moved back up here, I worked at a shop doing the time and materials work. I got "blessed" with putting a 67 Camaro back together, I didn't take it apart, that had been to numerous shops over about a 10 year span. It used quite a bit of AM metal on it. When the paint shop had shot the hood and windshield cowl for the Z28 stripes, they didn't install them to check fit. They just masked them off in the appropriate areas for the stripes. When I go to assemble, the cowl and hood stripes are like 1" off from each other. That was with the cowl all the way to one side and hitting the wiper shafts. No more adjustment. The car owner swore up and down it lined up before I put it together. Yeah right. My boss and manager expected me to pull off a miracle to make them line up. The only way it would sort of happen was if I skewed the hood gaps with the hood to hinge attachment to line up the hood to cowl which left it tight on the rear and huge gap up front. I told them to pick their poison. Line up the stripes and have skewed hood to fender gaps or nice gaps and stripes off.
Similar threads
- Replies
- 56
- Views
- 4K
- Replies
- 4
- Views
- 837
- Locked
- Replies
- 17
- Views
- 3K

