• When you click on links to various merchants on this site and make a purchase, this can result in this site earning a commission. Affiliate programs and affiliations include, but are not limited to, the eBay Partner Network.

Yankee Express RestoMod Project

I rooted around and located the front fender lower front brace bars and installed them, it made a big difference in how the new bumper ends matched up. perfect now. Spent today fooling around with the 8" wide hood section and getting the chrome lip trim and the "C" trim ends to match up on both sides as well as figuring out a mounting system for that section.

1202181500.jpg
 
Last edited:
The electricians are coming tomorrow to install 5 four footer LED shop lights over head. Then maybe I can see what the hell im doing out there.
 
I'm WAAAY overdue for a lighting upgrade. Free fixtures and I'm on my third set of tubes so probably got my money's worth.
I think I'll order a set of LED lights.
 
I'm WAAAY overdue for a lighting upgrade. Free fixtures and I'm on my third set of tubes so probably got my money's worth.
I think I'll order a set of LED lights.
We had them installed in my wife's quilting room a few weeks ago and they had to swap them out for something less bright. They will be perfect in then garage though. The two the changed out are leaning against the wall , waiting to go up in the garage.
 
We had them installed in my wife's quilting room a few weeks ago and they had to swap them out for something less bright. They will be perfect in then garage though. The two the changed out are leaning against the wall , waiting to go up in the garage.
It’s going to be a whole new space. Lighting changes everything. Fewer shadows, less frustration, more work.

David
 
Had a hell of a time locating a pitman arm nut, finally ordered one on line. Don't know where the heck mine disappeared to but i'm sure it will turn up 10 minutes after the new one arrives.
 
Located the lost package with the M/C base plate adapter and bolts/nuts. Noticed that the curved door handle bezel wasn't lining up with the dash insert so I sliced out 1/2" of the hard foam and trimmed the door steel so I could raise that portion. Now I need to get another can of expanding foam to rebuild that area.
 
Installed the left hand door wiring pass through boot onto the door post. I already have it installed on the door.

1220181232.jpg
1220181232b.jpg
1220181232c.jpg
 
now i'm working on fabricating the correct braces and platforms for the rear console and to mount the parking brake handle base.

1221181114.jpg
 
Okay...so, I got the shift lever assembly mounting bracket today. I see that I will have to fab a small mount for upper end of the torque shaft that's separate from the mount because I will need to slide the mount backwards about a foot or so. That means the upper arm that attaches to the shifter and the top arm of the shaft will need to lengthened by the same amount. All other things and placements being normal.

1103182052_LI.jpg
 
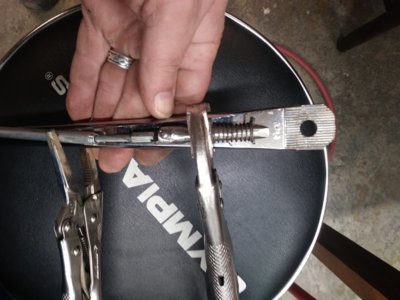
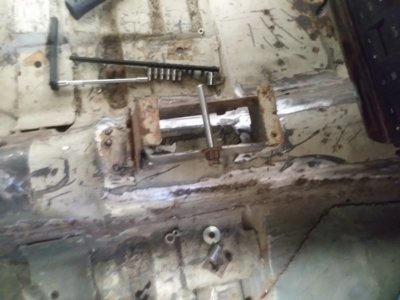
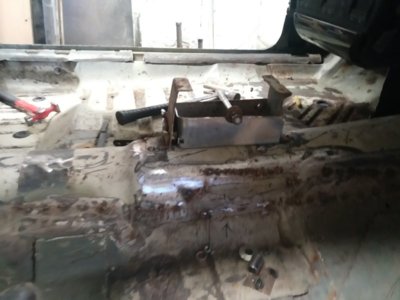
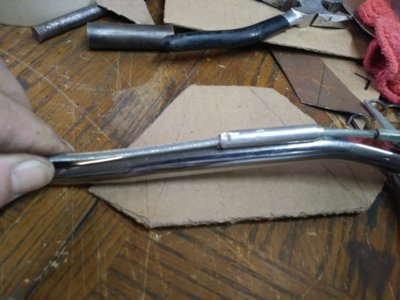
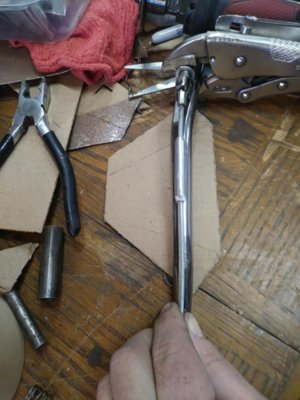
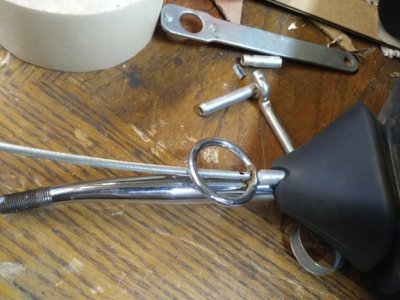
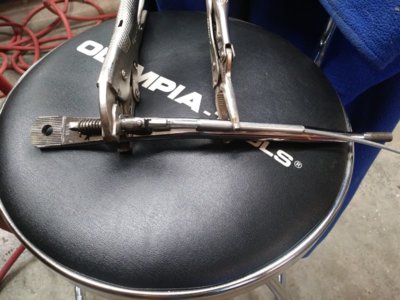
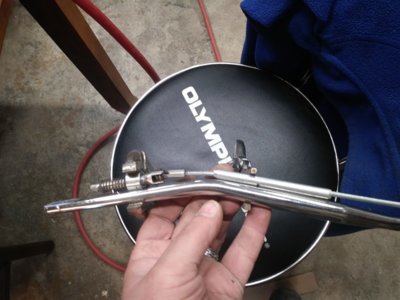
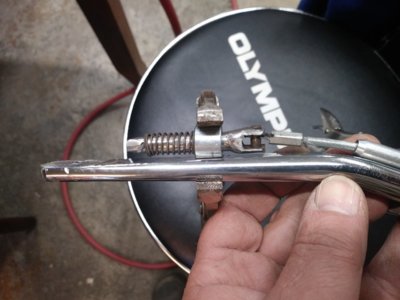
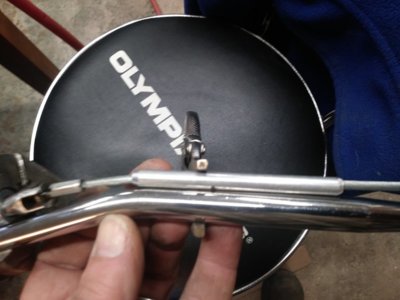
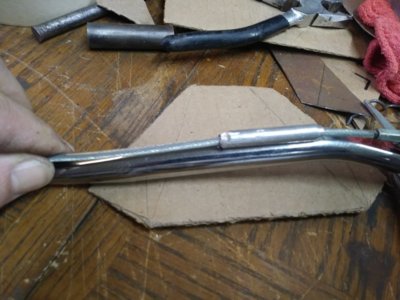
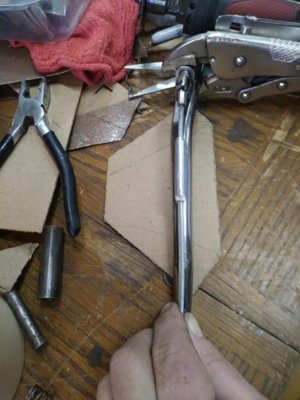
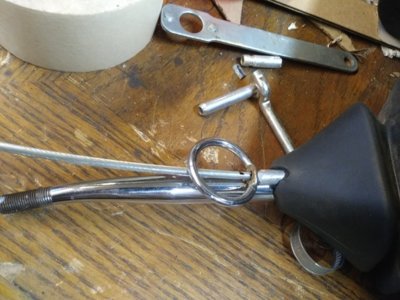
I have been working on the floor shift mechanism. I got the bracket from another member here, the one the lever cradle/pivot point sits in. I figured out placement in / under the Audi Console and welded it in. Then took the 4x4 shift lever from the 86 Ram and cut it down and bent it a bit. On the right/open side of the bracket i'm welding in a 1/8th" plate and the lever will be captured between the two sides on a steel rod with nylon washers on each side of the lever and bushings to locate the lock out pin and the tab from which the torque shaft lever connects. I fabricated ( ala MadMax) a spring loaded pin and cable affair that snakes up the left side of the lever to a chrome 1 1/2" ring that when pulled up, disengages the lock out for reverse etc. I will rig up a tiny electrical pressure switch whose pressure pin will ride in the bottom of the reverse gear tooth so that when it goes in reverse and the spring loaded pin is dropped into that tooth on the slide plate it will depress the pin and turn on the back up lights. I will place the torque shaft in the stock position and then fabricate the longer rod from the top arm back to the tab on the right side of the shift lever. Should work! Anyway, here's some pics of the mock up phase to check function and clearances...I did away with the triangle shaped bucket with the pivot point. Once I get to the transmission being installed and I have the levers all hooked up, i'll place a curved plate down next to the lever and under the lockout pin and as I shift through the gears i'll mark the top edge so I can cut the gaps/ridges for each gear shift location. Once I have that I'll bolt it on. Plenty of room under there for everything because of the Audi console sitting 7 inches higher off the tunnel. The boot covers everything.

0104191513a.jpg 0104191513b.jpg 0104191513c.jpg 0104191518.jpg 0104191518a.jpg 0104191610.jpg 0104191512.jpg 0104191512a.jpg 0104191512b.jpg 0104191512c.jpg
 
Is that a grenade pin, lol!!
 
Auto Transport Service
Back
Top