• When you click on links to various merchants on this site and make a purchase, this can result in this site earning a commission. Affiliate programs and affiliations include, but are not limited to, the eBay Partner Network.

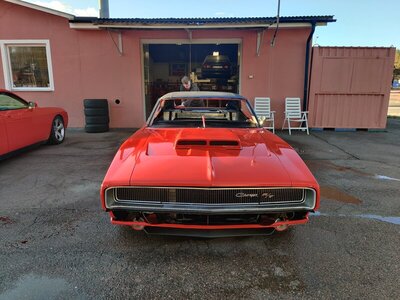
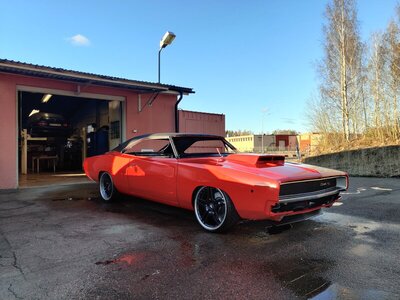
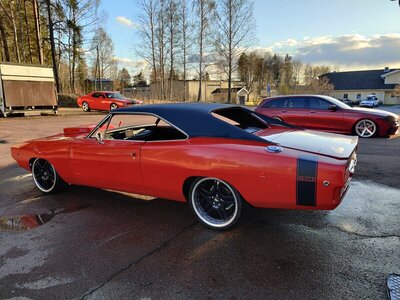
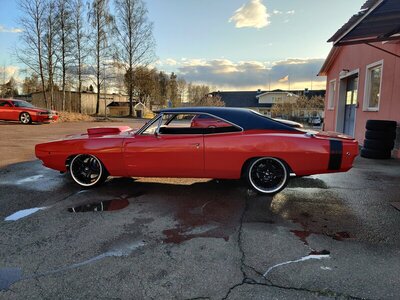
1968 Charger, Ray Barton 528 Hemi, Pro-touring.

No wonder that the wife is giving me a hard time about this..
 
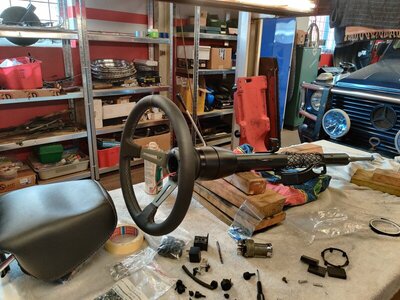
Finally done with the steering hub and the electric stuff for the horn button. Made a slipring out of aluminium and an insulator out of delrin plastic. Similar to the oem on the original steering wheel. Should work fine.

IMG_20210417_165417.jpg IMG_20210417_183032.jpg IMG_20210418_104707.jpg IMG_20210418_142358.jpg IMG_20210419_155043.jpg IMG_20210419_155057.jpg IMG_20210419_155102.jpg
 
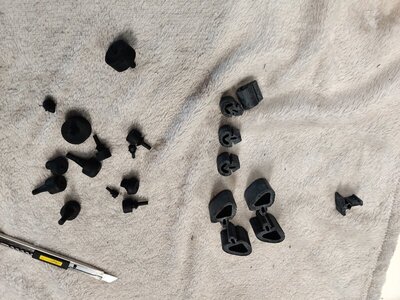
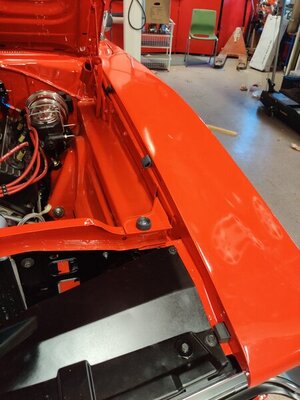
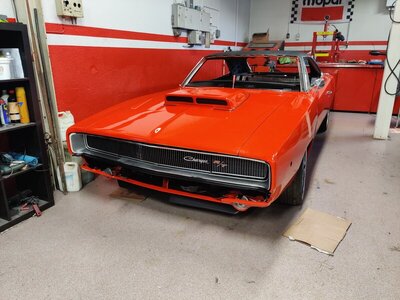
Grille is in. Mounted some rubber bumpers.
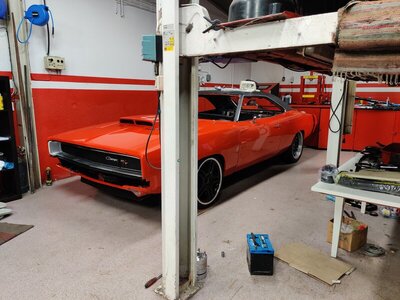
Rolled it out just for a motivation boost, it worked. Super excited to finish this now!
Finally got the window regulator roller kit. Ordered it from Van's auto 13th of march(couldn't find it with any Swedish dealer). They shipped it a couple of days later, USPS did their part and it arrived in Sweden within a week. Well, go home Swedish "PostNord", you're drunk. It took them a freakin month to deliver the package after it arrived in Sweden!?

IMG_20210422_195721.jpg IMG_20210422_190707.jpg IMG_20210422_191007.jpg IMG_20210422_192803.jpg IMG_20210422_192848.jpg IMG_20210422_193125.jpg IMG_20210422_193133.jpg
 
Looks nice. Van's should have wrapped it in a Burkha. It would have arrived sooner without any customs issues.
 
That looks incredible, great looking Charger:thumbsup:
 
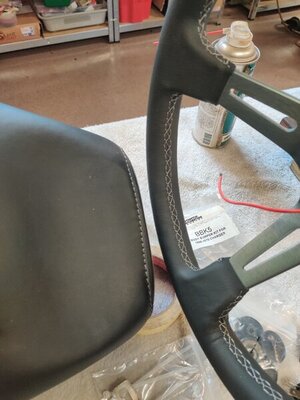
Got Lucky, the steering wheel matches up pretty well with the Challenger seats colour on both leather and stitching.
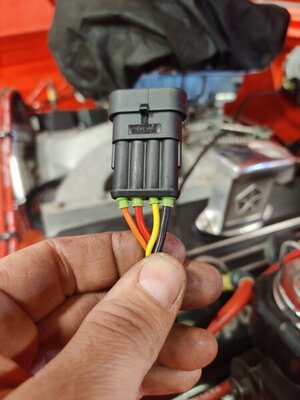
Got the horn button to work eventually after a couple of tries. The spring loaded contact in the column was the culprit.
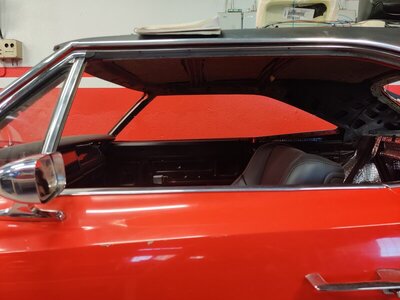
Had a visit from the upholstery guy who will help me with the interior roof, door pads and door cards. Starting next weekend with that so I need to finish the dash and wiring coming week.

IMG_20210424_143123.jpg IMG_20210424_143111.jpg
 
Forgot to order the steering column retainer kit.. so I milled some out of delrin plastic.

IMG_20210425_173450.jpg IMG_20210425_173843.jpg
 
New version of the 3D-printed headlight rings received.
It's about time they put that 3D printing to a GOOD cause!!
Heart valves, other life saving medical device manufacturing capabilities that couldn't be done without 3D printing....all trivial compared to being able to 3D print NLA parts!! Now THAT is a major breakthrough and a VICTORY for mankind!!
 
It's about time they put that 3D printing to a GOOD cause!!
Heart valves, other life saving medical device manufacturing capabilities that couldn't be done without 3D printing....all trivial compared to being able to 3D print NLA parts!! Now THAT is a major breakthrough and a VICTORY for mankind!!

:luvplace:
 
Just have to show this.. I'm practically born in Chargers so me working on a Hemi Charger is almost inevitable. This is from a Swedish magazine from 1984 when I was 7 years old. My dad had at the time already owned 4 true Hemi mopars and it didn't stop there!
To bad genuin Hemi Chargers are just too expensive now but buying this car back would be a dream come true.

View attachment 1098205 View attachment 1098206 View attachment 1098207 View attachment 1098208 View attachment 1098209
Wow, I can remeber reading that article. I also started my love for Chargers early!
 
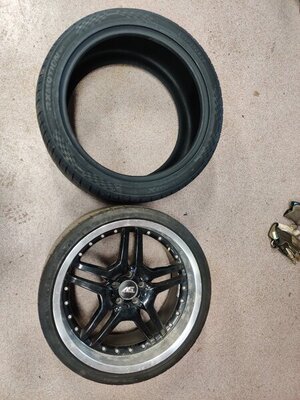
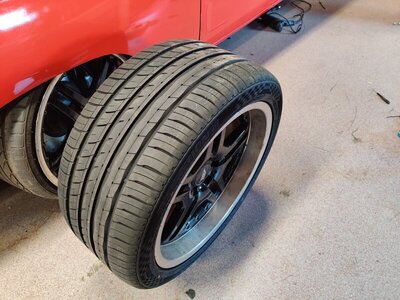
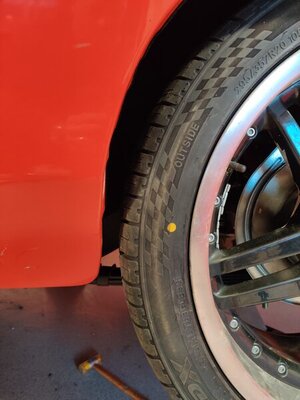
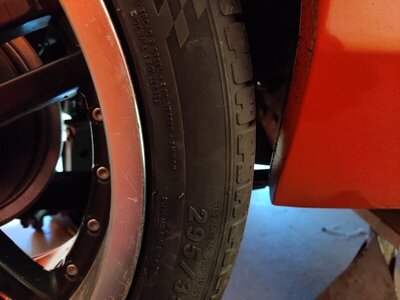
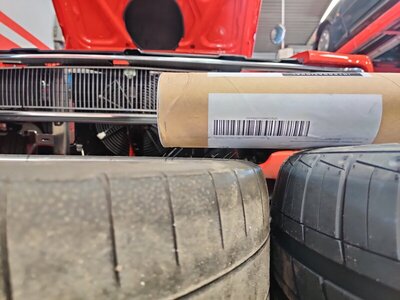
Tried some tires with more rubber in the rear. 295/25r20 vs 295/35r20. The larger wheels were 15mm wider than the previous even though they should have the same width!
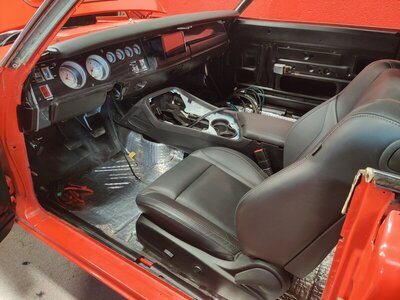
Routing wires and connecting stuff.. trial fitted the driver seat to get a feel for how to fabricate the new shifter to make it fit the modern Challenger console.

IMG_20210502_135319.jpg IMG_20210502_135230.jpg IMG_20210502_142213.jpg IMG_20210502_142556.jpg IMG_20210502_145225.jpg IMG_20210502_181728.jpg IMG_20210502_194943.jpg IMG_20210502_195004.jpg
 
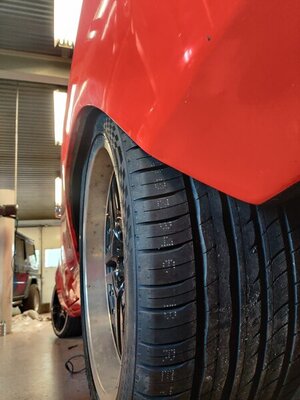
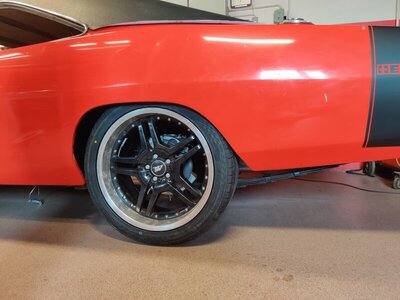
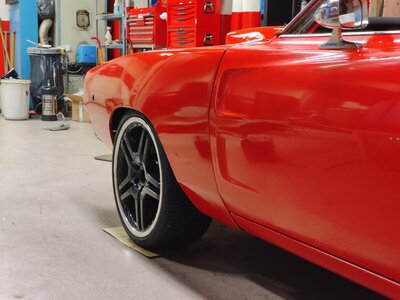
Maybe I've fucked this up now.. the rear wheel has always looked a bit off. The driver side looked like it was to far towards the rear of the car. And it became obvious with the larger tires. Fender to tire was 40mm on driver side and 25mm on passenger side.
Loosened up the axle and I could shove it slightly forward but not enough.
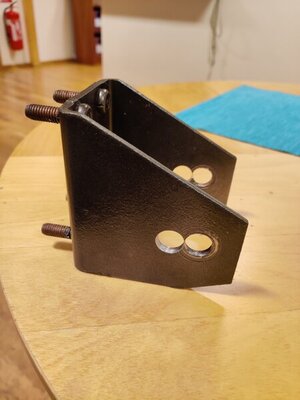
So I did the only thing I could think of, drilled new holes in the driver side hanger..
Bolted it all up and now I have equal measurements on both sides.
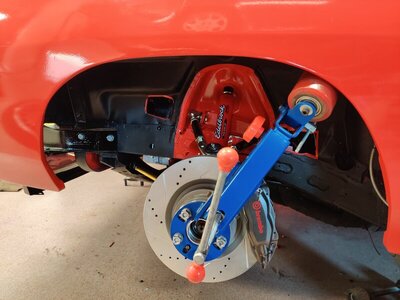
Rolled the front fender lipa to get more clearance. And new tires on in the front. Raised the front slightly again with the adjusters.

IMG_20210506_203207.jpg IMG_20210506_203240.jpg IMG_20210506_200501.jpg IMG_20210506_175100.jpg IMG_20210506_213000.jpg IMG_20210506_212912.jpg
 
I wouldn't drill a hanger for fender clearance, yikes! Your wheel base would be different side to side. Maybe I'm not getting what you did?
 
I wouldn't drill a hanger for fender clearance, yikes! Your wheel base would be different side to side. Maybe I'm not getting what you did?
I'm suspecting that the hanger location is slightly off on the driver side. I''ll try and do some more measurements to make sure the rear axle is straight against the body.
When I rolled it out a couple of weeks ago to wash of the dust I noticed a strange noise in the rear when rolling it back in. Like one of the rear wheels was slipping/sliding on the floor. "Shaff, shaff, shaff..." And it was quite hard to push. After doing this I could push it easy with one hand. This tells me something was off.
But I agree, I don't like having a drilled hanger and will make new ones when I've figured out what was wrong.
 
Auto Transport Service
Back
Top