- Local time
- 8:31 PM
- Joined
- May 29, 2013
- Messages
- 5,982
- Reaction score
- 11,737
Not much progress lately. But I did blast and paint a few small parts. I guess each little step is one less to go!


") Good progress, good luck with the colour choosing process.
Good progress, good luck with the colour choosing process.

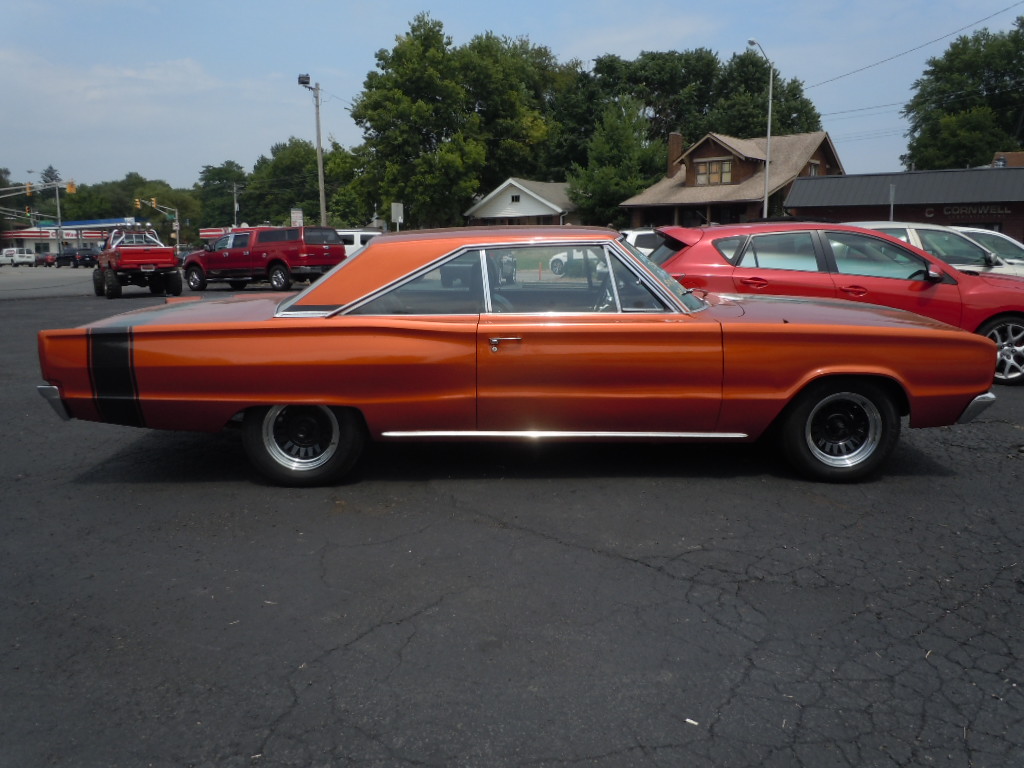
Today I got ambitious. I still can't decide on color so I figured I would start the putty process. I'm torn between silver, grey, stone white (like my Challenger) or a burnt orange metallic. I've seen more "goldish" cars lately and I am really starting to like them. Oh well, lots of time for that. Anyway, I got the first coat of Rage short fiber over my welds. Roughed them down with 80 grit and cleaned it up. Tomorrow I will likely lay some putty on. This will be the hardest side due to my screw up of cutting the panel out for the patch. I figured out too late only to use the minimum amount of a patch panel that is required! Lesson learned.
View attachment 230570
View attachment 230571


Thank you very much Ghostrider 67. I don't really think of myself as inspiration, (maybe entertainment!) but I do see a lot of others who truly are. The one thing I do know is that this site in general is the reason I keep so motivated about my build. Looking around and seeing each person's accomplishments drives me to get my butt in gear and do something. Step by step, each little (or big) job moves it closer to being on the road again. I really want to drive it this summer. We are all in this asylum together, and personally, I love it!


