rav440
Well-Known Member
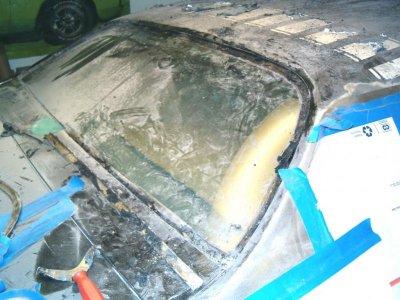
so i finnally started to work on the road runner again after about 2 years of doing nothing to it . turns out its not as rust free as i thought . friggn palm trees played hell with the cowl . i have no clue how im going to get in there to fix it .
the last 2 years have been more or less buying parts for the 440 still not even close to getting that done money is a big factor as we all know . but ill get done what i get done in the time being .
i got the radiator repaired , that was a $400.00 hit alone i learned do not pick up parts you got repiained in a hurry from the shop i didnt check the rad as close as i should have .
anyway i put the 440 uild on the back burner for the time being and stareted stripping the firewall and inner fenders plus removed & dissassembled the K frame . all i have to say is i friggn HATE underecoating
here are the pics of the slow going progerss so far
motor compartment before


progress ?


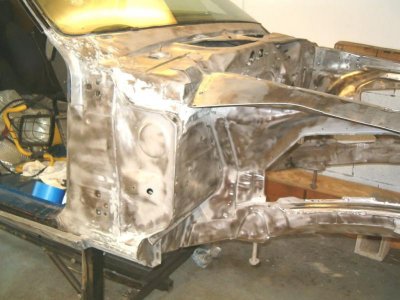
finnally got down to bare metal

and now for the coconuts , this is what i have to deal with

the cowl is in bad shape and i have no clue how im going to repair the air duct HORNS / INTAKE or what ever they are called
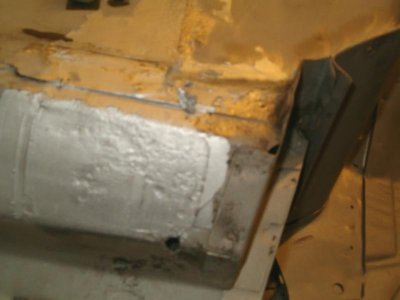
here are pics of inside the cowl IT AINT PRETTY


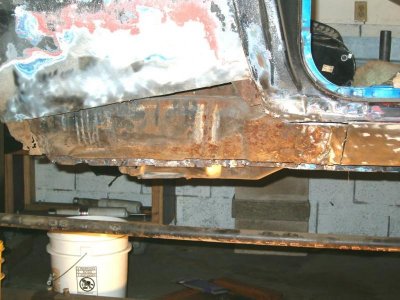
here is the wrought i found on the cowl in the inner fenders althought none of it is structural it still needs to be adressed and repaired luckily all the damage is at the top and not down at the frame


nasty undercoating i think they tried to armor plate the car with this stuff i swear some places were over a 1/4" thick but it did keep rust away for the most part so ill give it credit for that


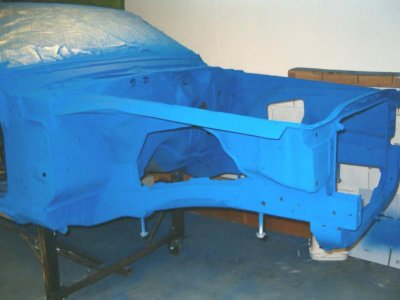
inner fenders are down to bare metal and just some more prep and it DTM and paint

i got some donar parts for the firewall repair cut and ready to weld but yesterday my buddys mig crapped the bed so now welding is on hold .
here are some pics of the K frame & parts before and after but not reassembled im waint on $ for the suspenion parts


K frame after about 6 hours of scraping and scrubbing with kerosene


make shift sand blasting cabinet for the K frame

K frame and parts blasted and ready for paint

K frame painted in black satin it looks glossy but it toned down real nice


parts hanging and drying


lower control arms

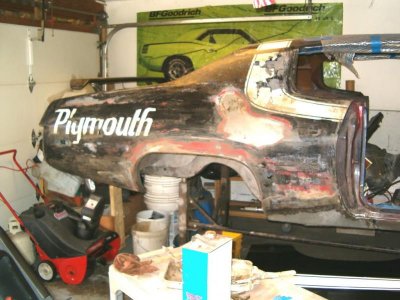
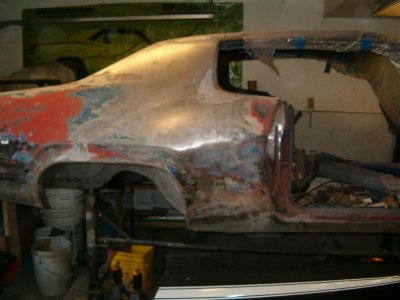
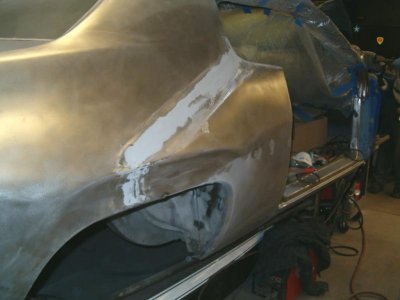
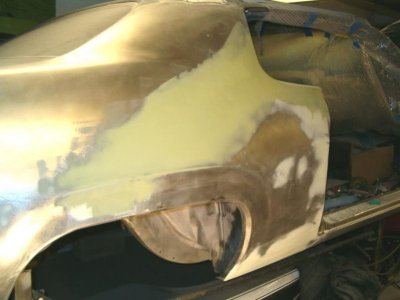
and the road runner as it sitts now

the last 2 years have been more or less buying parts for the 440 still not even close to getting that done money is a big factor as we all know . but ill get done what i get done in the time being .
i got the radiator repaired , that was a $400.00 hit alone i learned do not pick up parts you got repiained in a hurry from the shop i didnt check the rad as close as i should have .
anyway i put the 440 uild on the back burner for the time being and stareted stripping the firewall and inner fenders plus removed & dissassembled the K frame . all i have to say is i friggn HATE underecoating
here are the pics of the slow going progerss so far
motor compartment before


progress ?


finnally got down to bare metal

and now for the coconuts , this is what i have to deal with

the cowl is in bad shape and i have no clue how im going to repair the air duct HORNS / INTAKE or what ever they are called
here are pics of inside the cowl IT AINT PRETTY


here is the wrought i found on the cowl in the inner fenders althought none of it is structural it still needs to be adressed and repaired luckily all the damage is at the top and not down at the frame


nasty undercoating i think they tried to armor plate the car with this stuff i swear some places were over a 1/4" thick but it did keep rust away for the most part so ill give it credit for that


inner fenders are down to bare metal and just some more prep and it DTM and paint

i got some donar parts for the firewall repair cut and ready to weld but yesterday my buddys mig crapped the bed so now welding is on hold .
here are some pics of the K frame & parts before and after but not reassembled im waint on $ for the suspenion parts


K frame after about 6 hours of scraping and scrubbing with kerosene


make shift sand blasting cabinet for the K frame

K frame and parts blasted and ready for paint

K frame painted in black satin it looks glossy but it toned down real nice


parts hanging and drying


lower control arms

and the road runner as it sitts now


