• When you click on links to various merchants on this site and make a purchase, this can result in this site earning a commission. Affiliate programs and affiliations include, but are not limited to, the eBay Partner Network.

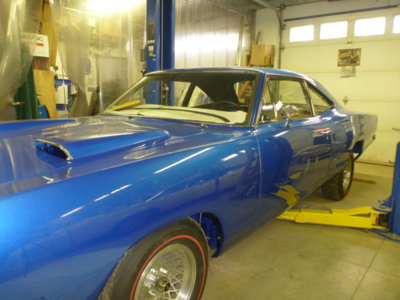
1969 Dodge Super Bee Coupe Restoration

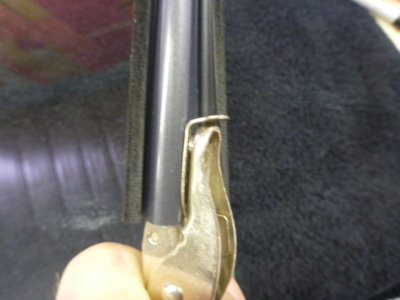
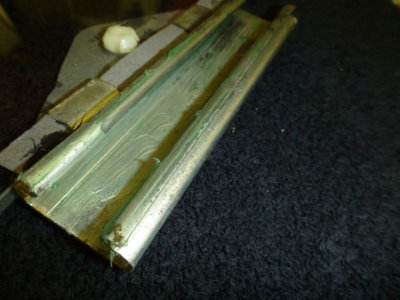
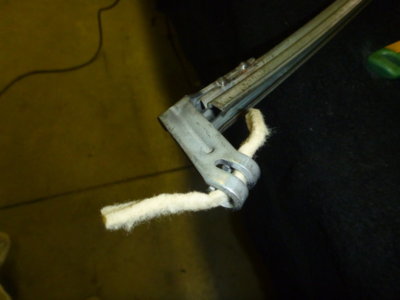
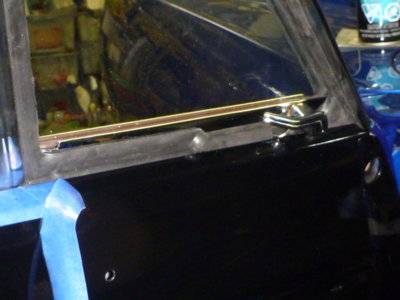
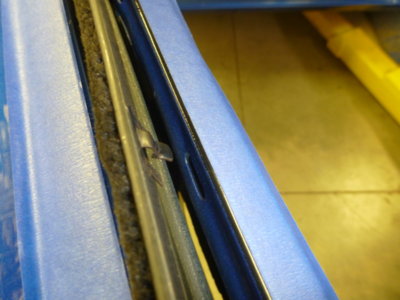
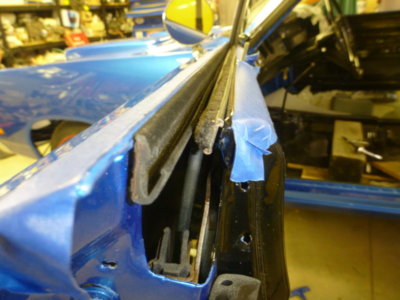
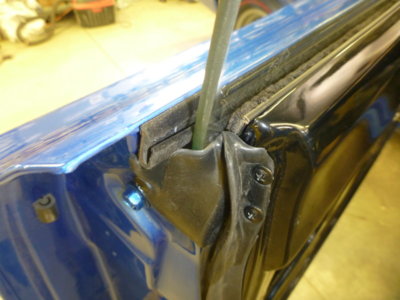
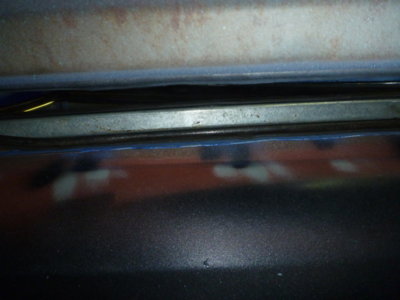
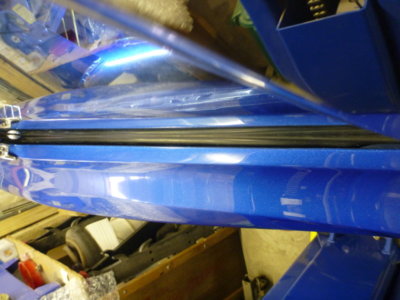
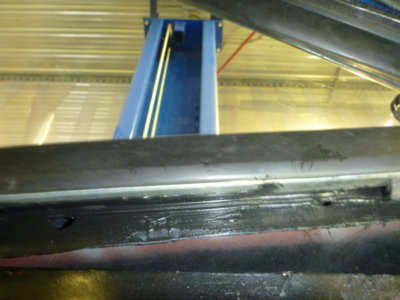
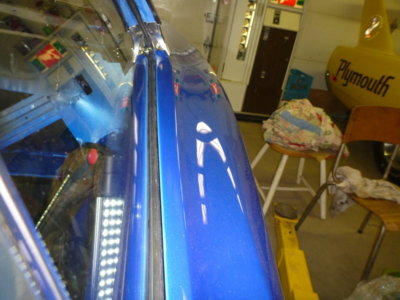
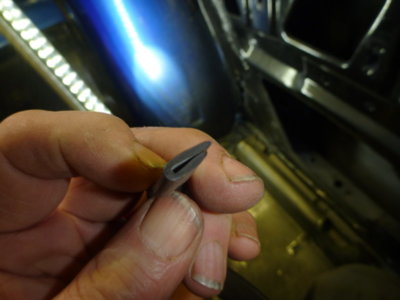
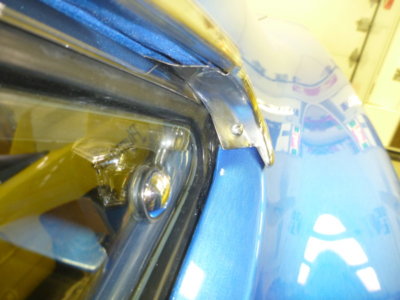
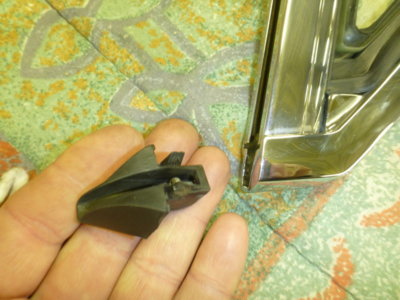
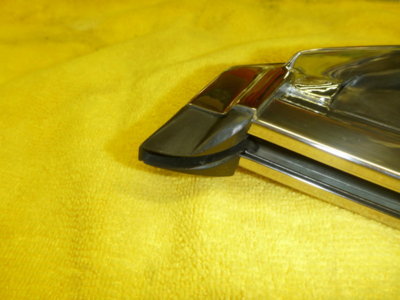
Vent frame channel up stop / rail cap.

Installed. There is a left and a right.

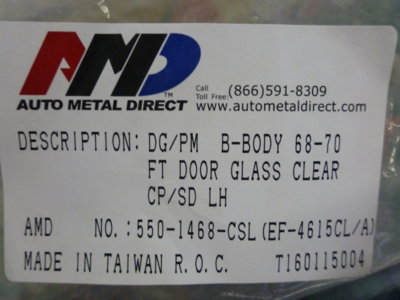
I'm so sick of AMD glass and wish I'd bought it all from ECS, not AMD through National Moparts.

This is nobodies fault but my own. I picked it up in person and should have inspected it on site before leaving. Scratch right in the center of the door glass. That and finished shape compared to OE is sad workmanship to say the least.

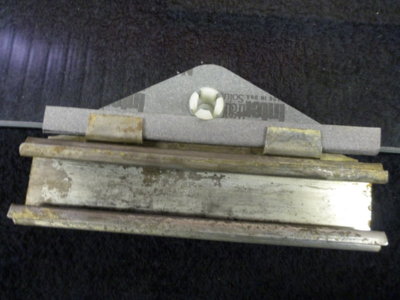
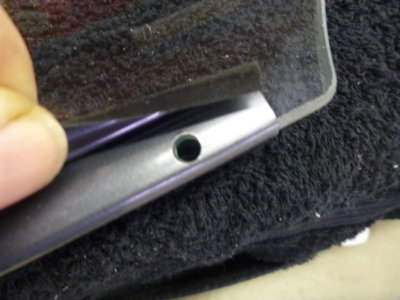
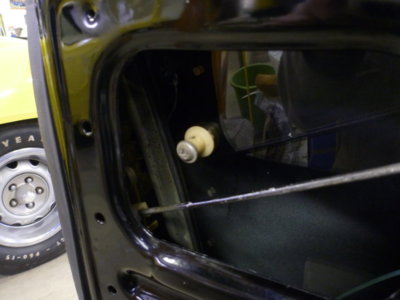
Lift channel attached to new glass with "gasket" and new plastic rivet. Pin on rivet not set yet.

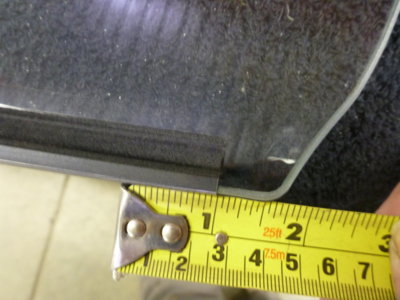
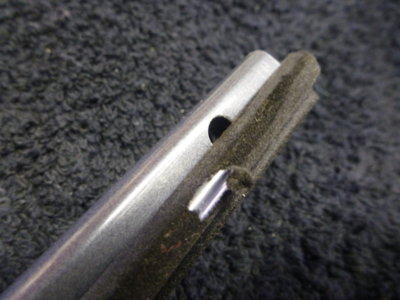
New OEM slider felt, measuring down 5/8 from top corner similar to my OE set up.

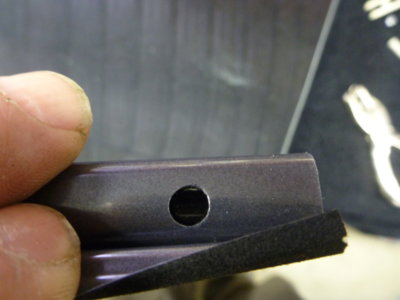
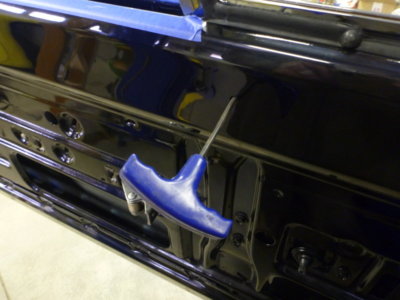
Just happens that is the exact distance the hole punch will reach from an end!

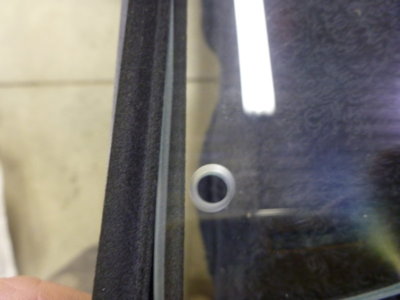
Showing this "mistake" so nobody else makes it! Hole is too close to the bottom of the felt / edge of the glass.

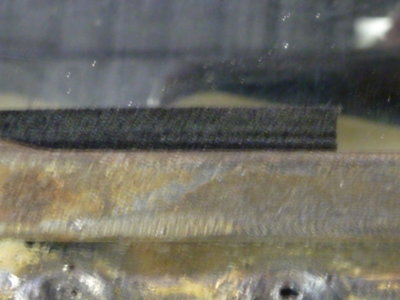
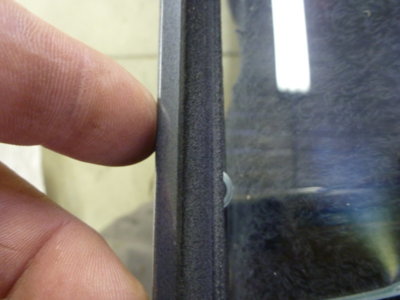
Test fit shows the hole being where I punched it puts the felts about 3/32 too far out from where they should run in the channel.

Also appears I have a burr somewhere and shows how easy these felts tear.. break out the riffler files. Fortunately I hadn't cut the felt to length yet and had enough left to redo the end.
beerestoration2019 2890.JPG beerestoration2019 2891.JPG beerestoration2019 2892.JPG beerestoration2019 2894.JPG beerestoration2019 2900.JPG beerestoration2019 2902.JPG beerestoration2019 2903.JPG beerestoration2019 2904.JPG beerestoration2019 2905.JPG beerestoration2019 2906.JPG
 
Last edited:
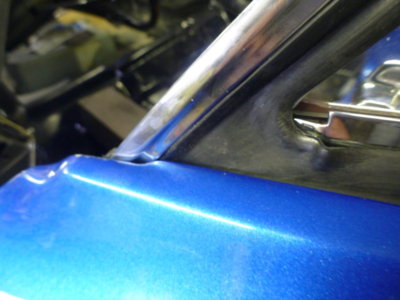
Felt cut off and repunched, dead center this time.

Hole punched dead center = slider pins fit perfect. Fortunately by using my old rear flip out window slider pins, I had 4 sets of OE's that weren't cracked to reuse and didn't have to modify the repros to use.

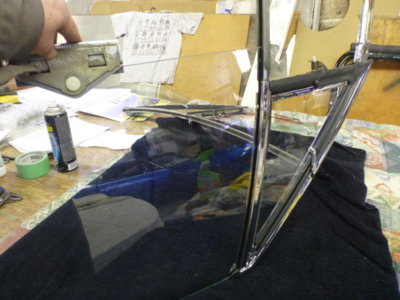
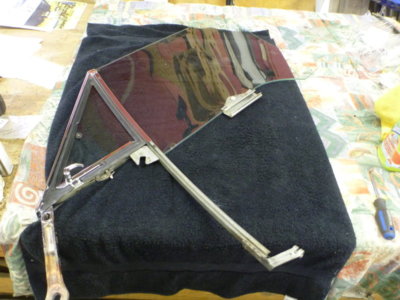
Felts cleaned and lubed, again just using window cleaner, and THE VENT CHANNEL carefully slid onto the glass / felt assembly. It's easier to slide the frame onto the glass, while holding the felts, than trying to slide the glass into the channel.

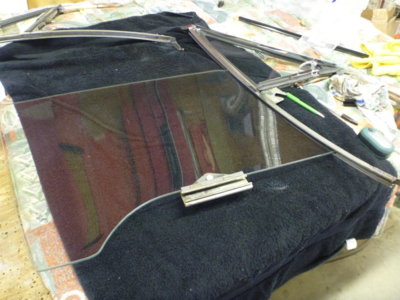
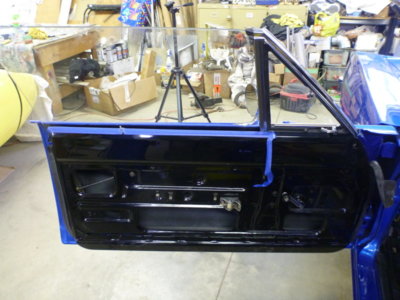
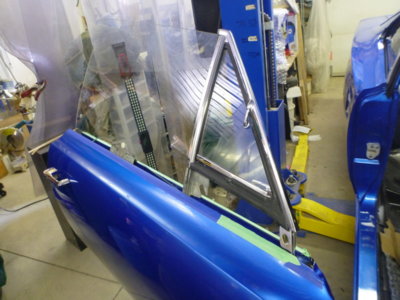
Drivers door glass assembly ready for install.

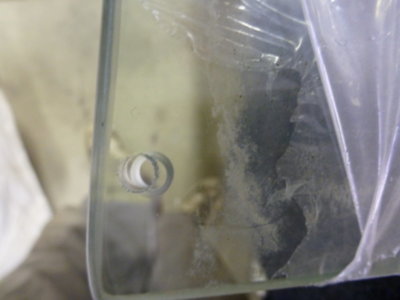
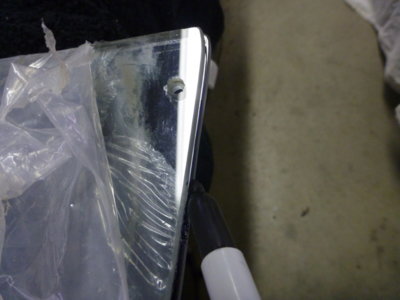
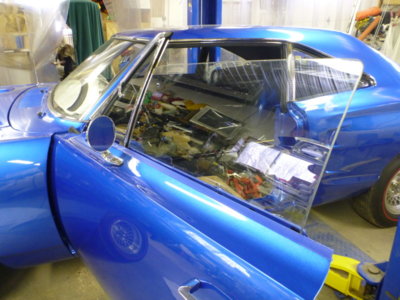
More AMD glass BS on the passenger door glass.... Slider pin hole is almost 1/8" too far from the edge of the glass!

This is the felt shoved on as far as it will go.

OE over AMD.

Fortunately the hole is in the correct place, the edge of the glass is 1/8" too long compared to the OE.

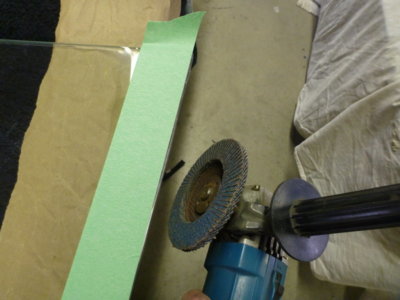
Go big or go home! At this point I really didn't care of it shattered into a million pieces. Took my time to keep the heat down and kept the 40 grit flap disc moving along the edge and removed that 1/8" of glass.

Same deal as the drivers side on the slider felt / pins and assembly and the passenger is ready for install.

beerestoration2019 2907.JPG beerestoration2019 2908.JPG beerestoration2019 2911.JPG beerestoration2019 2914.JPG beerestoration2019 2916.JPG beerestoration2019 2917.JPG beerestoration2019 2918.JPG beerestoration2019 2919.JPG beerestoration2019 2920.JPG beerestoration2019 2924.JPG
 
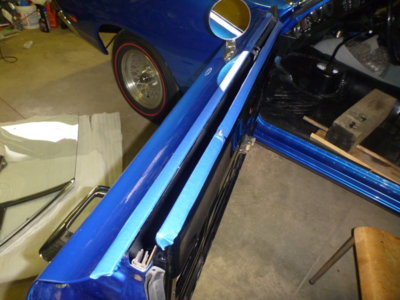
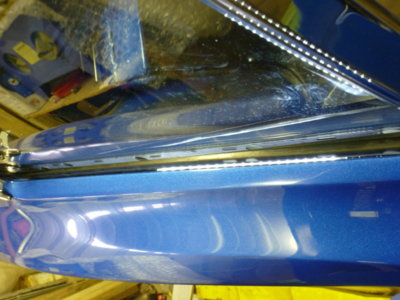
Door gap taped off to hopefully avoid any chips or scratches.

Light coating of grease in the lift channel.

Used some felt strip I had for anti-rattle and then put the mounting pin into place.

Entire assembly set into place. Despite what the FSM says I found I had to remove the regulator, install the roller to the lift channel track and then bolt the regulator back in place.

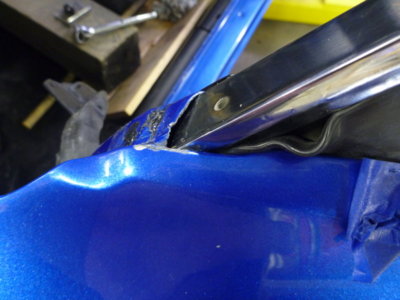
Tried twice and kept getting the vent rubber hung up at the A pillar. Couldn't hold it in place and the window at the same time. Chipped some paint as well...

Fortunately the wife appeared in the shop and while she held the lock end of the glass I held both sides of the vent rubber with thumb and forefinger and lowered the assembly into place with success.

Long bolt goes in the top door hole, through the A pillar frame and into a captive nut in the door.

Everything sitting loosely in place. I found if you put the window full up (without the lock end glass up stop in place) it will tip the vent frame forward and make it easy to set up.

Found eyeballing the vent frame gasket for parallel to the door panel worked perfect.

A pillar top bolt and the fork nut snugged up.

beerestoration2019 2925.JPG beerestoration2019 2926.JPG beerestoration2019 2929.JPG beerestoration2019 2932.JPG beerestoration2019 2934.JPG beerestoration2019 2935.JPG beerestoration2019 2941.JPG beerestoration2019 2942.JPG beerestoration2019 2945.JPG beerestoration2019 2948.JPG
 
Allen head bolt tightened up.

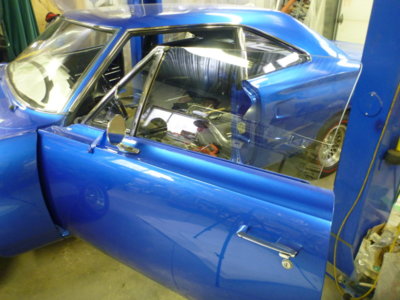
Nice even gap up the A pillar and across the top of the roof rail.

Up stop installed to the lock end of the glass.

I set the lock end guide channel up so that the glass sat centered in the door gap. Then checked how it closed against the roof rail seals and all looked good.

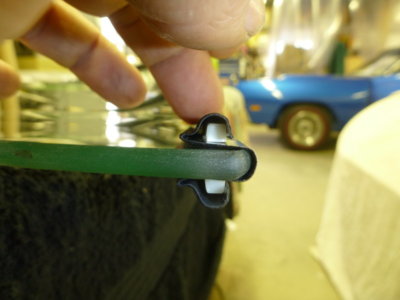
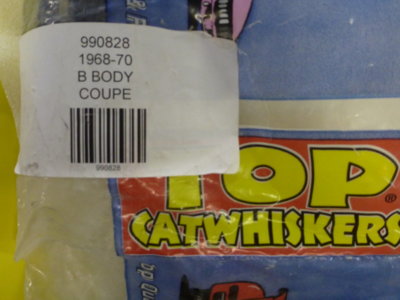
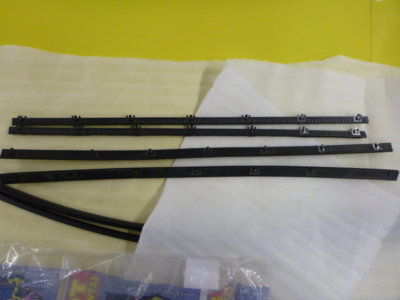
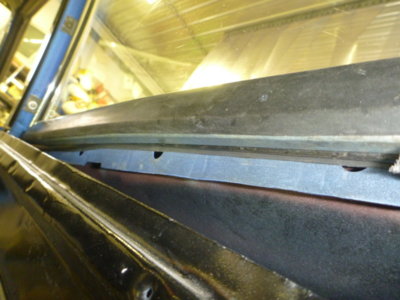
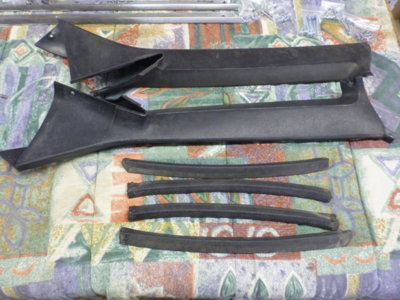
Door glass seals / wipers. "Cat Whiskers" Part # 990828

Note there are lefts and rights, the clip spacing is not even.

With the glass fully down you can just get them into place. If you don't have enough room adjust your down stop on your regulator to give you more room.

Seals in place. Love the Catwhisker design as an "eavestrough".

SIX hours. Two door glass assemblies together and one installed.

beerestoration2019 2952.JPG beerestoration2019 2953.JPG beerestoration2019 2957.JPG beerestoration2019 2958.JPG beerestoration2019 2961.JPG beerestoration2019 2962.JPG beerestoration2019 2965.JPG beerestoration2019 2970.JPG beerestoration2019 2978.JPG
 
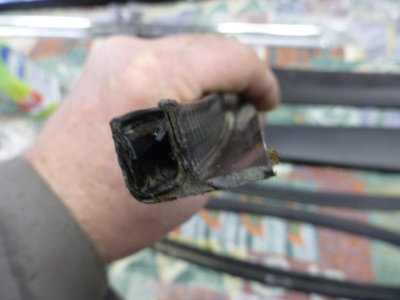
Door end seal that came off the car left and new repro right. Not sure if the removed was OE with the glass slot or something "borrowed" through the years from a hardtop.

Without glass slot seems to work just fine.

Passenger assembly in place and I'm taking a rest after struggling to get it to go in. Found that my allen head bolt area wasn't opening up for some reason. Gave it a little twist from below with a flat screwdriver and success there after.

2 hours on door #2 ! All set up, tightened up and whiskers in place.

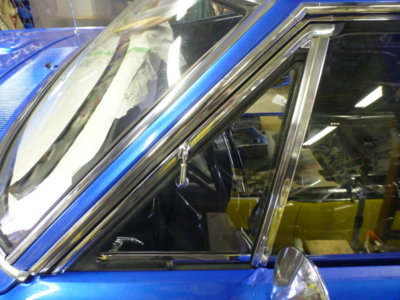
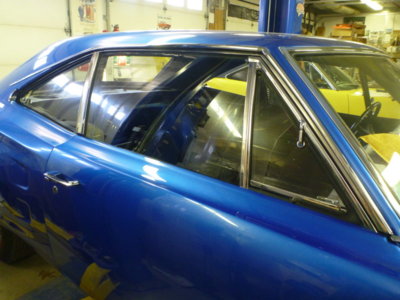
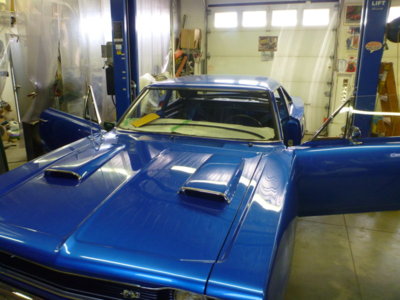
So nice to have all the glass in!

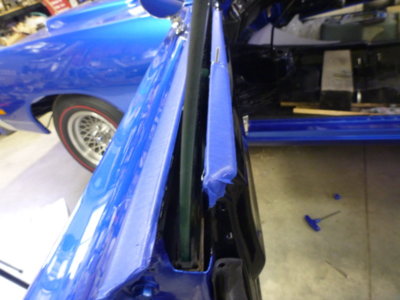
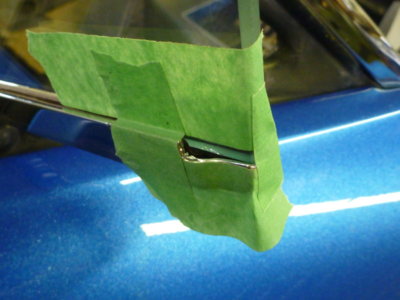
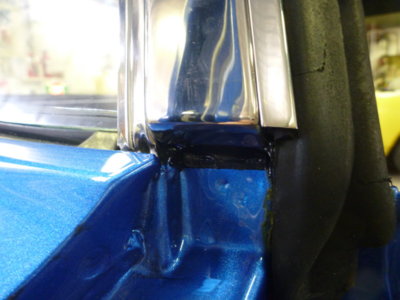
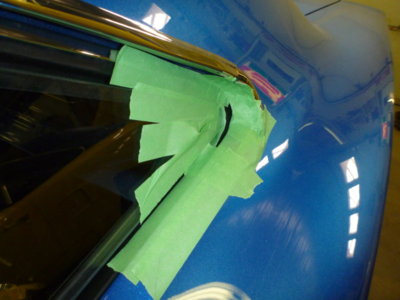
Taped off all the ends of the wing windows.

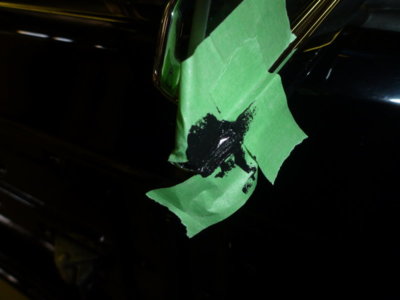
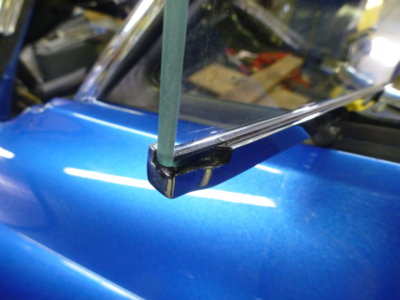
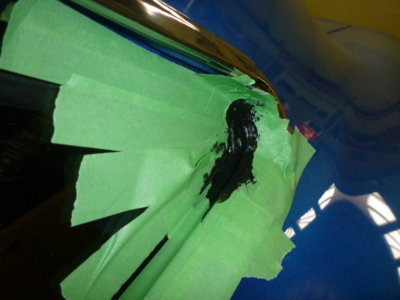
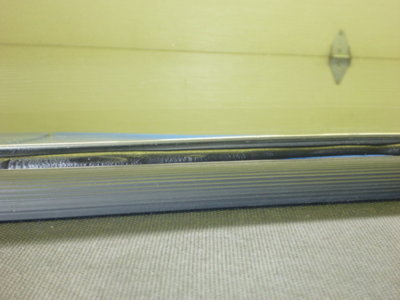
Filled that void with some Black silicon sealant and then immediately peeled the tape.

Almost looks like a factory gasket now.

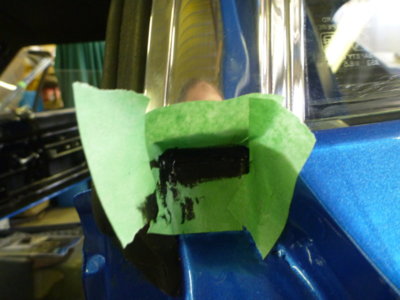
Paint guys missed seam sealing the B post so taped it off and used the same black silicon here.

Came out clean. Standing beside the car you don't even notice it's there.

beerestoration2019 2987.JPG beerestoration2019 2990.JPG beerestoration2019 2994.JPG beerestoration2019 2998.JPG beerestoration2019 3003.JPG beerestoration2019 3009.JPG beerestoration2019 3010.JPG beerestoration2019 3011.JPG beerestoration2019 3016.JPG beerestoration2019 3014.JPG
 
Brings back memories for sure. I did all of my mechanicals first and then the interior. It's hard to believe how much goes into it. And they built how many per day?

I could envision two guys working together on the assembly line doing different installs. Maybe one worker's task on installing an item and what kind of a special tool they might have used. Makes you think about those things when doing a resto.

Keep up the good work Wayne. One day you'll run out of parts and say, "Hey what happened" lol
 
Thanks.. I sure hope I run out soon!! LOL. I have another car to clean up, a wedding, and need to refurbish and sell an airplane or two so I can snatch up the next car to play with...
 
Many thanks for detailing the AMD glass areas to address. Hopefully I'll be doing that soon.
 
Many thanks for detailing the AMD glass areas to address. Hopefully I'll be doing that soon.
If you have to grind glass.. make sure you're grinding down the length, not across the narrow width or you'll chip the edges. Ideally a belt sander would be best, but my wood working daughter fried mine apparently. I also had to clean up the top edge of the passenger glass, it had more waves in it than a Six Flags water park.
 
Was the only flap wheel I had.. 40 grit. After I did the top edge of the passenger door I used my hand sanding block and 800 and polished things up smooth. Hopefully you got better glass. My drivers side was perfect for the slider / vent end, it was the passenger that was slightly long to the hole. Drivers door perfectly smooth/straight on top, passenger waves in the Atlantic. Looks like one worker knew how to grind and another was using the roller end of a belt sander, not the shoe.
 
Re and re'd the passenger rear glass a few times and while I made it better, this is the closest I could get the rubber seal to the quarter panel. There's been seam sealer in there since new quarters went on in '78, which suggests us teens didn't get it quite right back then!

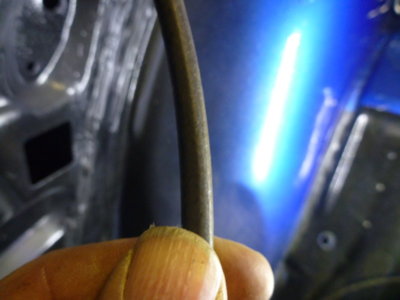
My solution, some 1/4" diameter rubber I have on hand.

Jammed the round rubber stock up between the glass frame and the rubber seal to force it out against he quarter panel.

Worked very well and stayed in place.

Seal pushed nicely over to the quarter now.

Silicon RTV smeared across the seal, 1/4" rubber and quarter to hold everything in place and water tight.

beerestoration2019 3021.JPG beerestoration2019 3022.JPG beerestoration2019 3025.JPG beerestoration2019 3029.JPG beerestoration2019 3031.JPG beerestoration2019 3033.JPG
 
Managed to get the drivers side rear window assembly sitting very nice, the seal just a hair shy of the quarter panel.

This rubber edging that I use on airplane fairings was perfect to slide in place.

The U shape makes it perfect to push up into place between the metal window frame and the rubber seal.

Better view of the rubber gap filler going into place.

And a smear of RTV and it's water tight.

Bit of a gap in both back corners, so taped them off and filled.

Black silicon into place with finger.

Tape peeled and looks nice and clean. Without a light, you don't even see it actually.

INTERIOR HERE I COME!

beerestoration2019 3058.JPG beerestoration2019 3060.JPG beerestoration2019 3064.JPG beerestoration2019 3065.JPG beerestoration2019 3066.JPG beerestoration2019 3072.JPG beerestoration2019 3073.JPG beerestoration2019 3075.JPG
 
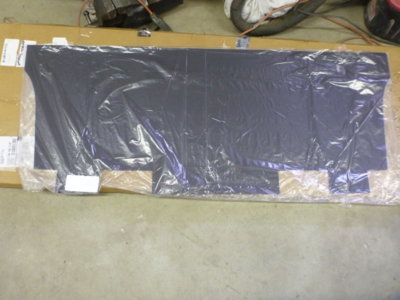
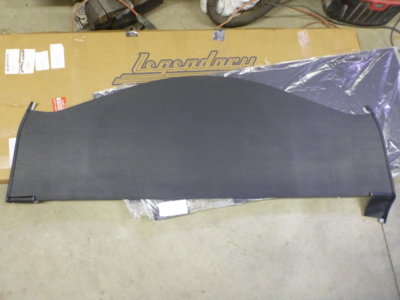
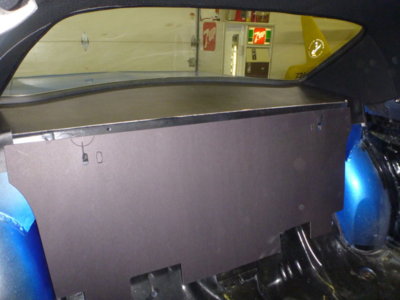
New trunk divider panel for behind the rear seat from Legendary.

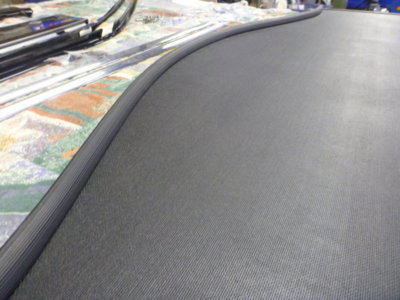
New package tray.

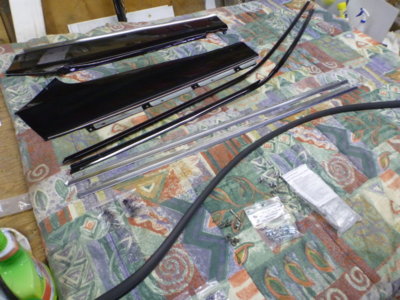
Some of the interior parts. Rear trim panels and headliner roof rails painted TX9 Gloss Black, door panel trim polished, window trim cleaned and wiped down a few weeks ago with Transmission fluid. That returned the darkness to the black.

Some of the interior parts. Rear trim panels and roof rails painted TX9 Gloss Black, door panel trim polished, window trim cleaned and wiped down a few weeks ago with Transmission fluid. That returned it's darkness to the black.

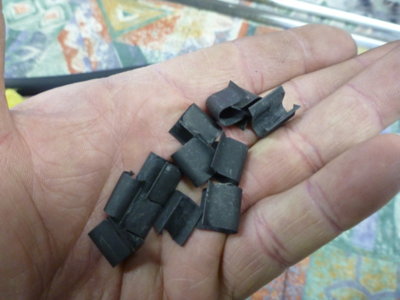
I removed the headliner install clips I used, since it's now glued along the pinch weld. Now I have them for the next job.. lol

The rear window package tray and it's trim. Supposably this trim piece is Plymouth, the Dodge is supposed to go on the pinch weld before glass install to hide the butyl. All I know is this has ALWAYS been in the car.

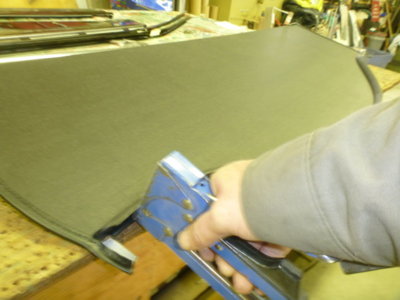
Trim gets stapled to the package tray.

If you just slide it back you'll be stuck in the butyl and it'll look like....

Start in one corner and "pie" lift it into place so the trim sits above the butyl sealant.

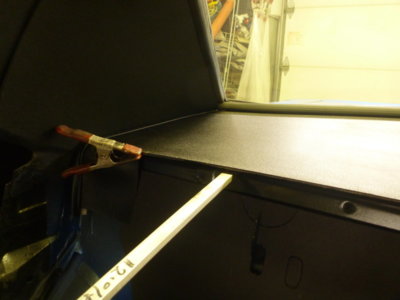
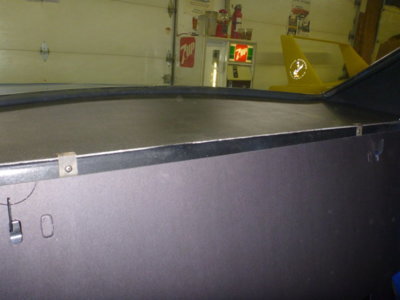
Package tray and trunk divider in place.

beerestoration2019 3093.JPG beerestoration2019 3094.JPG beerestoration2019 3099.JPG beerestoration2019 3100.JPG beerestoration2019 3101.JPG beerestoration2019 3106.JPG beerestoration2019 3111.JPG beerestoration2019 3115.JPG beerestoration2019 3116.JPG beerestoration2019 3121.JPG
 
Last edited:
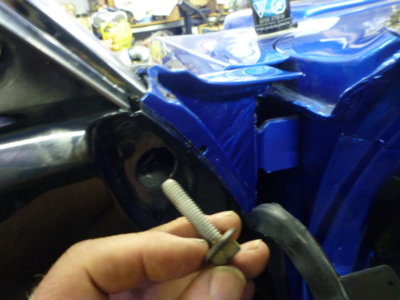
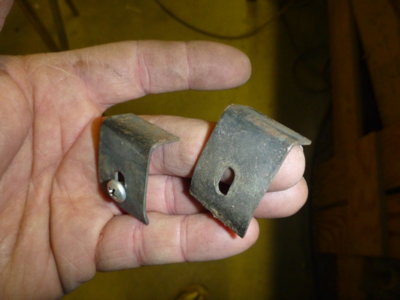
Package tray retainer brackets. I rebent them for a better fit than stock.

I installed them to check shape and then took them back out for paint.

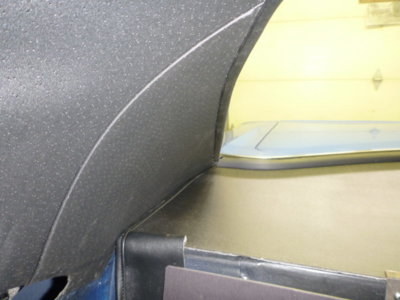
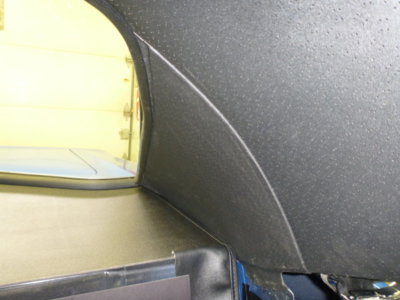
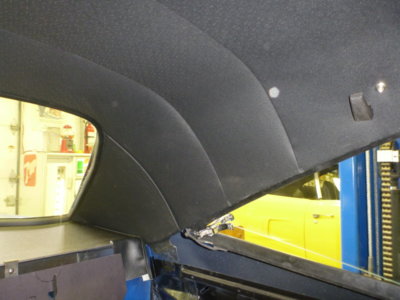
Nicest thing about the package tray, it's little "push" made my headliner sail panels fit perfect.

Drivers side.

Gotta love it..

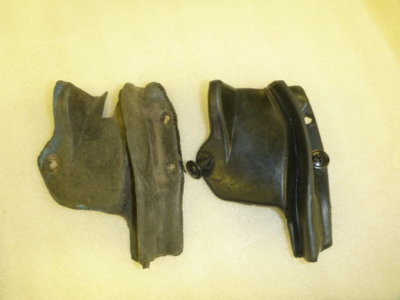
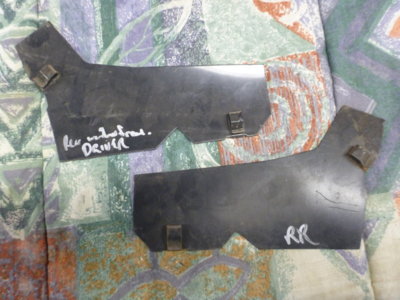
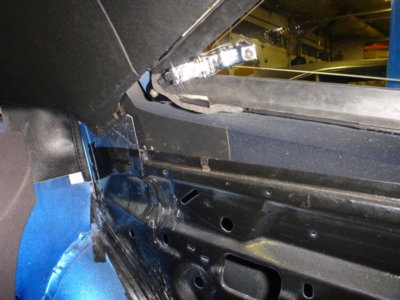
Dont' forget your water deflectors.

The deflectors clip onto the interior panel of the rear window "well".

Need to clean up my A and B pillar covers.

Shape of the B pillar trim. Don't lose it, apparently it's not reproduced.

beerestoration2019 3122.JPG beerestoration2019 3124.JPG beerestoration2019 3125.JPG beerestoration2019 3126.JPG beerestoration2019 3127.JPG beerestoration2019 3129.JPG beerestoration2019 3132.JPG beerestoration2019 3137.JPG beerestoration2019 3138.JPG
 
Wow is all I can say!! I don't have that kind of patience to do what you're doing.....
 
Car or thread Cranky?? Here is easy.. downsizing every friggin picture for DC is taking a toll on my right wrist!
 
Looks good! Can you show where the drip shields go?
 
Auto Transport Service
Back
Top