• When you click on links to various merchants on this site and make a purchase, this can result in this site earning a commission. Affiliate programs and affiliations include, but are not limited to, the eBay Partner Network.

1969 Dodge Super Bee Coupe Restoration

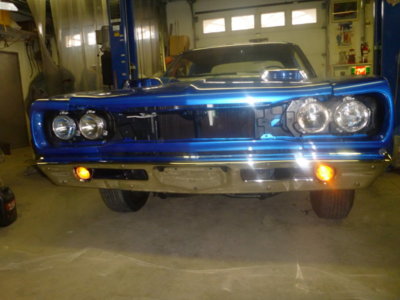
Woah,woah; are the lights working before we go any farther? Lol
beerestoration2019 1246.JPG
 
LOL, I can get at them anytime! Battery was unhooked and didn't feel like climbing up the ladder at the time. I'll make them blink just for you tomorrow Jeff!
 
You're either a JINX or a Psychic @oldbee Jeff !! What a f'n day... DON'T ask me if anything else works.... :lol:

 
Last edited:
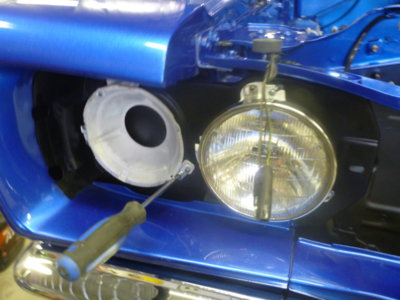
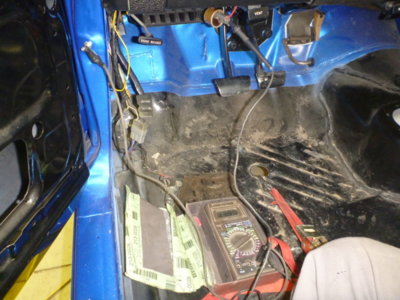
Had oldbee ask me if my new signal lights worked before I buttoned everything up. Why wouldn't they, I had rears working previously with the harnesses all in place. All that is new is the installation of two reproduction signal light assemblies. Park lights worked, left signal fine, hit the right signal light and it blinked quickly and blew the fuse. So I disconnected the light from the harness and blew another fuse.. both lights disconnected and blew another fuse. Time to start looking around...

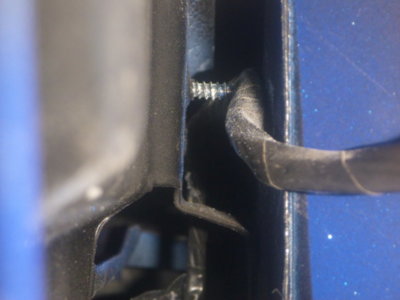
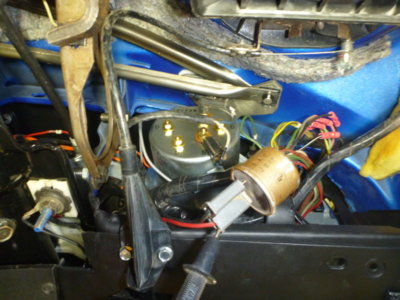
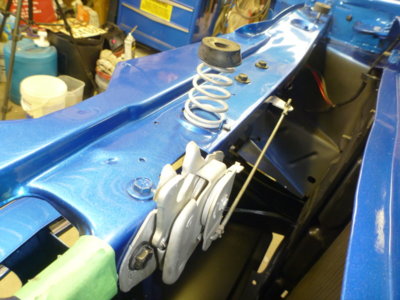
That can't be good, headlight adjuster spring screw right into the harness.

This bastard to be exact!

Right into the signal feed wire, missed the park light wire.

I get that fixed and now I have no signal lights at all, yet using the switch I can make the rear brake lights alternate from side to side. Can't be the switch... so time to trace for power.

Power to the signal flasher unit and out the other side of same. I then found power at the red feed wire on the steering column.. on the column side, not the dash harness side and that only meant one thing.

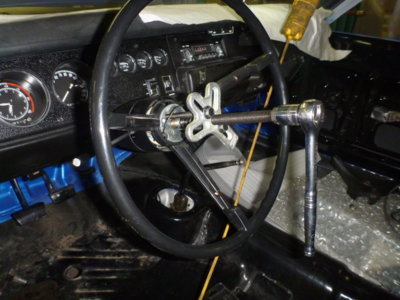
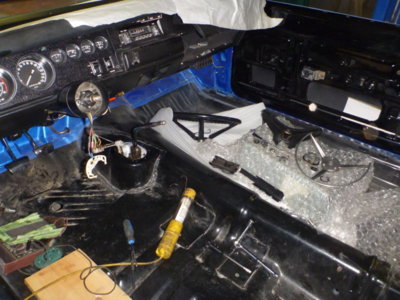
One step forward.. TEN steps back. Pull the steering wheel to get at the switch assembly.

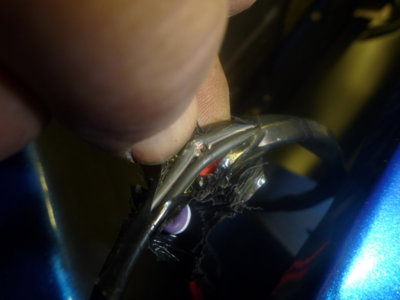
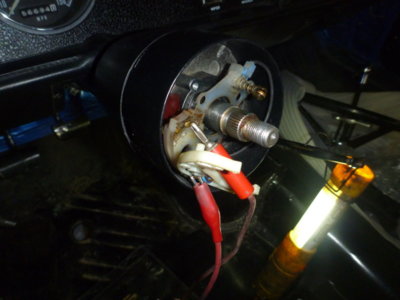
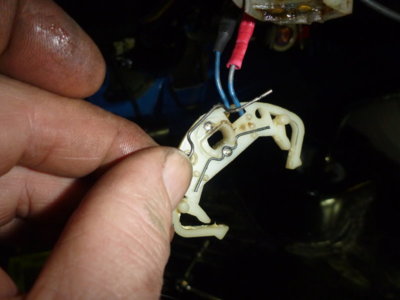
Popped apart and I can make the signal lights work by jumpering power to each contact.

The wire popped off my $10 repair plate.. . that'll teach me to save $250 on a mega dollar restoration. Can't believe it would decide to fail, right after it was working before I blew the fuses. I thought maybe a wire blew apart.. but no, the switch fell apart.

FAAWWWKKKKK !!!!

beerestoration2019 1888.JPG beerestoration2019 1895.JPG beerestoration2019 1900.JPG beerestoration2019 1899.JPG beerestoration2019 1904.JPG beerestoration2019 1905.JPG beerestoration2019 1910.JPG beerestoration2019 1918.JPG beerestoration2019 1924.JPG beerestoration2019 1925.JPG
 
Had oldbee ask me if my new signal lights worked before I buttoned everything up. Why wouldn't they, I had rears working previously with the harnesses all in place. All that is new is the installation of two reproduction signal light assemblies. Park lights worked, left signal fine, hit the right signal light and it blinked quickly and blew the fuse. So I disconnected the light from the harness and blew another fuse.. both lights disconnected and blew another fuse. Time to start looking around...

That can't be good, headlight adjuster spring screw right into the harness.

This bastard to be exact!

Right into the signal feed wire, missed the park light wire.

I get that fixed and now I have no signal lights at all, yet using the switch I can make the rear brake lights alternate from side to side. Can't be the switch... so time to trace for power.

Power to the signal flasher unit and out the other side of same. I then found power at the red feed wire on the steering column.. on the column side, not the dash harness side and that only meant one thing.

One step forward.. TEN steps back. Pull the steering wheel to get at the switch assembly.

Popped apart and I can make the signal lights work by jumpering power to each contact.

The wire popped off my $10 repair plate.. . that'll teach me to save $250 on a mega dollar restoration. Can't believe it would decide to fail, right after working before I blew the fuses. I thought maybe a wire blew apart.. but no, the switch fell apart.

FAAWWWKKKKK !!!!

View attachment 734460 View attachment 734461 View attachment 734462 View attachment 734463 View attachment 734464 View attachment 734465 View attachment 734466 View attachment 734467 View attachment 734468 View attachment 734469

All I can say is that you have the talent to troubleshoot and fix it. Way to go, you still got it! :thumbsup:
 
Thanks Kid.... I can add, I have no issues with my reproduction steering wheel. It went on fine and it pulled off with ease as well!! :mad:
 
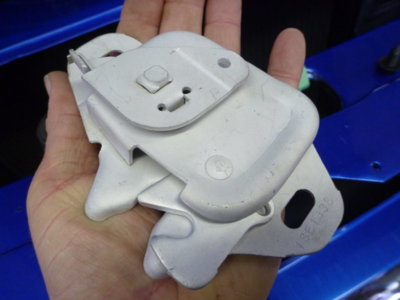
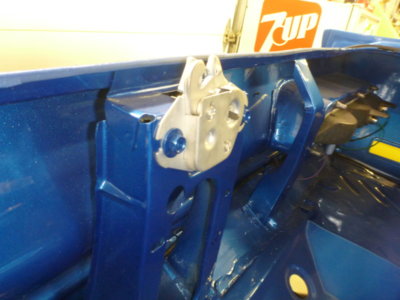
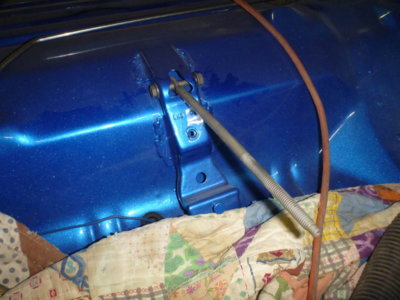
OE hood latch that was cleaned, blasted and plated. It was built about 9 months before car build date. Assume same latch was used on '68's.
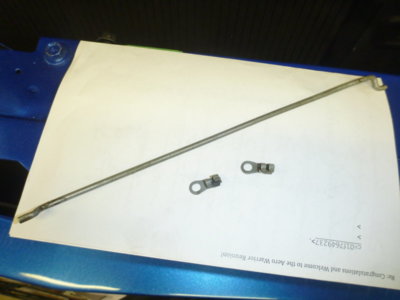
Release to latch rod and it's two retainer clips.

Latch installed and all hooked up. Always mystified at how Chryco painted the bolts loosely in place for the trunk latch, yet not the hood latch where they got plain black phosphate bolts.

Spent a bit of time and got the latch set just right..

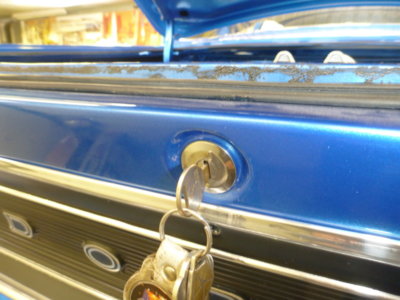
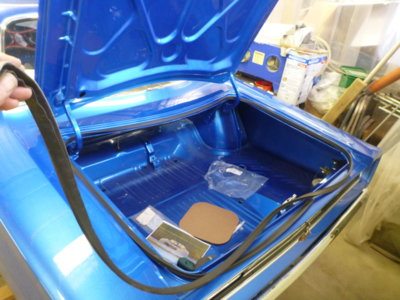
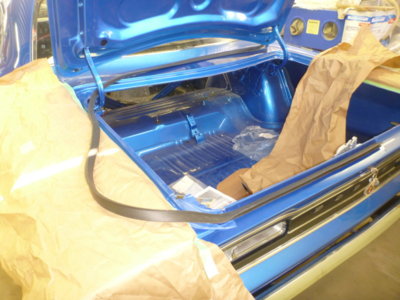
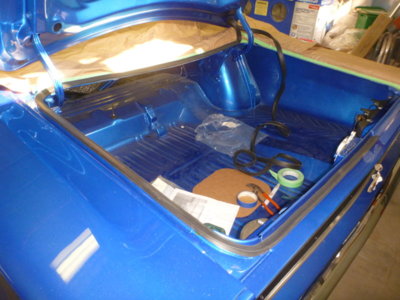
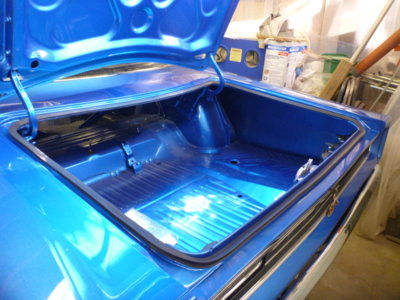
Installed the trunk lock tumbler assembly. You can see the mess from where THREE body men in a high end shop, with a picture in hand, still installed my trunk seal in the wrong place AND upside down!

Trunk latch already in place with body colour bolts.

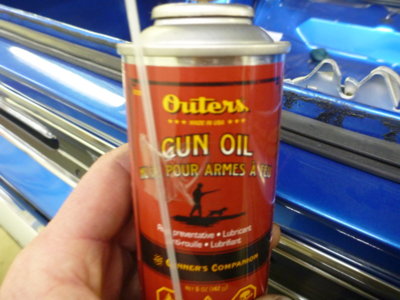
I learned years ago, if you've got a stickly latch/lock this is the answer. NOTHING else works like Gun Oil. If you own a Chevy Trailblazer, you should know that already!

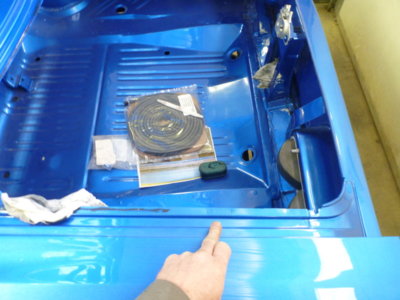
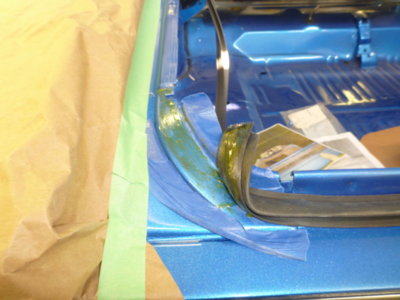
Cleaning off the black goo that the guys used to install my trunk seal upside down with! Not sure what it was, but thankfully it didn't stick worth a damn and the seal peeled right off and goo came off easy with laquer thinner. Pointing to the "hidden" VIN stamp.

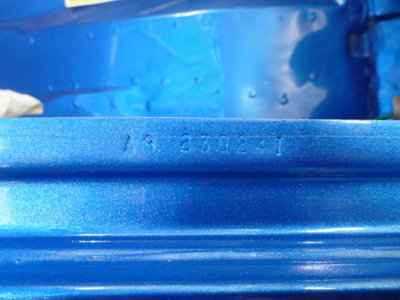
Hidden (by the seal) VIN stamped on the trunk gutter.

Detroit Muscle is generous... 6' extra.

beerestoration2019 1932.JPG beerestoration2019 1935.JPG beerestoration2019 1946.JPG beerestoration2019 2047.JPG beerestoration2019 1953.JPG beerestoration2019 1957.JPG beerestoration2019 1959.JPG beerestoration2019 1966.JPG beerestoration2019 1967.JPG beerestoration2019 1972.JPG
 
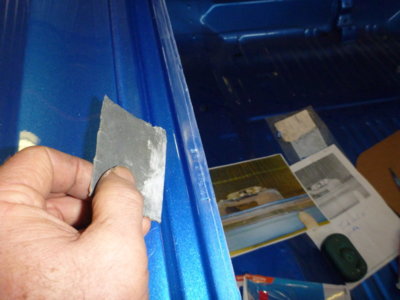
Scuffing the clear coat so the adhesive can bite.

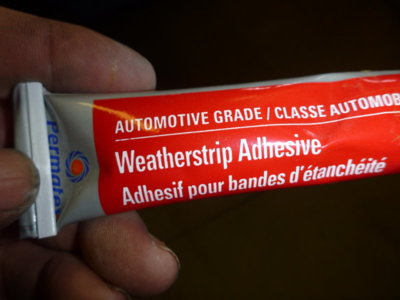
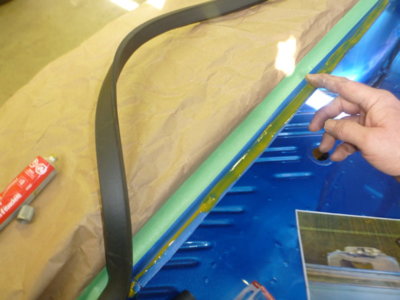
Adhesive I used, but I think it's just contact cement in a tube. Same process, same yellow colour.

Apply to both surfaces...

Let dry for 10 minutes

.. stick together. You get one shot and it's STUCK. Couldn't figure out why other guys were using clothes pins in their resto threads, it's not going anywhere.

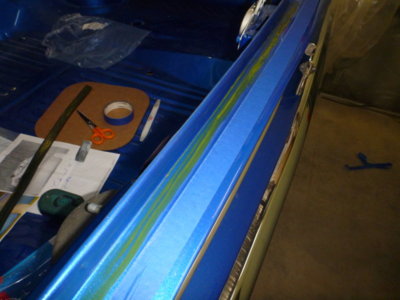
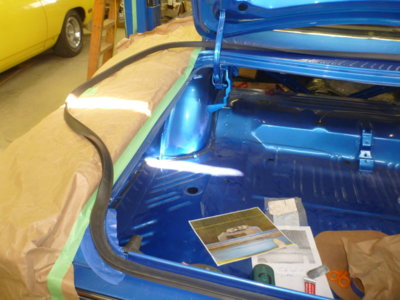
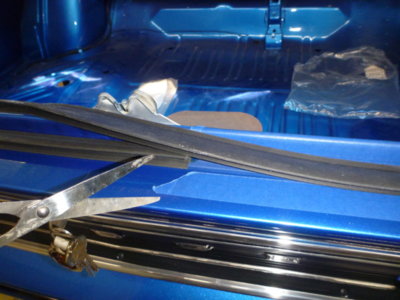
I did a straight stretch and then a corner. Repeat. Be careful not to stretch the seal as you work.

Corner bonded in place.

Spreading an even layer of glue with finger. Same deal on the rubber seal.

Rounding turn 3.

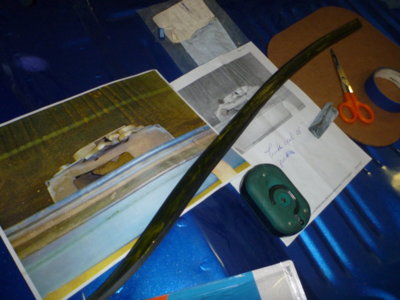
Seal first cut clean for a nice tight fit.

beerestoration2019 1978.JPG beerestoration2019 1983.JPG beerestoration2019 1980.JPG beerestoration2019 1981.JPG beerestoration2019 1987.JPG beerestoration2019 1989.JPG beerestoration2019 1993.JPG beerestoration2019 1994.JPG beerestoration2019 2011.JPG beerestoration2019 2018.JPG
 
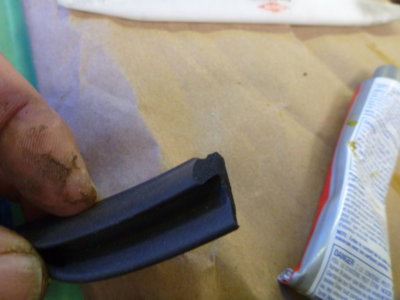
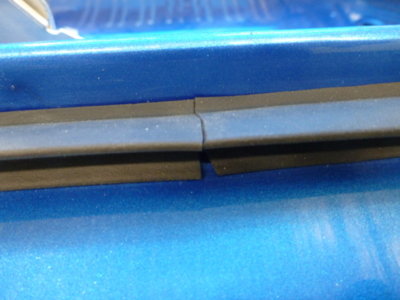
I then carefully trimmed a little channel out of the bottom. This is incase water does get in behind the seal, along the rear of the trunk, it can drain out.

Last section tacking up, ready to put in place.

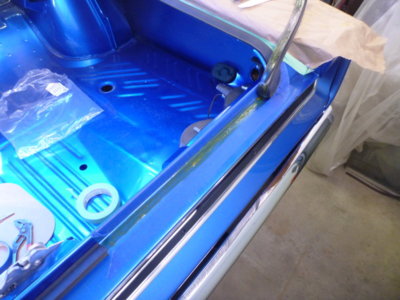
Seal totally installed.

Fit is beautiful.

Shows the overlap and the drain channel out the bottom. The factory did not do this.

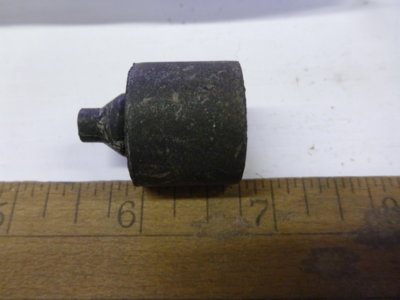
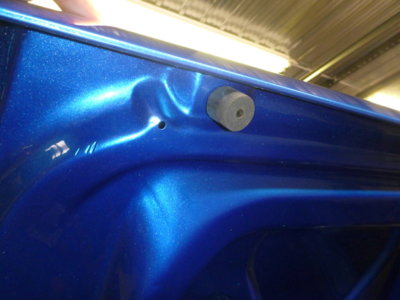
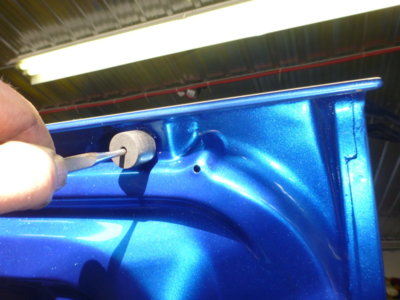
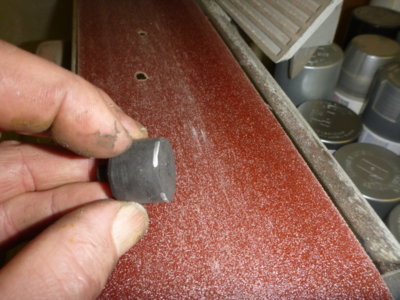
Rear trunk lip to tail panel bumpers. About 7/8" in diameter and 3/4" high.

Drivers side in place. My car hasn't had these bumpers in place for over 40 years.

How to get them in.. punch inside to stretch the lock tab into the hole.

I had to take about 1/8" off the passenger side rubber to get a nice even trunk fit.

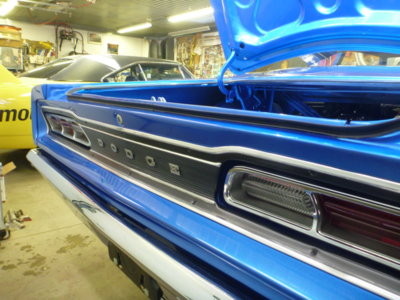
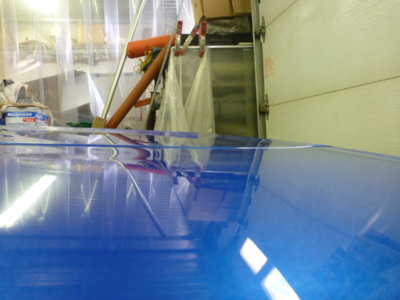
I need to make one final trunk lid check and a minor in/out adjustment prior to floating the stripe decal into place.

beerestoration2019 2021.JPG beerestoration2019 2022.JPG beerestoration2019 2028.JPG beerestoration2019 2033.JPG beerestoration2019 2030.JPG beerestoration2019 2013.JPG beerestoration2019 2039.JPG beerestoration2019 2040.JPG beerestoration2019 2042.JPG beerestoration2019 2044.JPG
 
Thanks for the tip on how to install the bumpers. I would have struggled trying to figure that out.
 
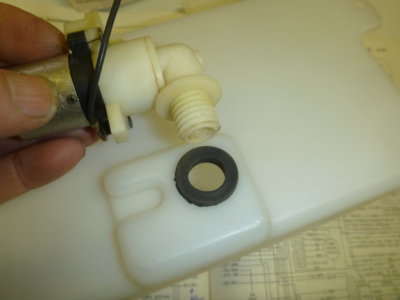
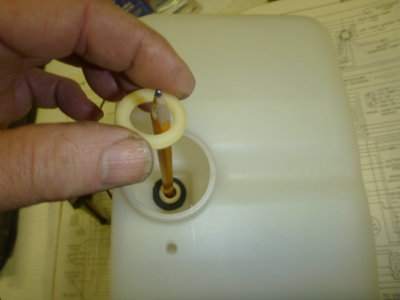
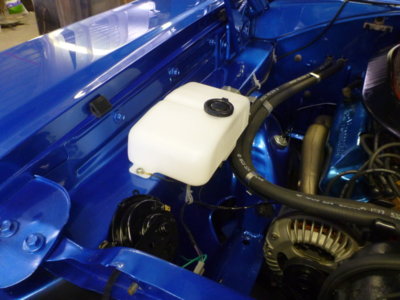
Washer pump that I'd cleaned up way back to install to a new reservioir. Installing in correct orientation, with "lock tab" into tank detent. I've seen many with the pump turned 180 degrees!

Sliding the inside washer in place

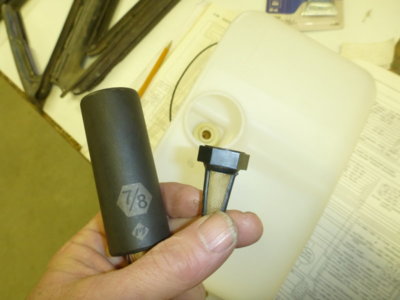
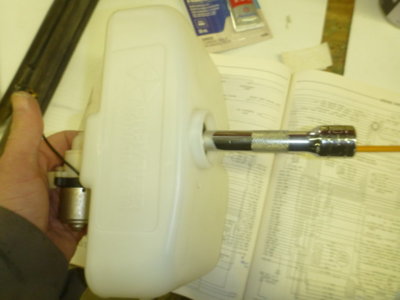
7/8 deep socket to put the strainer/nut on.

Tightened snub by hand.

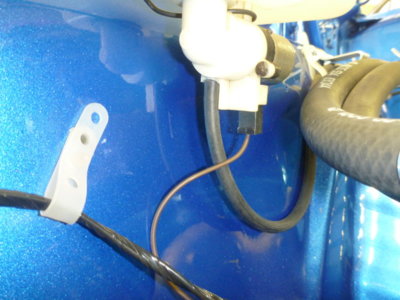
Brown wire from the harness and the correct ribbed tubing to the windshield squirters.

Tank fastened in place. Filled it with fluid and it leaked out through the pump shaft seal. I quickly siphoned the contents back out. Back to square one, I need a new pump. Pressure check yours before you get this far!

beerestoration2019 2051.JPG beerestoration2019 2052.JPG beerestoration2019 2053.JPG beerestoration2019 2054.JPG beerestoration2019 2061.JPG beerestoration2019 2059.JPG
 
Last edited:
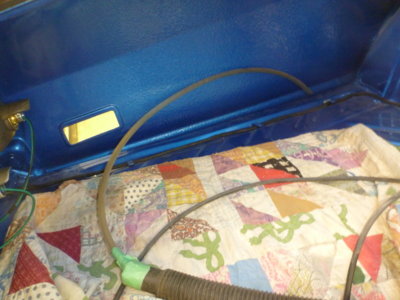
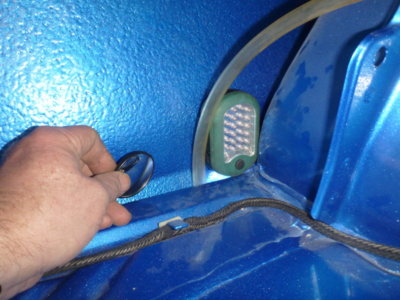
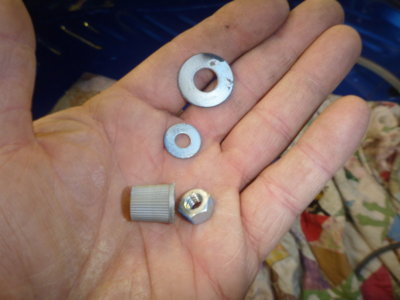
I'd dropped the weatherstripping adhesive cap yesterday and of course it went right down the fender extension! Figured I'd vacuum it out and see what else I could find.

Only way to see in while moving the suction hose along.

Got my cap and a few extra trinkets that the paint shop dropped, I guess while test fitting my quarter panel rear escutcheons / caps / end pieces.. what ever you want to call the finish pieces.

Spare tire bolt installed with it's original OE hardware.

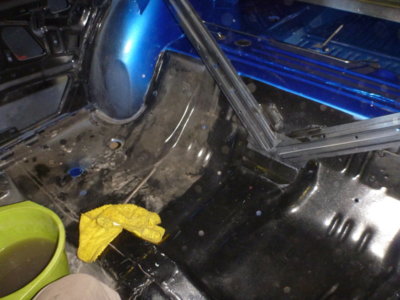
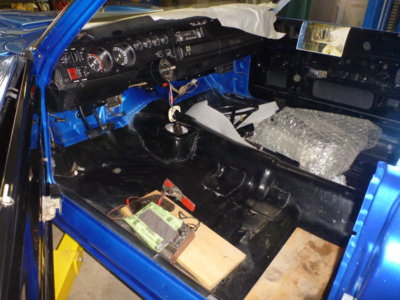
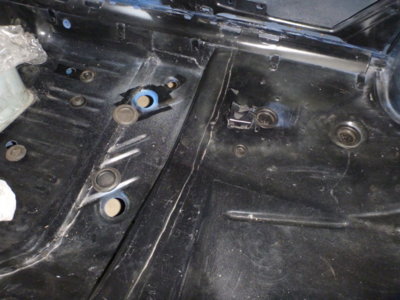
Figured it was time to wipe 2 years of dust out of the car before doing the body plugs.

Ready to sort out plug placement.

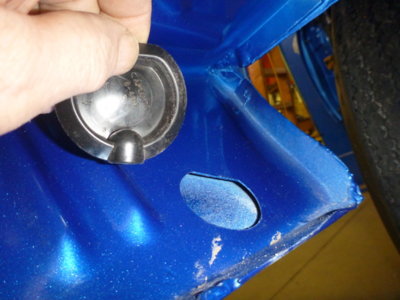
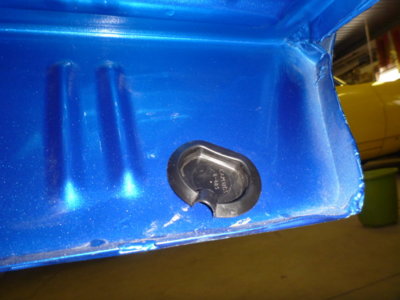
I see these missing on so many cars. Don't forget your fender extension plugs under the car. Great place for mice to crawl in.

Plug in place

Never thought figuring out plastic vs rubber plugs, even using Justin's pictures and Top Tans lay out diagrams would take so long. Had to do some juggling on rubber to plastic plugs due to part count in the kit. My OE's were beyond reusing, except for 2 of the smaller rubber ones (thankfully) as the kit was 2 short

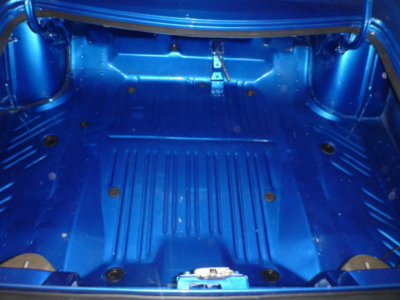
Trunk plugs all in. The small rubber ones will test your strength!

beerestoration2019 2063.JPG beerestoration2019 2066.JPG beerestoration2019 2067.JPG beerestoration2019 2069.JPG beerestoration2019 2072.JPG beerestoration2019 2073.JPG beerestoration2019 2080.JPG beerestoration2019 2081.JPG beerestoration2019 2085.JPG beerestoration2019 2088.JPG
 
You're either a JINX or a Psychic @oldbee Jeff !! What a f'n day... DON'T ask me if anything else works.... :lol:


The front signal housing on all B bodies are a royal PITA.........Once you get them nailed down with the electrical gremlins than worry no more......

My number one thing I hate on restorations are the door glass and number 2 is electrical......The amount of time you can spend on both is bewildering......

Thats aside man the front end looks great!......Hello? Grille....hurry up slacker.....:D
 
I took the screw out of the wires.. and then they worked just fine 'till my turn switch fell apart that is!!
 
Auto Transport Service
Back
Top