• When you click on links to various merchants on this site and make a purchase, this can result in this site earning a commission. Affiliate programs and affiliations include, but are not limited to, the eBay Partner Network.

1969 Charger R/T resurrection

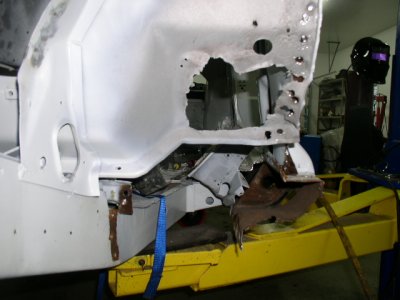
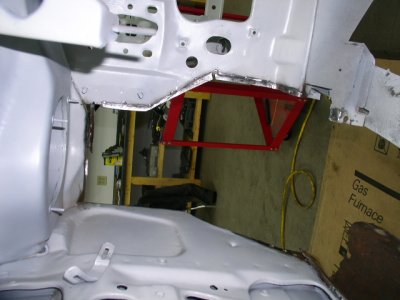
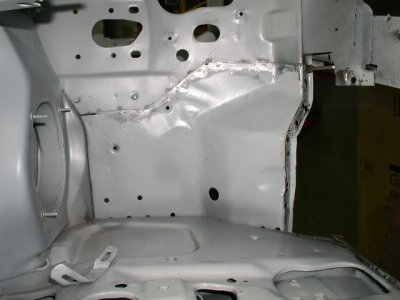
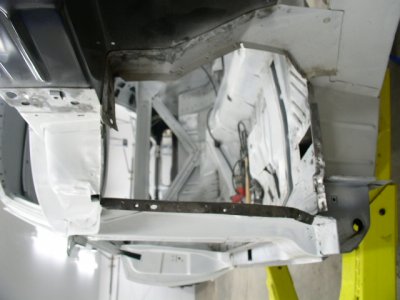
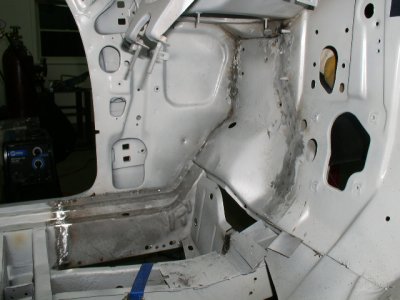
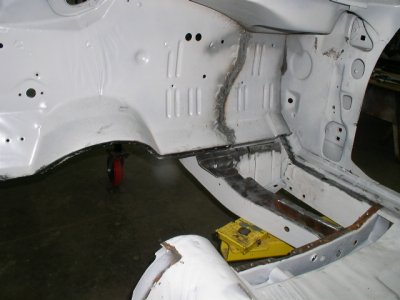
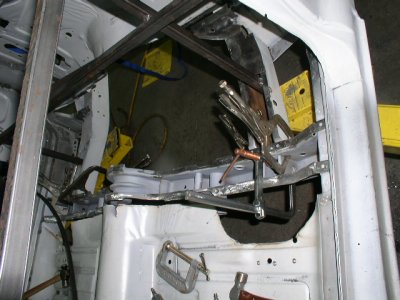
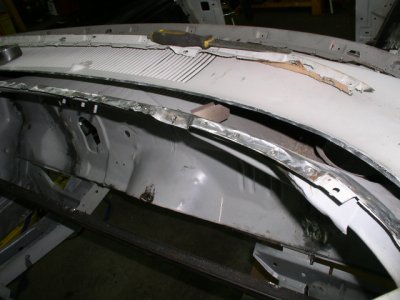
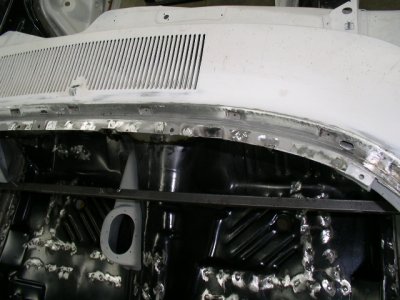
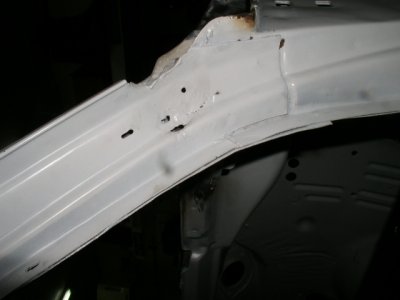
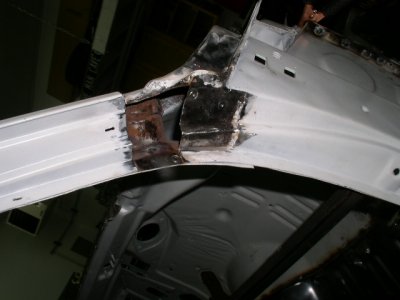
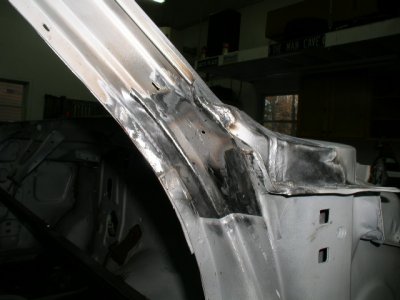
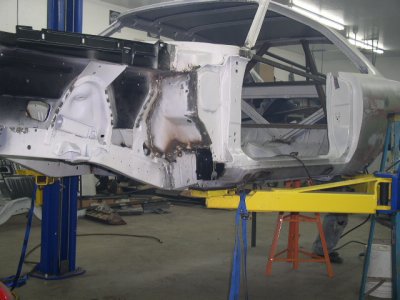
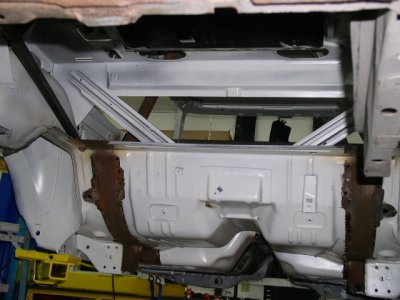
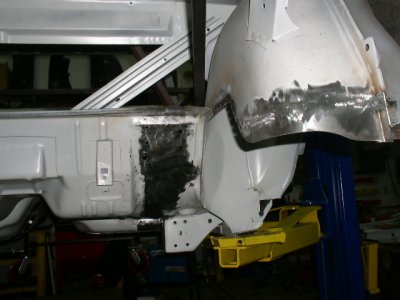
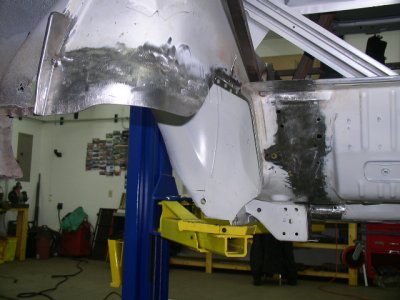
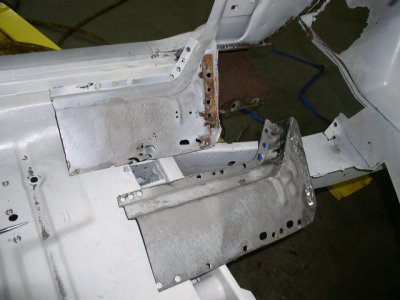
Thanks for the support guys. Made progress on a couple more things. Replaced the front portion of my left inner rocker and both ends of the firewell. Rough welding is done on these pieces. The plan is to next remove the floor and torsion bar crossmember and replace with good stuff. I'll have to build up some bracing before taking out the crossmember. It sure does get exciting seeing new metal taking the place of rusted parts. PC290092.JPGPC290093.JPGPC300095.JPGPC300096.JPGPC310100.JPGPC310104.JPGP1010107.JPG
 
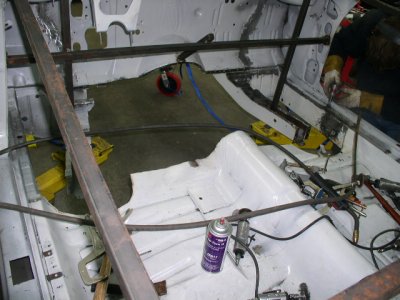
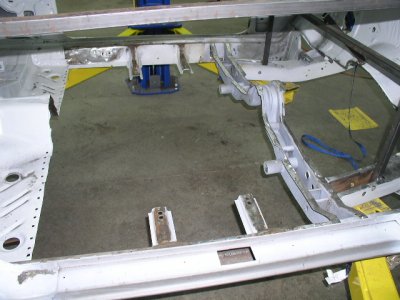
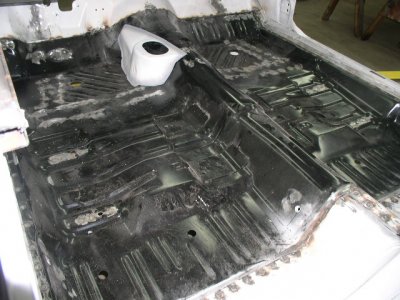
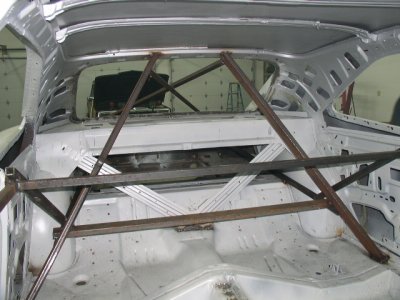
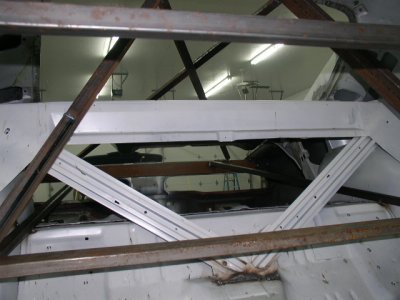
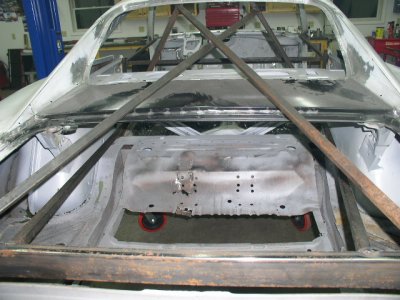
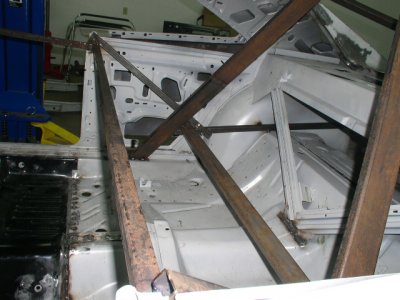
Had another good day with the R/T. Built some bracing, replaced the torsion bar crossmember, and removed the remainder of the floorpan. P1010111.JPGP1010112.JPGP1010115.JPGP1010117.JPG
 
Your making some great progress Elk..
 
Good geometry and thought on the bracing....Should have kept it pretty straight for you. Nice Work!
 
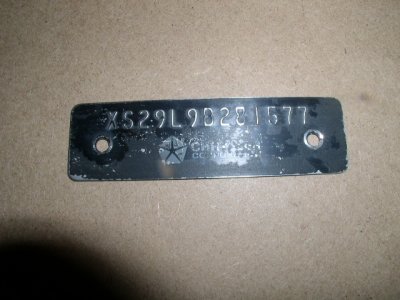
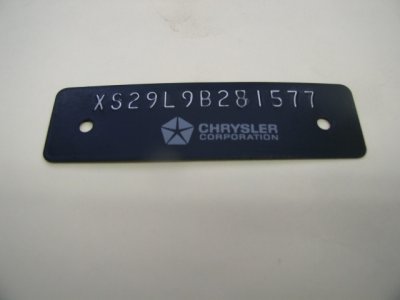
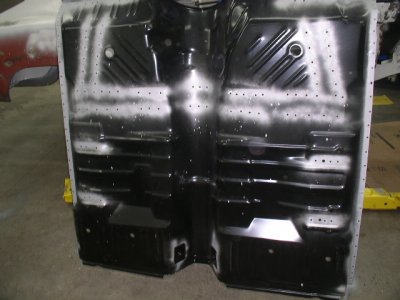
Got a little further on the project. The VIN tag turned out nice with fresh paint and new dry transfer. The new floor is welded in and just needs the 4-speed hump and console brackets installed. The lower windshield channel went in with no problems. The area just below the window leg should be an area everybody checks out when buying one of these cars. The weak spot was uncovered when the car got blasted. The way all the metal pieces come together in this spot make it a perfect area for moisture to set and turn to rust. Luckily this chunk was sent along with the windshield channel I bought from a Tennesse car and we were able to fit it right in. The other side of the southern car in this spot was in worse shape the this side of my Michigan car. So it is an area that is just a good spot for rusting - salt or not.
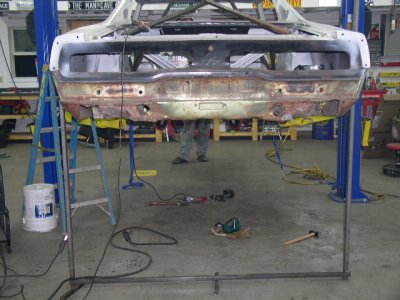
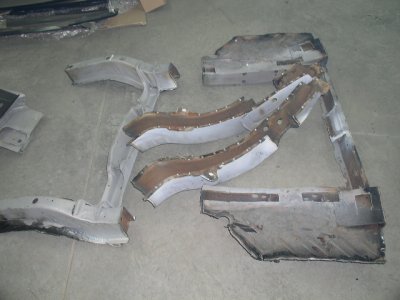
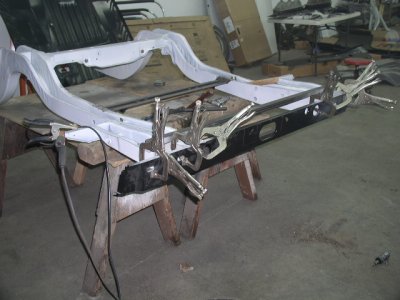
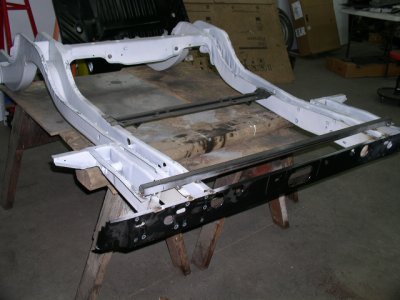
The next ting we are planning on tackling is the rear frame rails. I want to install it as a unit - both rails, all 4 spring mounts, shock crossmember, support over gas tank, and tailpanel. I'm thinking this would be the easiest way to keep everything straight. We will have to build some sort of jig to hold the back of the car up. If any of you have attempted this I woould appreciate your input. I might have to think about this phase of the project for a few days. PC270068.JPGPC310099.JPGP1020125.JPGP1040142.JPGP1020122.JPGP1040139.JPGP1030126.JPGP1030131.JPGP1040137.JPG

- - - Updated - - -

Joey, If you are watching this thread, it took 3 tries to make this last post. After typing the whole thing and adding pictures, click on the reply and it says forbbodiesonly is not responding. At this point the entire thing is lost and has to be redone. It is getting very annoying and to the point of why bother. This never happened on the old format.
 
Got a little further on the project. The VIN tag turned out nice with fresh paint and new dry transfer. The new floor is welded in and just needs the 4-speed hump and console brackets installed. The lower windshield channel went in with no problems. The area just below the window leg should be an area everybody checks out when buying one of these cars. The weak spot was uncovered when the car got blasted. The way all the metal pieces come together in this spot make it a perfect area for moisture to set and turn to rust. Luckily this chunk was sent along with the windshield channel I bought from a Tennesse car and we were able to fit it right in. The other side of the southern car in this spot was in worse shape the this side of my Michigan car. So it is an area that is just a good spot for rusting - salt or not.
The next ting we are planning on tackling is the rear frame rails. I want to install it as a unit - both rails, all 4 spring mounts, shock crossmember, support over gas tank, and tailpanel. I'm thinking this would be the easiest way to keep everything straight. We will have to build some sort of jig to hold the back of the car up. If any of you have attempted this I woould appreciate your input. I might have to think about this phase of the project for a few days. View attachment 96598View attachment 96599

How did you referb the vin plate?
 
I soaked it in laquer thinner for awile to remove the old paint. Etch primed and shot it with black semi gloss. I then lightly scuffed it with a scotch brite pad and rubbed it out with my fingers. I took a knife and carefully scraped off the high spots of the #'s and letters. Heated up the transfer and stuck it on. Oh and almost forgot - paid $30. for a set of the correct rivots.
 
It looks great!
Where did you get the transfer and rivets?
I'll do the same to mine when I get to that point.
 
What is the square hole you cut in the rocker door step for in the 4th pic above?
Rust treatment application access?
 
It looks great!
Where did you get the transfer and rivets?
I'll do the same to mine when I get to that point.

I ordered them from ECS Automotive Concepts

- - - Updated - - -

What is the square hole you cut in the rocker door step for in the 4th pic above?
Rust treatment application access?

Believe it or not, but that was the only way I thought I could get all the dead mice and their nests out of the rockers. I still couldn't remove everything because they had been partially filled with grease and everything was stuck in this. There are a couple of plates inside the rockers preventing blowing straight through. I was going to just clean it all out and replace the square I cut out, but have since decided to replace both outer rockers.
 
P1070144.JPG
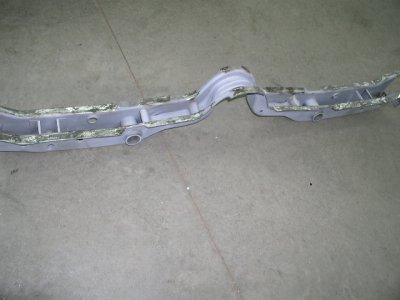
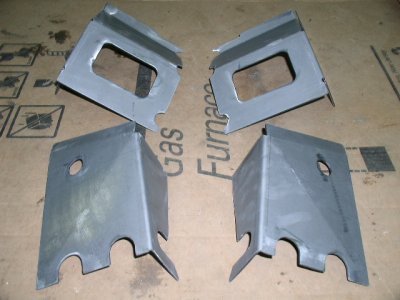
The man in the little brown truck dropped off a set of torque boxes from US Car Tool today. They don't look exactly like originals, but are fairly beefy. These and some frame connectors and I shouldn't have to worry about much body flex.
 
During the middle of tonights action, it dawned on me that I have gotten myself into quite a project. Maybe it had something to do with seeing enough bracing put into a car to hold up a small bridge. Anyway - the bracing worked well with no movement anywhere when the frame came out.P1070146.JPGP1070147.JPGP1070148.JPGP1070150.JPGP1070154.JPGP1070155.JPGP1070156.JPGP1070158.JPGP1070159.JPG
 
Wow, great progress! Found this car just like yours in a driveway, the guy bought it in 1970 drove it for long time, parked it, trashed the original engine(not sure why????), and it just sits waiting for his "grandkids"! Pfft what a joke, that car will rot to the ground! Original 440-4speed R/T, Black with a tan top and top interior, buckets with buddy seat. I love me a good barn/yard find. Found 12 or 13 good Mopars in a yard once, including a '68 Hemi Superbee column shift auto. No engine or tranny, otherwise complete for 18k if anybody wants it!
Tony
3FC886A3-0984-4A18-B55F-EEF9958DC0E3-712-00000047FB14D685.jpg

B99A86EE-2CA5-49BA-BB7F-1394AC8180DE-712-00000047F861B56D.jpg

DB2736DD-BEF5-4104-8793-22AC19DBE23C-712-0000004803F5EFBD.jpg

37E3A1ED-BDF3-45A8-9F30-9810979D2808-712-00000047FF970097.jpg

Tony, Its a shame he doesn't give it to a "responsible" grand-kid now, At least its not sitting in a yard rotting into the ground though! Hope he does something with it as far as throwing the engine out, it may have blown up or something, If he really knows these cars i wouldn't think he just found a better engine and decided he just didn't want it sitting around.. Id like to think so anyway, the metal appears to be in fair shape or better..

ELK, Your really going to town, good to hear your braces are holding up good, That should make your job much easier! Good luck...
 
I forgot last night so i wanted to update my post with this 68 Charger, The color on it seems to match the one you liked earlier, i think the top gos great with this to..

mopar_b_body_034.jpg
 
Wow, great progress! Found this car just like yours in a driveway, the guy bought it in 1970 drove it for long time, parked it, trashed the original engine(not sure why????), and it just sits waiting for his "grandkids"! Pfft what a joke, that car will rot to the ground! Original 440-4speed R/T, Black with a tan top and top interior, buckets with buddy seat. I love me a good barn/yard find. Found 12 or 13 good Mopars in a yard once, including a '68 Hemi Superbee column shift auto. No engine or tranny, otherwise complete for 18k if anybody wants it!
Tony

I continue to be amazed by all of these cars that keep poping up that were not crushed but instead saved for 30 years for that someday restoration. I myself sent a couple to the salvage yard in the mid 80's that I sure wish I hadn't.

______________________________________________________________________________________________________________________________________________________________________________________________________________________________________________________________________________________________________

- - - Updated - - -

I forgot last night so i wanted to update my post with this 68 Charger, The color on it seems to match the one you liked earlier, i think the top gos great with this to..

View attachment 97225

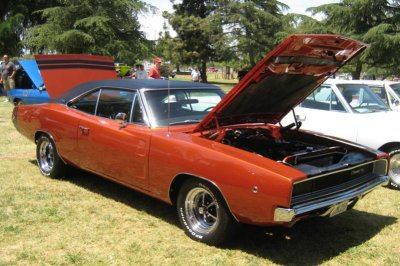
Thanks for the picture Ron. I still haven't picked a color yet, but the copper - deep burnt orange is my first choice as of now. Q5 is probably my second. I am really struggling with this. I want a color that I believe I would have ordered on a car in 1969, but it also has to be desirable to most people if my kids want to sell someday after I am gone. If anyone has any other pictures feel free to post them up.
 
Great thread, keep those pictures coming!
 
I've found a '70 V code D21 TX9 RS23 Lynch road GTX in a field too! 3 383-4speed '70 superbees, '70 Challenger RT/SE 440-4bbl 4-speed, Super Trac Pac, FC7,VIW, and black interior. It was a late '70 car optioned with the shaker so it ended up with a T/A hood, it was wrecked in the '80s so the fender tag is gone. It's very mysterious because it also ended up with a '69 Six pack setup in the '80s. It also has the rear mounted intenna? If it has the build sheet which is unlikely cuz its an LA car I could figure out what's up with it!
Tony
 
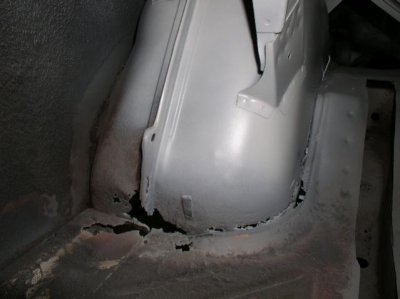
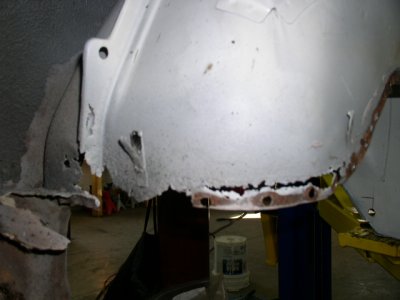
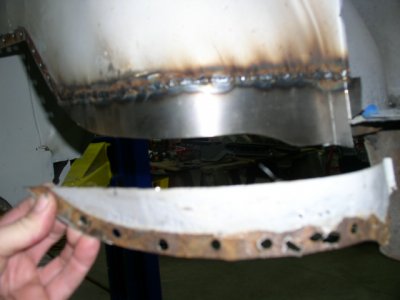
Since we had good access to the inner wheelhouses at this point, we decided to repair them now. These are the only bad spots on them so I decided to repair instead of replace. The drivers side was the worse of the 2. Got them roughed in and will finish the mating back lip to the outers when we replace those. This kid I have helping me sure makes metal fab look easy.
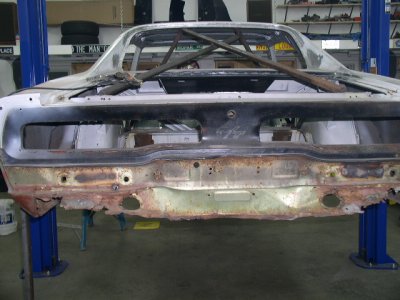
Next step is going to be the rear frame rails. I decided to keep my front spring hangers because they are in grreat condition and it will be easier to not have to deal with the flange that is welded to the top of the inner rocker. Got the new tailpanel welded on. A little more prep to the rails and they will be ready for a test fit.PC110013.jpgP1090160.JPGP1090165.JPGP1090167.JPGP1090168.JPGP1090166.JPGP1100169.JPG
 
Auto Transport Service
Back
Top