• When you click on links to various merchants on this site and make a purchase, this can result in this site earning a commission. Affiliate programs and affiliations include, but are not limited to, the eBay Partner Network.

Making progress

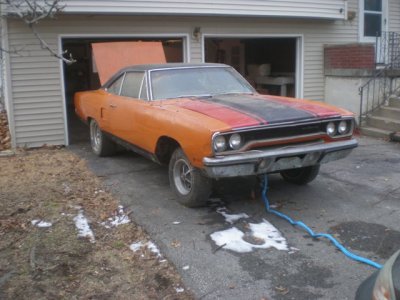
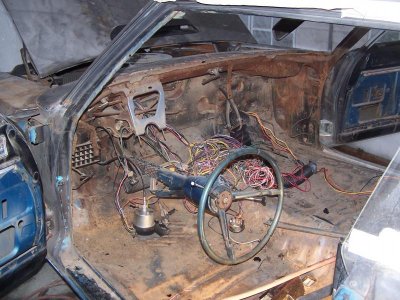
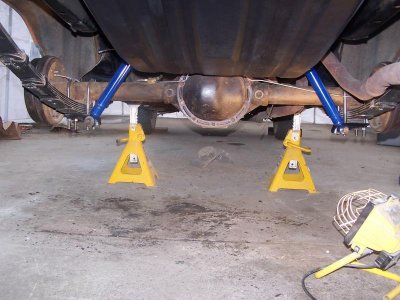
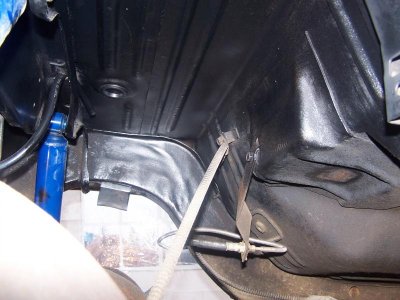
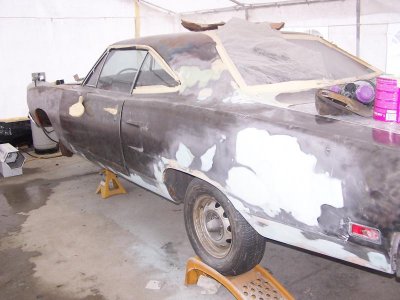
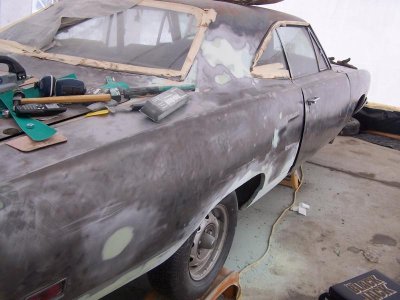
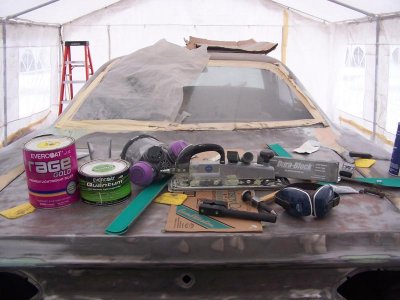
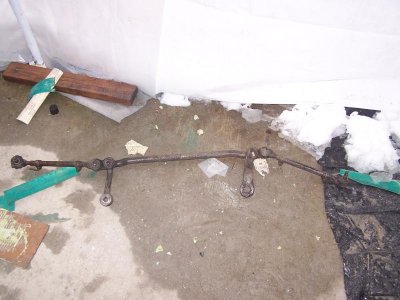
New springs shocks and shackles in as well as frame wire brushed and painted.. rolling along on it... primer is coming soon... contemplating the torsion bar swap right now

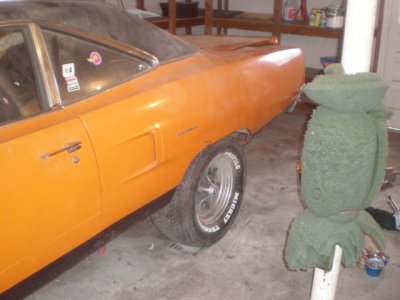
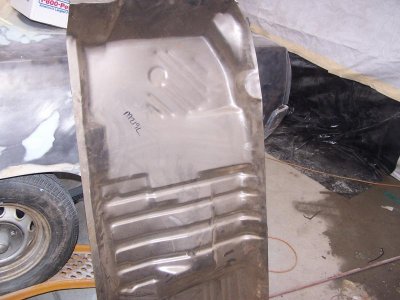
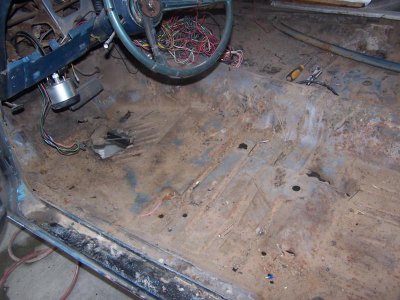
wasnt going to do the floors this time around but am starting to thing maybe I'll knock them out too... dont know.. I was only going to do a quick job right now to improve the appearance...hahahaha
 

Attachments

  • 100_4970.jpg
    100_4970.jpg
    74.6 KB · Views: 691
  • 100_4964.jpg
    100_4964.jpg
    66.7 KB · Views: 675
  • 100_4971.jpg
    100_4971.jpg
    69 KB · Views: 679
I was only going to do a quick job right now to improve the appearance...hahahaha

Isnt that what we all tell ourselves;p Ends up being just a little more:eek:
Looking great on your progress!
 
stalled out due to freezing temps.. cant paint or work with body filler .. so I rented a 155 btu jet heater for the tent..LOL...
almost done with one side, had a set back on the other side when I tried to pull some dents out.. craked all the work I had already done...

pitmam arm is frozen on as well.. working on that too


had an offer for a 67 chevelle trade .. in about the same shape..
 
driver side .. done
passenger side almost done
steering linkage is out and the torsion bars are swapped.. done forget to put those effin boots on,,twice:black_eye:
front shocks are out
new fast ratio pitman and idler on the way as well as complete tie rods and sleeves
ball joints seemed to be ok but we'll look closer at them later as well as upper a rams and bushings.. all looks fine, like to upgrade but dont see a need at this point this is just a quick cleanup

the rage gold is pretty good stuff.. the Quantum is incredible to sand ... I use it for for the finish skim coat
I'm not trying to hide the filler to much, it will be smooth with some wave to it but not a whole lot. Not trying to make it perfect right now.. so anyone with a trained eye will pick out the trouble spots easy enough. I hate cars with new paint and cheap body work, but again I'm dressing it up for now... I keep telling myself that but I have far to many hours into that one quarter... so I'm playing it smart now and just making it look decent. The rust was on the bottom the other stuff was dents, the rockers must have had some trim before not sure what it was but those little holes suck

Going to do a black vinyle roof.. how the hell do you install them? LOL but I like that idea better than painting the roof
 

Attachments

  • 100_4976.jpg
    100_4976.jpg
    60.2 KB · Views: 627
  • 100_4977.jpg
    100_4977.jpg
    60.8 KB · Views: 611
  • 100_4980.jpg
    100_4980.jpg
    63.1 KB · Views: 632
  • 100_4978.jpg
    100_4978.jpg
    57.2 KB · Views: 620
  • 100_4979.jpg
    100_4979.jpg
    61.2 KB · Views: 627
So did your carport hold up to all the snow falling out there? A co-worker of mine lives out there and he had problems with 1 of his. Hope it all stays dry! And you too for that matter! lol
 
you can see the snow in one of the pictures, I kept going out there and clearing it. Otherwise it would have collapsed for sure and taken out a lot of work.. at which point it would have been a home owners claim ... but no way I was going to let that happen..LOL
I was out there at 3 am clearing it off. Hoping to primer it friday and paint it saturday... that 155 btu in the 26x16 really keeps it toast and dry in there

I used plastic to extend the walls to overlap the floor by a good amount so it would semi seal the area

masking tape and spray glue and it actually is pretty decent for what it is..

:)
 
Holy Shiite! Pack it up on your trailer, take some time off as you drive to TX, hang out for 3-4 days, I media blast this car, put it in epoxy primer, and send you on your way, you're done before you can get all this hard hand sanding done, and, it's done way better too!
 
Well all the paint is off the car, the body work nearly done and hope to be in epoxy primer tomorrow :)
 
Car is looking great. I hope to finally do the same thing come this spring.
 
wow missed this thread looks like the twin to my car

this was my brothers car i inherited when he died , he bought it in 1976 its been in our hands ever since alway garaged , one of my some day projects
 

Attachments

  • PC180340fgrfgr.JPG
    PC180340fgrfgr.JPG
    78.4 KB · Views: 587
Holy Cow !! Looks he started in 1000% better shape than I did. So that is what the car is supposed to look like ...LOL

cant tell for sure but is that an air grabber?

Sorry to hear of his passing.
 
Holy Cow !! Looks he started in 1000% better shape than I did. So that is what the car is supposed to look like ...LOL

cant tell for sure but is that an air grabber?

Sorry to hear of his passing.

yes but its not an air grabber car ? its going to get one , the red air grabber came off another 70 rr he had and had parted out in 78 .


post car 383 4spd bench car blk vinly top and blk lower stripe , but i'm putting buckets and a console in it
 

Attachments

  • PC180326.JPG
    PC180326.JPG
    67.8 KB · Views: 560
  • rich hill 8dfrdfrdfr.jpg
    rich hill 8dfrdfrdfr.jpg
    62.5 KB · Views: 568
  • rich hill 7dfr.jpg
    rich hill 7dfr.jpg
    50.4 KB · Views: 586
I couldn't tell for sure if the hood was an air grabber is what I was asking. My car is a clone so the original parts thing was out the window before I bought it....LOL

I'd like to get an air grabber hood for mine as well. Just acquired the hood signal insert to add to the existing hood. Sweet car, I'm doing the dash as well, converting to a rallye and looking for bucket seats and a console too...
I plan on a wing in the back as well. The windshield is supposed to be pulled today to swap the dash frame.. then I need interior pieces galore ( dash stuff except for the gauges and bezel, already have that stuff but only have the dash frame
 
They are hard to find. I got mine form ebay for 175 and it isnt in good shape. It need new lenses.. $50 and I think I can find replacement sockets from pico
 
Another day more progress.. so I said I wasnt going to get carried away but dont seem to remember that when I am working on it... windshield out, dash frame out, floors about to come out.. sand blasted the windshield area....and I wanted to paint on Sunday... aint happening.. found more dents to repair on the passenger side as well.
Rust on the inside of cowling and inner door what evers is just surface stuff.. Overall the car is a mess but not in that bad a shape... I think she's going to be just fine when I'm done with her
you can see the new torsion bar through the hole in the drivers floor...LOL I drove it like this for a while...hahahah
 

Attachments

  • 100_4982.jpg
    100_4982.jpg
    59.3 KB · Views: 567
  • 100_4983.jpg
    100_4983.jpg
    74.7 KB · Views: 557
  • 100_4985.jpg
    100_4985.jpg
    59.4 KB · Views: 555
  • 100_4986.jpg
    100_4986.jpg
    96.9 KB · Views: 547
  • 100_4984.jpg
    100_4984.jpg
    80.1 KB · Views: 574
Fantastic!!! Lots of work but lots of fun! Keep it up and soon enough you'll be back on the road!

A~
 
Auto Transport Service
Back
Top