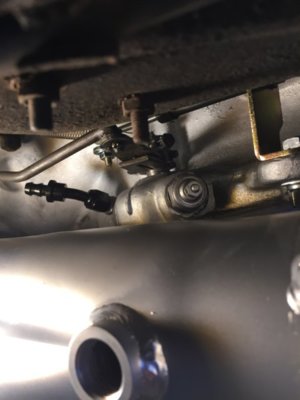
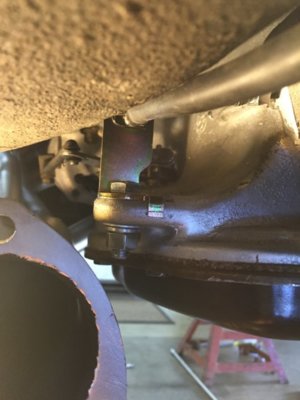
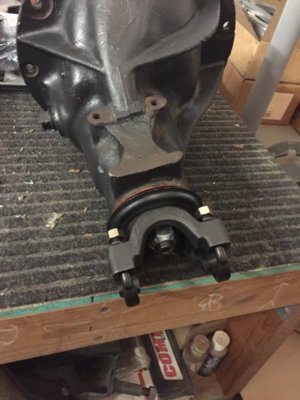
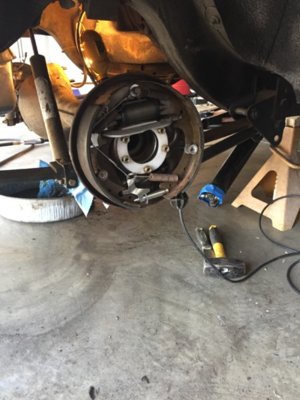
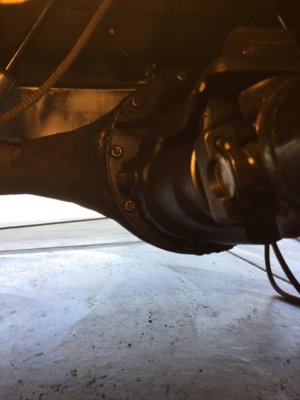
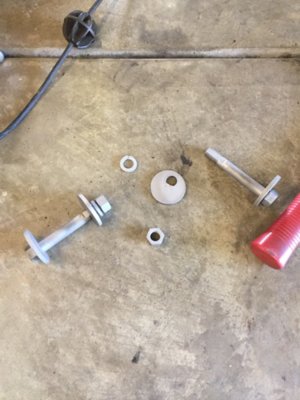
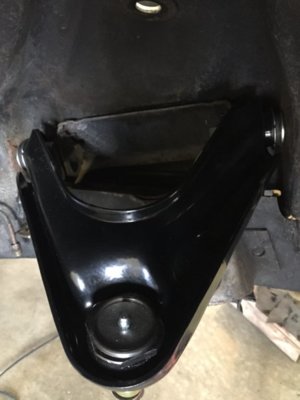
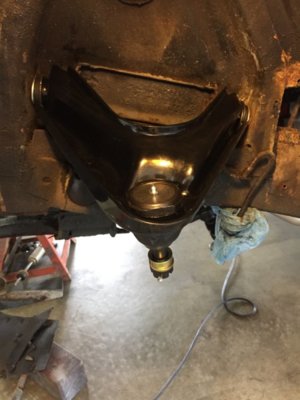
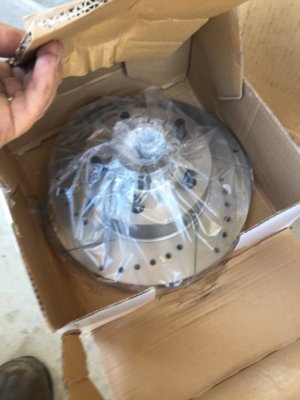
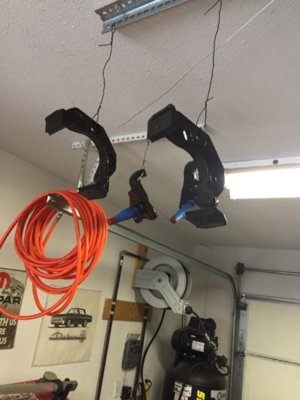
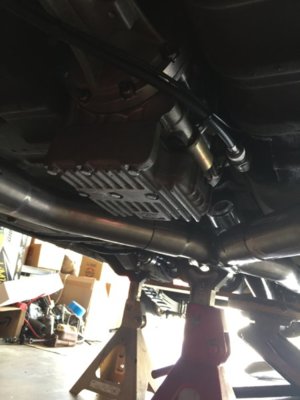
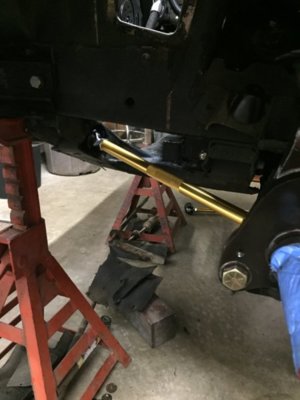
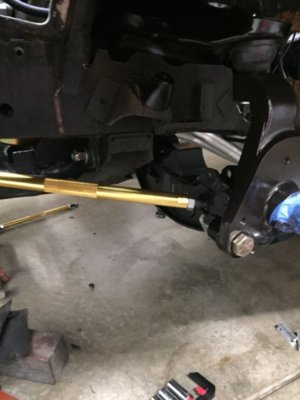
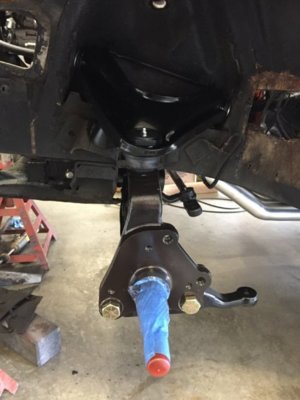
Just rebuild it but upgrading to 11/16’s tie rods and adjusters. I also got PST 1.03 tb’s so it should stiffen the handling up, along with the Stage 2 power steering box from Steer n Gear.
You are using an out of date browser. It may not display this or other websites correctly.
You should upgrade or use an alternative browser.
You should upgrade or use an alternative browser.
Mr. Belvedere
- Thread starter 5.7 hemi
- Start date
1967coronet440
Well-Known Member
Nice work zack
Sixpactogo
Well-Known Member
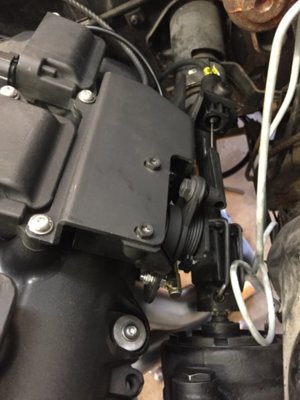
I see you mounted the throttle bell crank to the engine. Did you fabricate that bracket? Or is it a part of Bouchillon kit. I like that better than the way mine turned out.
Sixpactogo
Well-Known Member
Like everything else in their inventory!That is from Bouchilon, nice and compact but rather pricey.
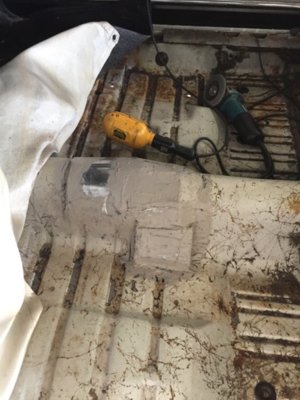
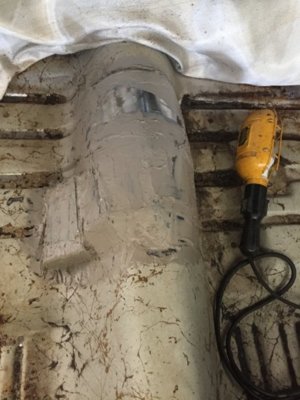
I didn’t know either. All I’ve ever read was “a ding here or there”. But once I started jacking the trans into position, it was apparent that surgery was in order. I kept it as small as possible, but that damn speedo sticks out quite a bit. I raised the tunnel about 1/4 inch and gave a good amount of room for the speedo connection.
furyus
Well-Known Member
- Local time
- 5:53 AM
- Joined
- Jan 5, 2010
- Messages
- 1,755
- Reaction score
- 1,110
- Location
- weeki wachee, florida
subscribed
Finished all the wiring, got rid of the factory starter relay, gutted the ballast resistor (has a regular wire in it now for 12 volts run/start) and at the ignition switch I combined the brown/yellow with the pink wire from the Hotwire harness and then the yellow on the switch with the yellow on the Hotwire harness. Double checked all my connections (power probe) and all was good. So then I connected the battery for a “smoke check”, no smoke and twisted the key. It lives!!! I have a small video of it running, only a few seconds as I still need to add water and tranny fluid.
Sixpactogo
Well-Known Member
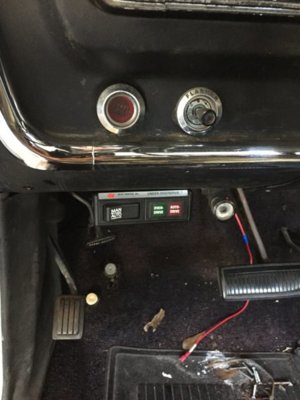
That is exactly how I had my 68 Charger wired when I first fired it up. It always started right up but once in a while the engine would flutter and not seem to run properly. While speaking to Chris at Hotwire, he told me the computer doesn't like the millisecond break in continuity when the ignition switch goes between start and run and sometimes will act up that way. I finally ended up using a push button start and have not had that issue again. Some people have not experienced the problem but if you do happen to notice that flutter, that is what the problem will be. I didn't want to add the push button but now after a couple years I have gotten used to it not being part of the ignition switch. My button is under the dash where a common thief would not easily figure out why it won't start.Finished all the wiring, got rid of the factory starter relay, gutted the ballast resistor (has a regular wire in it now for 12 volts run/start) and at the ignition switch I combined the brown/yellow with the pink wire from the Hotwire harness and then the yellow on the switch with the yellow on the Hotwire harness. Double checked all my connections (power probe) and all was good. So then I connected the battery for a “smoke check”, no smoke and twisted the key. It lives!!! I have a small video of it running, only a few seconds as I still need to add water and tranny fluid.
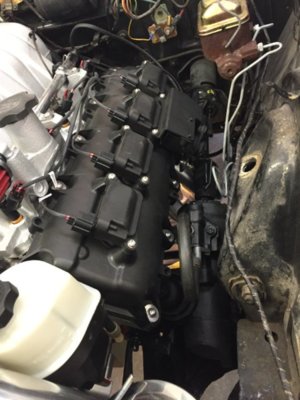
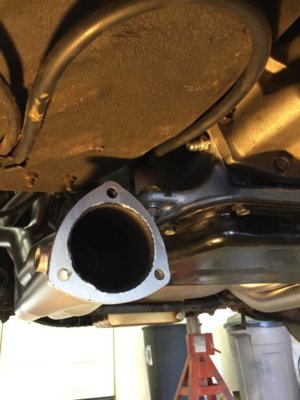
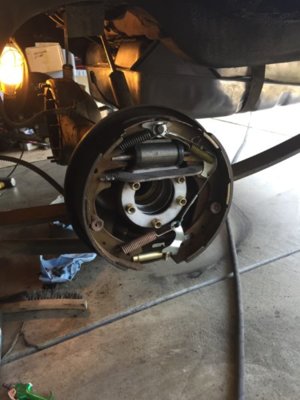
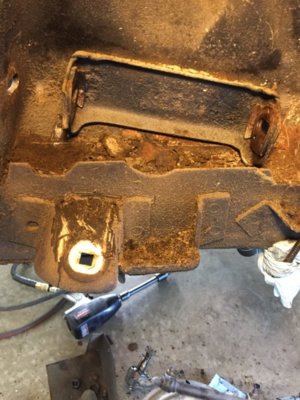
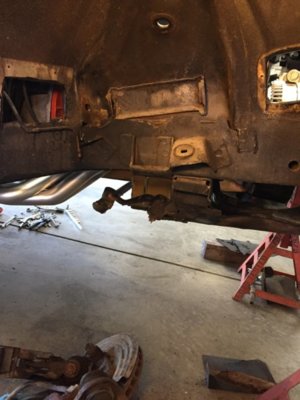
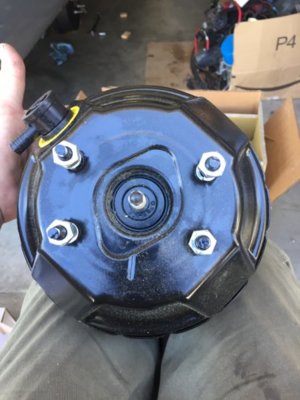
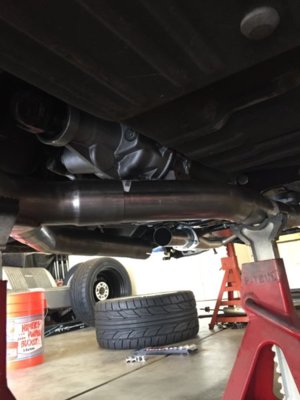
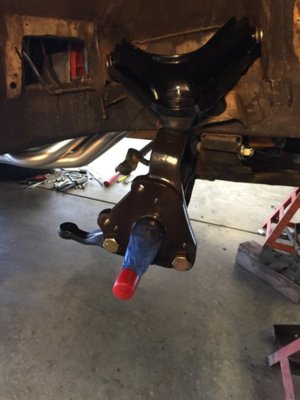
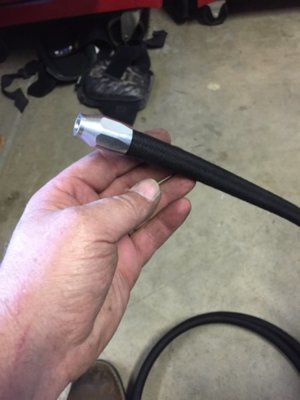
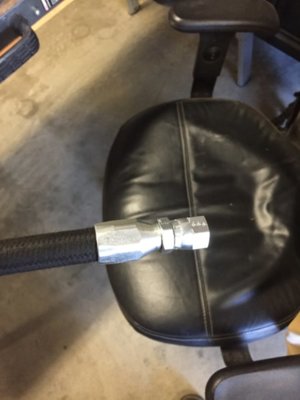
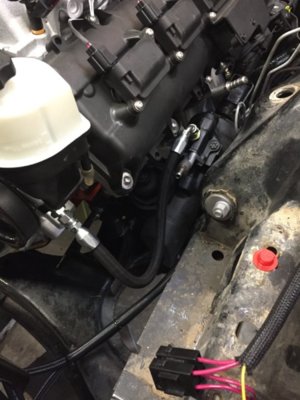
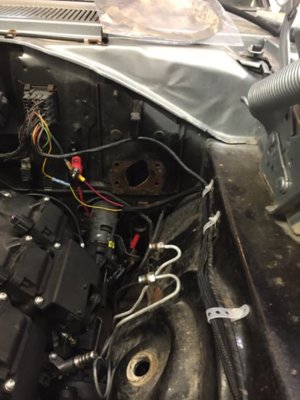
Was a busy day. Parts were jumping onto the car! One nut that holds the booster backing plate is fight me, not nearly enough room to get a socket up there, but it WILL come off! I ordered a high pressure hose kit for the power steering, was super easy to install the fittings. Lol! Here’s today’s festivities, enjoy.


Similar threads
- Replies
- 1
- Views
- 226
- Locked
- Replies
- 0
- Views
- 272

