• When you click on links to various merchants on this site and make a purchase, this can result in this site earning a commission. Affiliate programs and affiliations include, but are not limited to, the eBay Partner Network.

1969 Dodge Super Bee Coupe Restoration

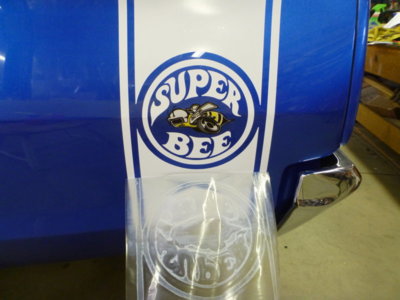
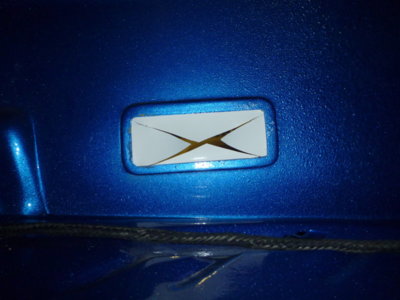
Back side of the cut out. You can't fold it back until the decal cover layer comes off.

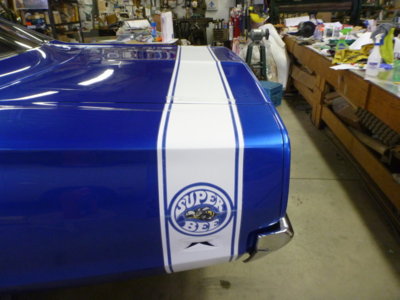
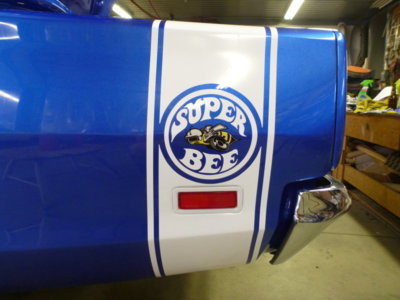
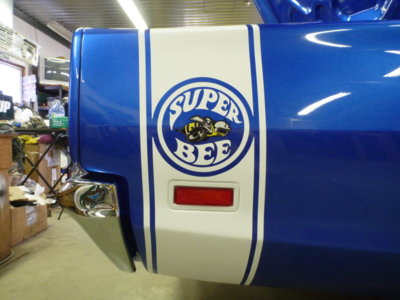
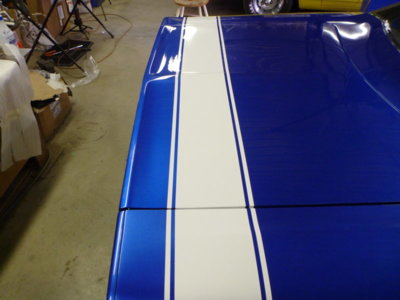
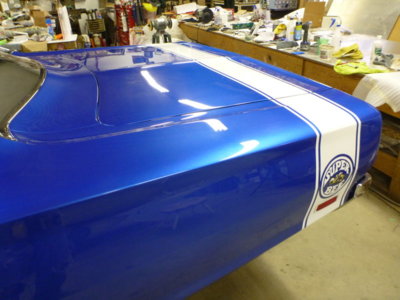
A tad pissed with the manufactures +/- 1/16" tolerance on decal width. The quarter's center stripes are 1/16" wider than the deck lids... so instantly make the stripe look off. Here it is lined up nice at the rear edge, not so much at the front. Had to bump the trunk lid forward 1/32" so I was happy.

About 3 hours later, peeling the outer cover off ever so carefully.

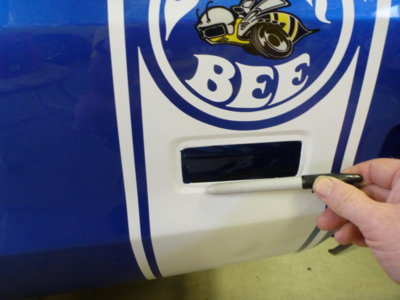
Using a sharpy to gently work the decal into the marker opening. Went back and forth between sides about 10 times until it stuck nice. DO NOT use your fingers.. unless you have no nails!

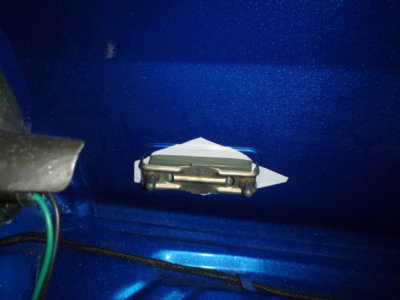
Decal just crudely folded back per factory "specs" and the NOS bezel retainer in place with speed nuts.

Drivers side marker bezel in place.

Passenger side marker bezel in place.

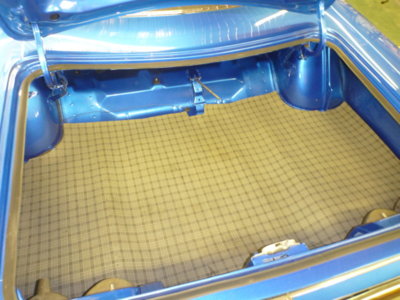
Trunk mat in.

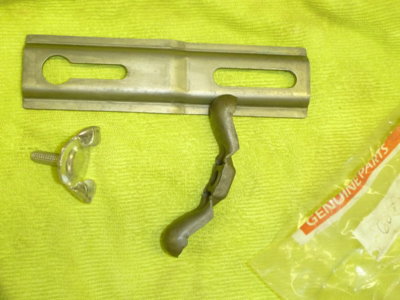
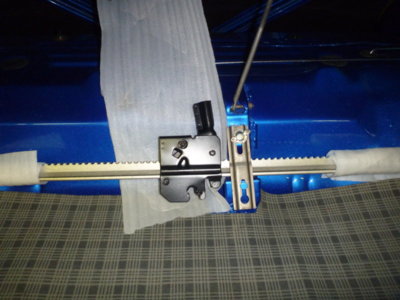
Something I didn't even know existed, a jack hold down plate and wing nut, until I started researching my restoration. Never saw one in ANY Mopar in my life. Thrown away, with the jack, after the first flat tire! lol

Of course the factory wouldn't wrap it up. Jack in place with hold down bracket and wing nut.
beerestoration2019part2 777.JPG beerestoration2019part2 785.JPG beerestoration2019part2 796.JPG beerestoration2019part2 798.JPG beerestoration2019part2 805.JPG beerestoration2019part2 806.JPG beerestoration2019part2 807.JPG beerestoration2019part2 815.JPG beerestoration2019part2 824.JPG beerestoration2019part2 817.JPG
 
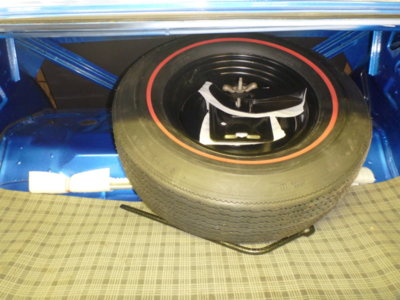
Spare tire, jack base and hook in place with an NOS wing nut. (and a 2" black nylon washer so no scratches)
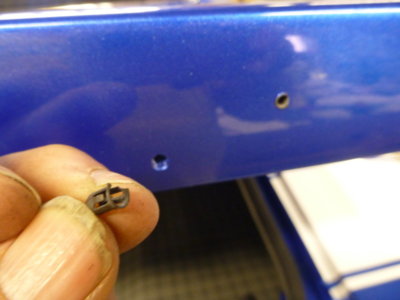
I couldn't get the speed nut to grab the single accessible post of my trunk Bee, and if it had I don't think it would have sat right anyhow. Fortunately I'd bought these 4 years ago to put the Road Runner emblems back on the Birds trunk lid. Only thing with these, once they're on.. they're pretty much ON. Drill a 5/32" hole, insert these locking rings and then the emblem.

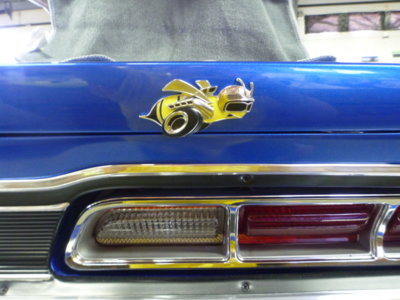
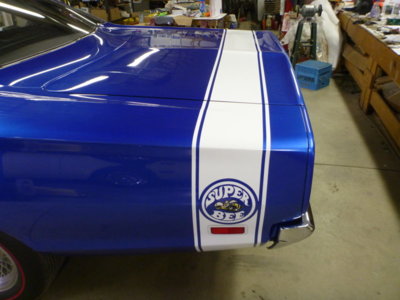
Bee tapped gently into place with the rubber hammer. It's tight and not coming off.

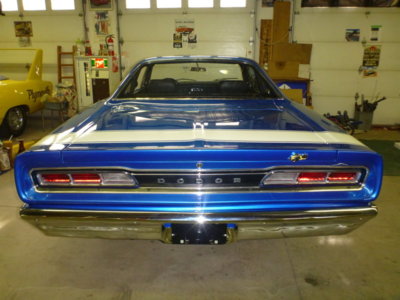
An *** I've always loved! It's 50 years older and I love it even more!

Trunk adjusted 1/32" forward, which of course took about 6 tries. Now I'm happy.

That's a wrap ! Well not quite, still a few little things to finish up!

beerestoration2019part2 820.JPG beerestoration2019part2 825.JPG beerestoration2019part2 826.JPG beerestoration2019part2 827.JPG beerestoration2019part2 830.JPG beerestoration2019part2 832.JPG
 
I also want to share as to what a great place this forum is! I bought a spare 053 radiator from a new member here a couple of months ago (that turned out to be MINT and triple row to boot!) and he was going to ship it to me. He also had an interior for a '66 Belvedere and a member that's about an hour away from me bought it from him. He and his son were driving down to Trenton to pick it all up and out of the blue I get a PM asking if I want him to pick up my radiator to save the postage / damage and I said sure. Turns out his son works at Jim Wilson Chev in Orillia, where my paint guy has all his restorations aligned (million $+ cars), and while I was there picking my my radiator he told me he'd take care of getting me in himself to have the Bee done.

Alignment is booked for 10AM next Wednesday and the bonus is while we're doing the car my 24' enclosed gets a new annual Yellow sticker slapped on it's side! Thanks @BB BELLA
 
I have always bought my decals and stripes from Performance Car Graphics, but am hesitant to get my Bee rump stripe from them after seeing the issues you had. Wonder if there is a better quality one made by somebody else?
 
No real issues.. other than the width difference that certainly threw me for a bit of a loop when I wrapped the ends in and over to see that.... even though I hit my tape line EXACTLY on both strip sections the center was offset at one end by 1/16. Now that I bumped the trunk.. you'd never know looking at it. There is also a slight angle change between decals when you cross the gutter line, so that adds to the illusion as well. The one quarter decal was just long enough to slightly wrap the bottom edge. Could have used another 3/8" of decal, but not noticeable unless you crawl under..
 
I have a neighbour that does offshore race boat graphics! I'm sure he could make anything you want if you give him the colours and measurements!
 
Looking Great Wayne!

Way to go! What's left just the alignment eh??
Yellow sticker=safety ?
 
Looking Great Wayne!

Way to go! What's left just the alignment eh??
Yellow sticker=safety ?
That's the crazy **** in Ontario... my trailer needs an annual safety, my car hasn't had one since it transferred from Dad to me in 1979!
 
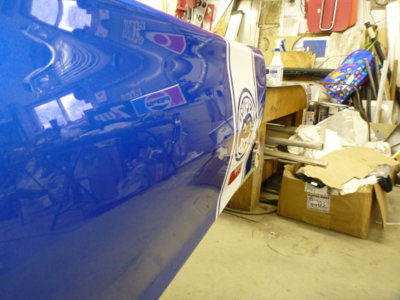
Shop at 80*F and dehumidifier running full blast. Decal looking good!

About 1/2 of the deck lids small bubbles have disappeared in two days. Hopefully all gone over the weekend.

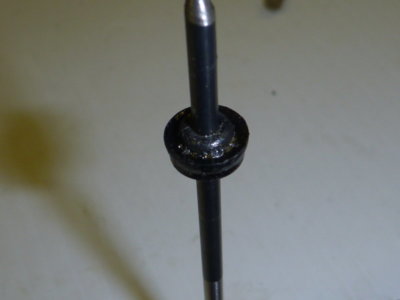
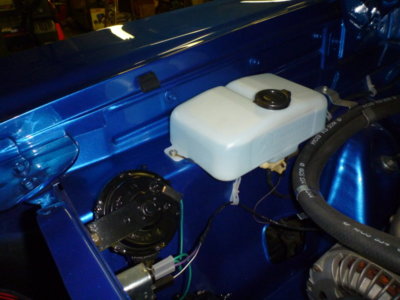
Finally got the O ring to stick to the original washer fluid pump seal and reassembled the pump.

All back together, runs and holds fluid this round!

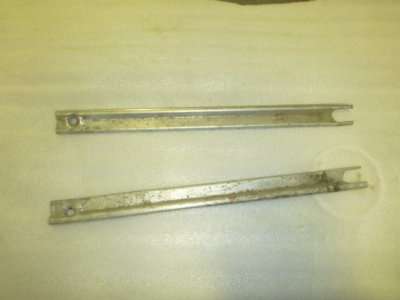
My OE sill plate extensions, from Moparsal, showed up in the mail. They need a good cleaning but in great shape.

beerestoration2019part2 833.JPG beerestoration2019part2 834.JPG beerestoration2019part2 835.JPG beerestoration2019part2 838.JPG beerestoration2019part2 842.JPG
 
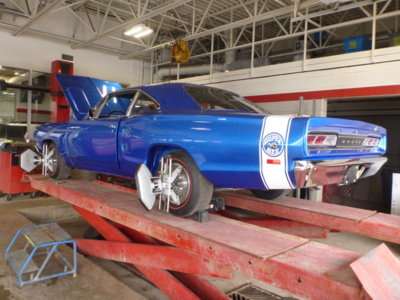
Outside and ready to load her up for a front end alignment in Orillia tomorrow.
beerestorationmay2019alignment 010.JPG
beerestorationmay2019alignment 012.JPG
beerestorationmay2019alignment 022.JPG
beerestorationmay2019alignment 024.JPG
beerestorationmay2019alignment 034.JPG
beerestorationmay2019alignment 035.JPG


All strapped in and ready to go in the morning. Next road trip will be under her own power, as I applied for Hagerty insurance last night. Now to see if they'll cover me for my agreed value!
beerestorationmay2019alignment 051.JPG

 
I went with Grundy for insurance, If Hagerty doesn't work for you.
 
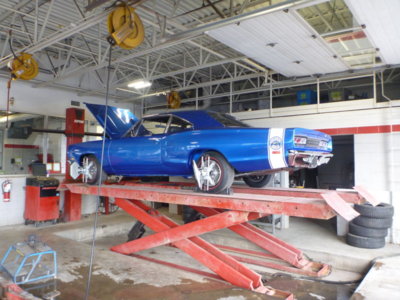
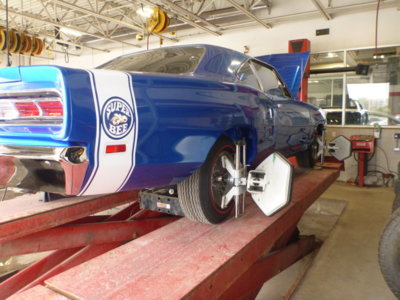
On the alignment rack at Jim Wilson's in Orillia, Ontario.

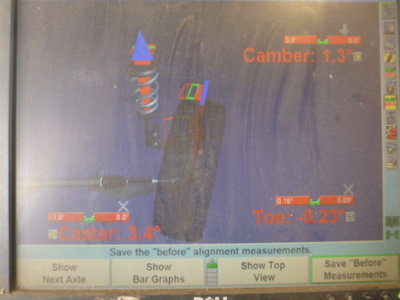
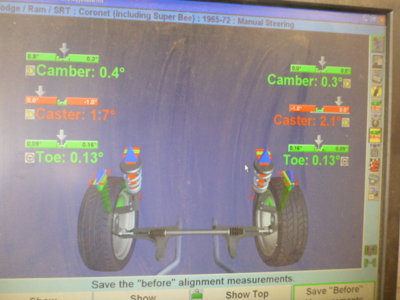
Many say they can't get their OE geometry past 2.0* Positive Caster for better handling. Passenger side would go 3.5* right out of the gate.. but of course we then couldn't get the drivers side there. It would only go to about 2.5* which is just fine on bias plies and then setting camber brought it down to just under 2.0. Factory spec is 0 to -1 (that I didn't want).

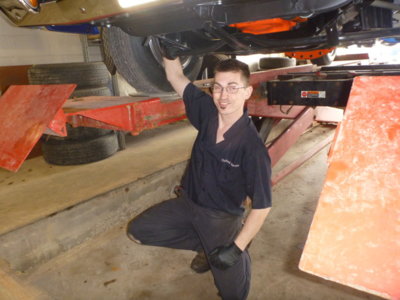
So great to see a young mechanic that understands old cars. Dalton is rebuilding a '66 Belvedere himself. This is @BB BELLA 's son. If you need your Mopar aligned in Ontario, give Jim Wilson Chev your business and request Dalton. He understands the work that's gone into YOUR car, knows to work clean with hand tools and most of all understands Mopar ....even if he is working for Chevrolet! Even the dealership owner came out to see a real car...

Some neat technology..

Just about done setting toe in.

My most important "want"! A centered wheel.

A bit more left side camber, just like factory spec, to keep you on the hump of the road. Car test run seemed to run nice, track straight, wheel is centered and it did a U turn really nice before I got caught too far up the street! :)

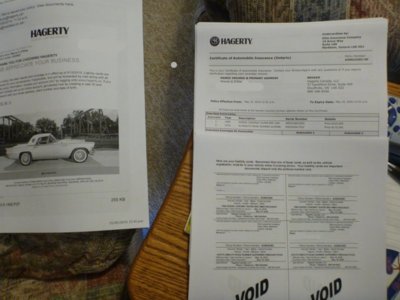
Came home to insurance slips from Hagerty! No issues, no questioning value, just took my money. I sure don't miss the days of having to get a $$$ photo appraisal done, with FILM! lol Now I can go get licence stickers and get her dirty !!!

beerestorationmay2019alignment 065.JPG beerestorationmay2019alignment 068.JPG beerestorationmay2019alignment 070.JPG beerestorationmay2019alignment 071.JPG beerestorationmay2019alignment 072.JPG beerestorationmay2019alignment 073.JPG beerestorationmay2019alignment 075.JPG beerestorationmay2019alignment 080a.jpg
 
Awesome! Bet your gonna throw some plates on it & take her for a drive tonight!
 
Na.. raining here now. They still haven't cleaned the streets of winter sand yet either. But SOON!!!!

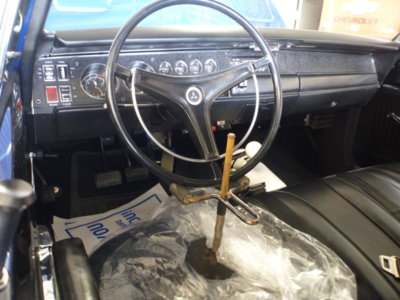
Been waiting about 15 years to power shift this bitch... still smiling !! :D


Na.. raining here now. They still haven't cleaned the streets of winter sand yet either. But SOON!!!!

Been waiting about 15 years to power shift this bitch... still smiling !! :D


Good for you Wayne. You deserve that grin! Thanks for your dedication on making one of the best documented threads on any car forum. Many are going to benefit for your efforts. I know I have.
 
Auto Transport Service
Back
Top