• When you click on links to various merchants on this site and make a purchase, this can result in this site earning a commission. Affiliate programs and affiliations include, but are not limited to, the eBay Partner Network.

Body Building 101- 1968 Charger

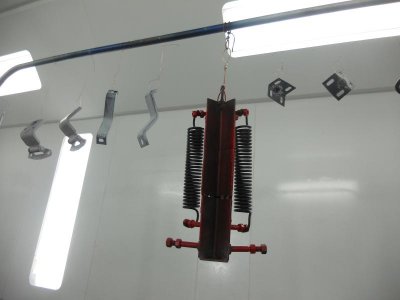
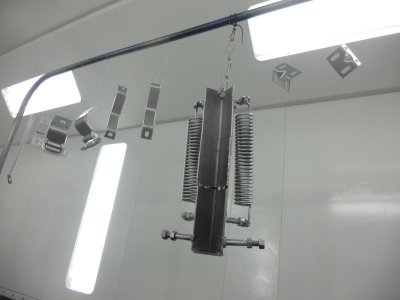
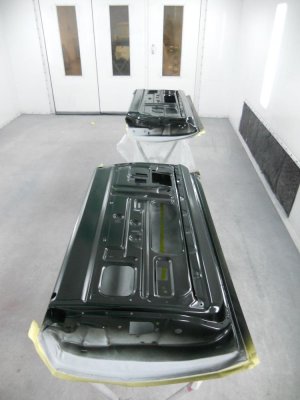
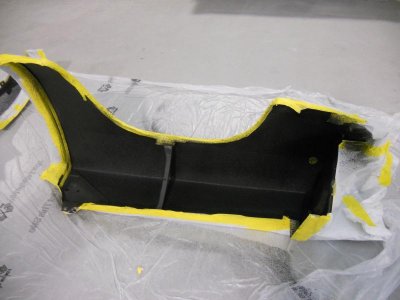
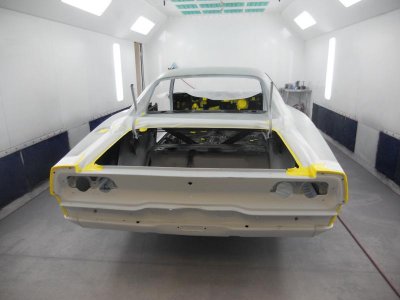
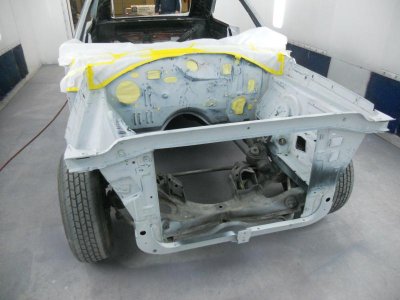
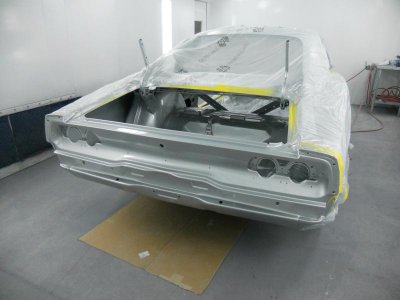
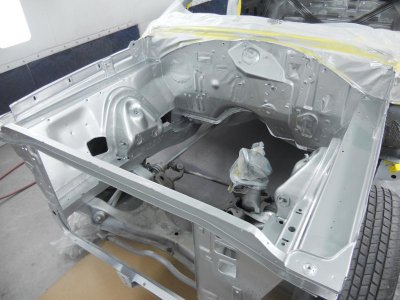
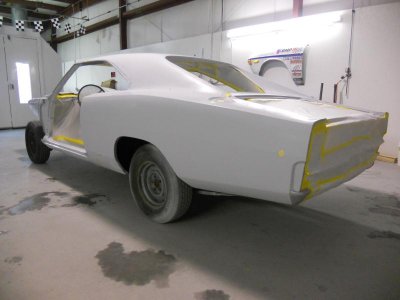
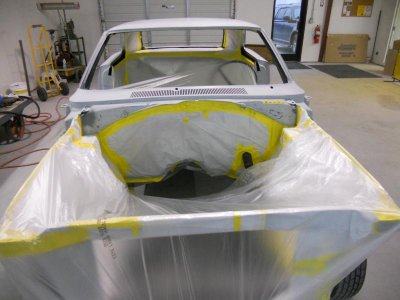
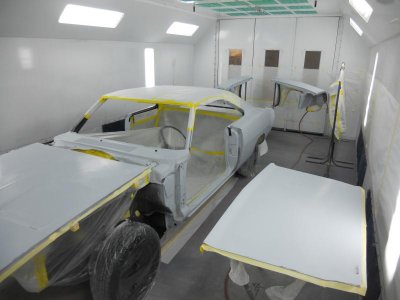
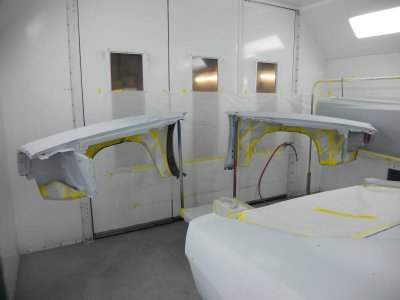
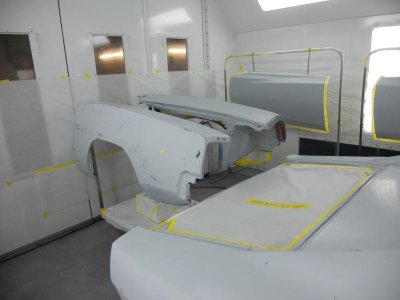
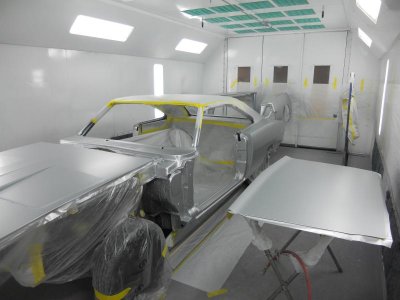
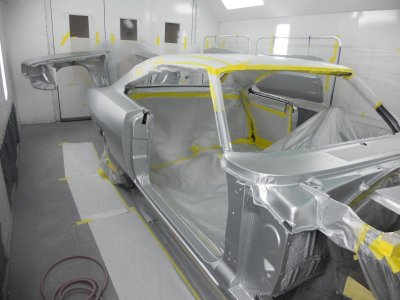
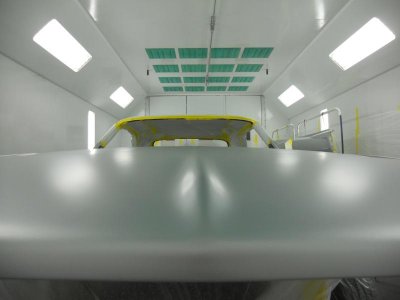
Ok, what's the address. I will be sending my car soon. You do charity work, right? Lol. Excellent work, I'm very jealous, gives me inspiration though and thank you for posting all the good info and pictures. Keep up the good work and I'll attempt to follow suit. Awesome.
 
Thank you for the comments and compliments, guys. It's appreciated. I know that in the whole scheme of body restoration this is pretty condensed, but hopefully explaining my thought process and plan helps someone else in a similar situation.
And to smyythe68, Google me, I'm not hard to locate!:notworthy:

Anyone interested in seeing a 64 Belvedere project? Maybe I could start a thread on that one.

Thanks again for the interest and compliments.

- - - Updated - - -

Good work Steve! Thanks for sharing! Isn't it amazing what can now be done to a car like that with the availability of reproduced body panels??

Hi Rick!
You are right, without new body panels so many of these old cars would not be brought back. We just have to accept some modifications are needed on some pieces and catch those issues early in the builds. Nothing worse than finding out that nice looking painted part you assumed would fit, now needs to be cut up and painted again.
Considering the number of aftermarket panels we had to use on this Charger, I think it went pretty well.
 
Where there is the will there is the way!Great job!Have a car just like that i wanna buy and looking at your work it can be done!

Well done,excellent work!
 
Speaking again of modifying new parts, when both new quarter panels were unpacked I noticed both were stamped with a slight bulge behind the wheel and below the body line. Rather than try and alter the shape off of the car, I waited until they were solidly welded before doing any metal work. To get them to come down I used a sharp awl and body hammer and very lightly tapped in a circular pattern to shrink the surface down. Then I used a metal file to check my progress. I'm sure it took over a thousand strikes to get it down, but by going slow it never oil canned on me and I never had to knock it back out. Eventually it was close enough to finish with a light filler coat.
The filler work was then sprayed with DP epoxy primer and K36 primer. This is also when we finally had our moldings to check for clip hole locations. We checked the fit and hole locations against the measurements taken at the the start of the project. After a series of hand blocking/priming/blocking, it was ready for final primer and a mist coat of green base. The green base serves as a "tracer" or "shadow" coat for the last sanding for paint work. When all of the green has been sanded off with 600 grit, the surface is paint ready.
 

Attachments

  • DSCN3768.jpg
    DSCN3768.jpg
    47.7 KB · Views: 352
  • DSCN3784.jpg
    DSCN3784.jpg
    45.7 KB · Views: 362
  • DSCN3785.jpg
    DSCN3785.jpg
    42.3 KB · Views: 351
  • DSCN3786.jpg
    DSCN3786.jpg
    47.1 KB · Views: 370
  • DSCN4436.jpg
    DSCN4436.jpg
    42.7 KB · Views: 363
  • DSCN4437.jpg
    DSCN4437.jpg
    41.5 KB · Views: 362
  • DSCN4441.jpg
    DSCN4441.jpg
    49.2 KB · Views: 349
  • DSCN4442.jpg
    DSCN4442.jpg
    48.8 KB · Views: 366
Here are some pieces after blasting them clean. Next step is black epoxy and filling imperfections, like rust pitting.
 

Attachments

  • DSCN3380.jpg
    DSCN3380.jpg
    24.7 KB · Views: 333
  • DSCN7859.jpg
    DSCN7859.jpg
    26.7 KB · Views: 351
  • DSCN7861.jpg
    DSCN7861.jpg
    96.5 KB · Views: 338
  • DSCN7862.jpg
    DSCN7862.jpg
    82 KB · Views: 365
  • DSCN7867.jpg
    DSCN7867.jpg
    42.3 KB · Views: 340
  • DSCN7871.jpg
    DSCN7871.jpg
    39.5 KB · Views: 340
Looks great and looks like you are doing your share of the blasting!!! One job i kind of like but would hate to do it everyday, but its cool to turn the metal to something your sure of when building! Nice work for sure!!! :)

- - - Updated - - -

Had to say, the pallets are what i used with my leaf springs and rear end, they make a good home built bench for things like this!
 
Nice to see how the pros do it! What kind of primer and or paint is going on the under body stuff, K-frame, etc..?
 
Generally all of those type parts get 2 coats of PPG DP90 black epoxy, followed with PPG Deltron single stage 9469 black. It contains a flattening agent, so it gives a little more gloss than the DP, but not high gloss. I don't like to use the light colored epoxies or gray high build on those parts because any nicks or chips from assembly or road exposure look really bad against the black top coat.
Next time I'll post pictures of some parts painted.
 
Paint progress
 

Attachments

  • DSCN7873.jpg
    DSCN7873.jpg
    68.6 KB · Views: 312
  • DSCN7976.jpg
    DSCN7976.jpg
    52.3 KB · Views: 328
  • DSCN5095.jpg
    DSCN5095.jpg
    31.3 KB · Views: 316
  • DSCN5097.jpg
    DSCN5097.jpg
    35.7 KB · Views: 315
  • DSCN5096.jpg
    DSCN5096.jpg
    30.4 KB · Views: 317
  • DSCN5098.jpg
    DSCN5098.jpg
    30.6 KB · Views: 306
  • DSCN4447.jpg
    DSCN4447.jpg
    66.7 KB · Views: 321
  • DSCN5066.jpg
    DSCN5066.jpg
    43.8 KB · Views: 312
Here we have gotten color in the engine bay, trunk area and rear body panel, all areas to be masked off and covered when the rest of the car is sprayed. The same with the doors, hood and trunk. All have been finished on the insides and will be covered for exterior spraying that soon followed.
 

Attachments

  • DSCN5068.jpg
    DSCN5068.jpg
    39.4 KB · Views: 311
  • DSCN5069.jpg
    DSCN5069.jpg
    52.8 KB · Views: 309
  • DSCN5091.jpg
    DSCN5091.jpg
    44 KB · Views: 300
  • DSCN5093.jpg
    DSCN5093.jpg
    62.9 KB · Views: 313
  • DSCN5235.jpg
    DSCN5235.jpg
    40.2 KB · Views: 306
  • DSCN5236.jpg
    DSCN5236.jpg
    54.9 KB · Views: 308
Beautiful work! I feel good seeing you like using the same Epoxy I did (good stuff).
 
X 2.. It kind of makes my mouth water, wants to make ya head out and do more then you did for the day lol!!! That is some great work and it sure looks good after a day doing the things that led you to where your at! Enjoy!!! I know it will get better yet as you move forward, Beautiful it is...
 
In base coat

I'll post the rest of the pictures later, don't have time now to load pictures of the finished paint work.
 

Attachments

  • DSCN5250.jpg
    DSCN5250.jpg
    43.2 KB · Views: 270
  • DSCN5254.jpg
    DSCN5254.jpg
    34.7 KB · Views: 261
  • DSCN5255.jpg
    DSCN5255.jpg
    33.9 KB · Views: 257
  • DSCN5258.jpg
    DSCN5258.jpg
    46.7 KB · Views: 251
  • DSCN5259.jpg
    DSCN5259.jpg
    52.1 KB · Views: 287
  • DSCN5260.jpg
    DSCN5260.jpg
    35.4 KB · Views: 255
  • DSCN5261.jpg
    DSCN5261.jpg
    29 KB · Views: 244
  • DSCN5262.jpg
    DSCN5262.jpg
    38.6 KB · Views: 248
Auto Transport Service
Back
Top