Painted Black…
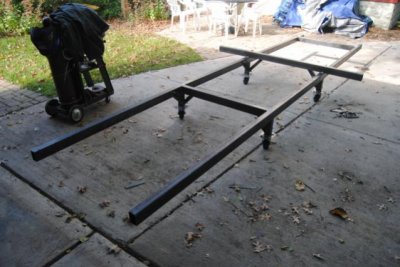
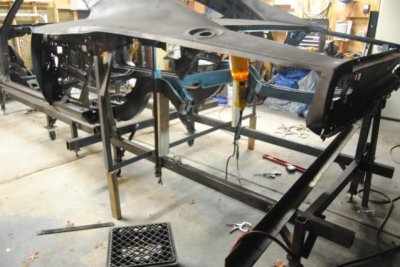
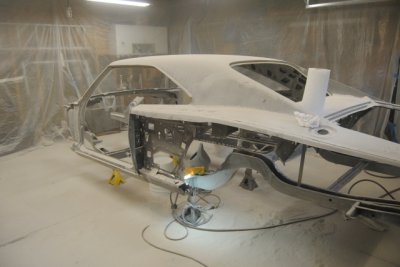
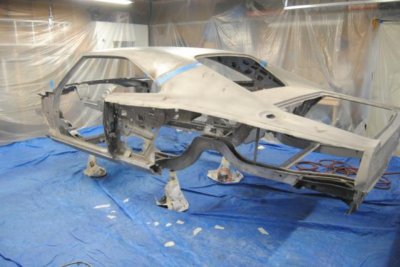
Thanks for the comments and support. Since my last post I took my car to the beach. Oh no wait, I took the beach to my car with some touch up sand blasting to address the flash rust and parts the original guy could not get to. If you do this in your garage as I did make sure you cover the stuff in your garage attic. I only covered some things. Got a little dusty up there. Car is all cleaned up and car has been primed with DP90!!!! :icon_thumleft: A few spots to touch up but overall pretty happy with the coverage. Sure does take a long time to paint all that frame stuff. Almost took me longer than it did to paint my truck body. :thinker: 2 coats inside the frame that will be covered with floor panels and 1 coat everywhere else. Will do additional coat(s) when all the floor panels are in. Also painted the axel before the rust resurfaced on that as well. A few progress pics below.
Thanks for the comments and support. Since my last post I took my car to the beach. Oh no wait, I took the beach to my car with some touch up sand blasting to address the flash rust and parts the original guy could not get to. If you do this in your garage as I did make sure you cover the stuff in your garage attic. I only covered some things. Got a little dusty up there. Car is all cleaned up and car has been primed with DP90!!!! :icon_thumleft: A few spots to touch up but overall pretty happy with the coverage. Sure does take a long time to paint all that frame stuff. Almost took me longer than it did to paint my truck body. :thinker: 2 coats inside the frame that will be covered with floor panels and 1 coat everywhere else. Will do additional coat(s) when all the floor panels are in. Also painted the axel before the rust resurfaced on that as well. A few progress pics below.
Attachments
Last edited:
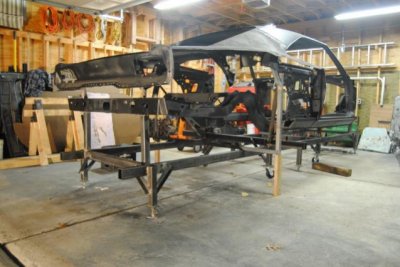
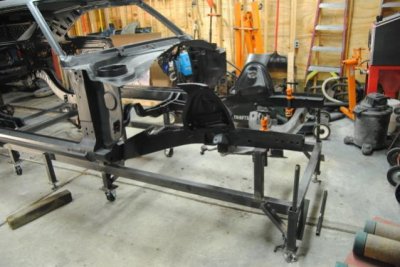
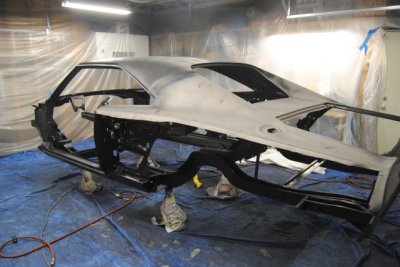
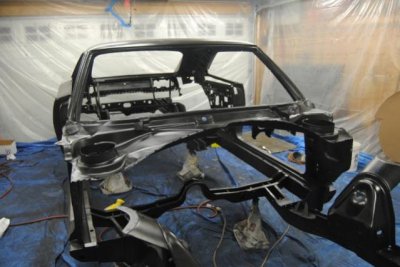
") and put them back where they were supposed to be. Roof now has good support as well from the outside until I install my floor. Busy at the day job now and the weather is cooling off so the progress is slowing a bit. Will scuff up the DP90 and install the doors temporally to verify I didn’t goof up anything else. Then I’ll start on the inner fenders, firewall, and radiator frame. A few progress pics for your enjoyment.
and put them back where they were supposed to be. Roof now has good support as well from the outside until I install my floor. Busy at the day job now and the weather is cooling off so the progress is slowing a bit. Will scuff up the DP90 and install the doors temporally to verify I didn’t goof up anything else. Then I’ll start on the inner fenders, firewall, and radiator frame. A few progress pics for your enjoyment.