• When you click on links to various merchants on this site and make a purchase, this can result in this site earning a commission. Affiliate programs and affiliations include, but are not limited to, the eBay Partner Network.

69 Charger undergoing multi organ transplant

OzCharger69

Well-Known Member
Local time
8:00 AM
Joined
Oct 23, 2020
Messages
196
Reaction score
272
Location
Australia
As part of bringing the Charger to where I exactly want it, I have plenty of work set for the rest of the year. Being a non-RT non-matching number car, I felt I had a poetic license. Most stuff is ordered or already delivered. I'm hoping to document my progress, I'm sure I'll have plenty of questions and I also hope to help other with this thread.

The plan!

1) Front power windows
2) Classic Air
3) Firm Feel stage III box
3) Suspension upgrade - PST adjustable UCAs, big torsion bars, big sway bars, Bilstein shocks, complete bushing kit
4) 512 (400 low-deck stroker) 640hp/675 ft/lb to replace the 383
5) Tremec TKX instead of the 727
6) Conversion auto -> manual - SST kit
7) Dakota Digital RTX gauges

We're in lockdown here so plenty of time to do stuff and prepare. Let the fun begin.
 
Last edited:
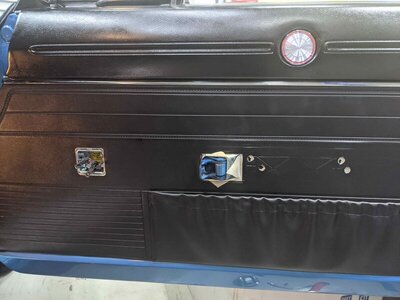
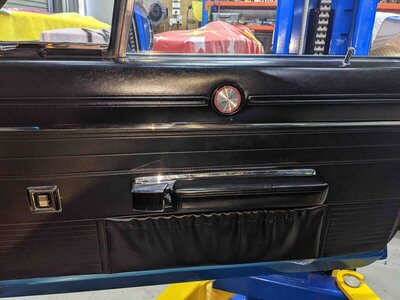
My first job was the front power windows. I got the kit from Nu-Relics. I only did the front because I heard the rears are a pain in the a** to install and I felt it would be a real waste. I also bought some stock style switches (OER), I didn't like the GM switches that come with the kit.

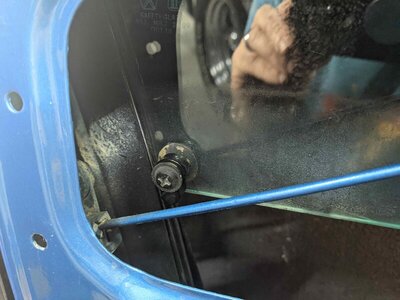
You definitely needs a door trim removal tool to pull the door cards or you risk tearing the clips. The regulators were very easy to install and the nu-relics ones fit like a glove. I couldn't see a window stop on the regulator so I did add a cable tie to the mechanical stop on the window frame just to stop the window from travelling too far up.

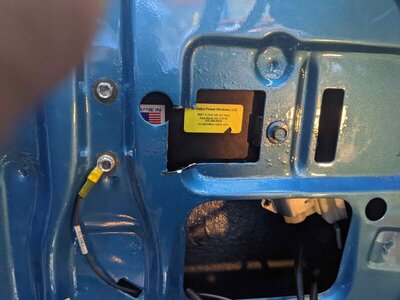
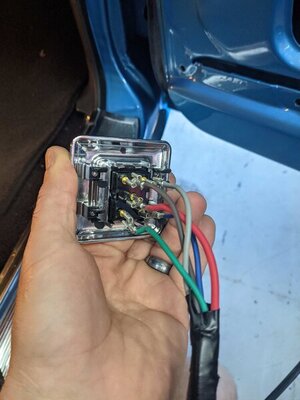
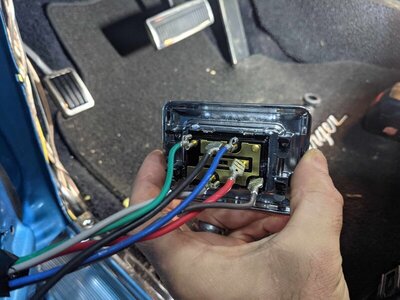
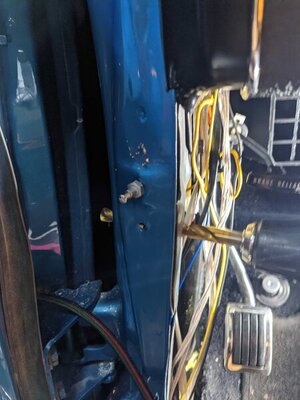
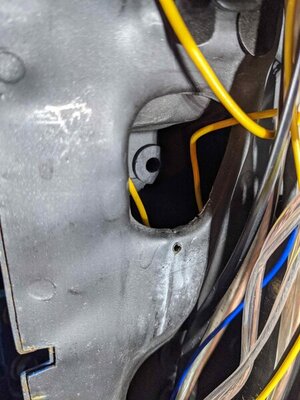
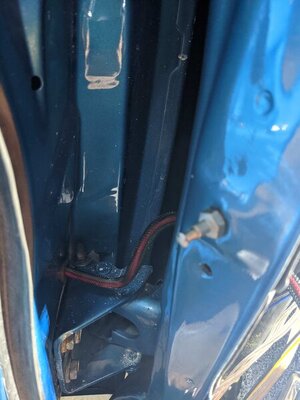
I wasn't keen on removing the door. to drill holes for the wiring grommets. I was able to insert a cordless drill through the door opening to drill holes for the grommets. I didn't use the rubber boots supplied because they are huge and would have required a massive hole. I just used some grommets from a local car store. I have attached a picture with the wire colour pinout for the switches. It took me almost an hour to figure it out. Luckily the Nu-relic kit and the Charger both use reverse polarity switches. I didn't need to hack much from the door metal to fit the switch on the driver's side. The switch on the passenger side didn't need any hacking.

The job is almost finished now. I will be wiring the windows to a fused constant +ve, the current drain is minimal. I'll post a video when it's fully done.

PXL_20210731_234228495_compress9.jpg PXL_20210731_234341225_compress90.jpg PXL_20210731_234508662_compress47.jpg PXL_20210801_010833813_compress89.jpg PXL_20210801_011059308_compress1.jpg PXL_20210801_011249654_compress40.jpg PXL_20210801_043941896_compress75.jpg PXL_20210801_064550683_compress76.jpg
 
That thing is going to be a beast. Sounds exactly like something I would do :thumbsup:.
 
Thanks Elk, yes trying to get the Charger to that happy spot. I don't have 20 cars to look after, so I can focus my time and money on this one.
 
Sounds like a great plan, 'Me Likey'

then buy stock in a tire company :poke:
 
My 69 charger has power windows….
Driver’s door:
F8F5A7A5-F994-42FE-A755-0D5C739BBDE0.jpeg

passenger door:
F83AC48F-DF9E-438C-82B5-FDC1E802270E.jpeg
 
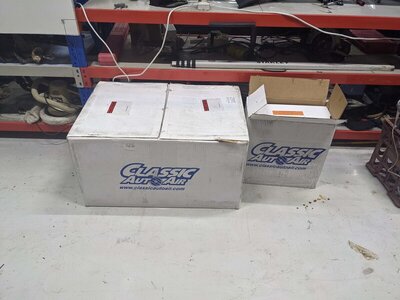
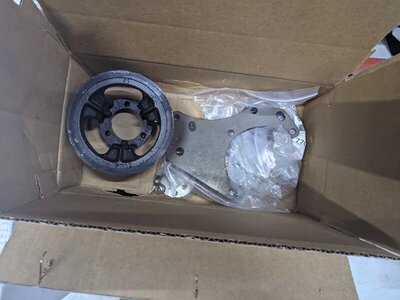
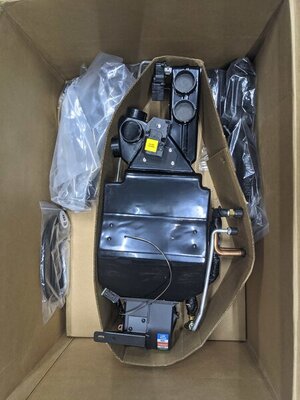
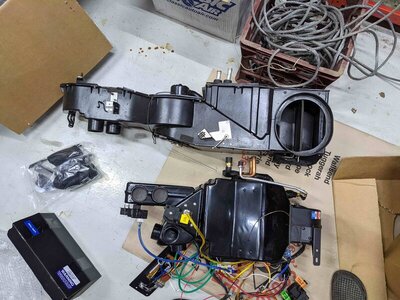
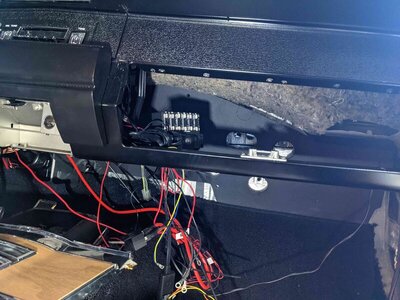
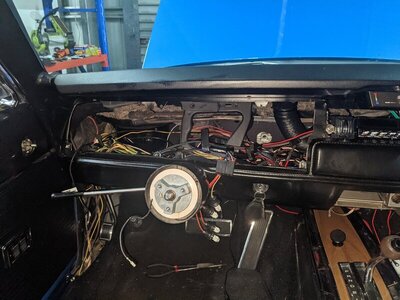
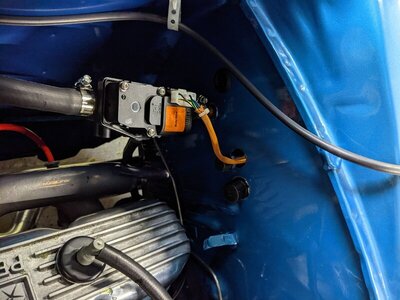
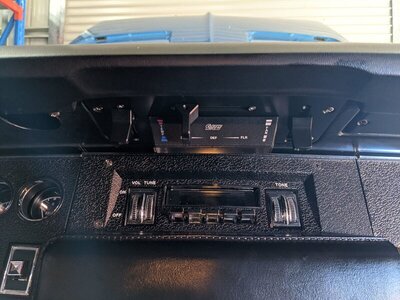
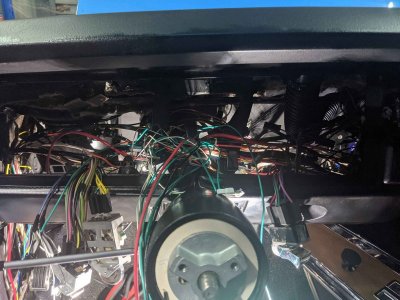
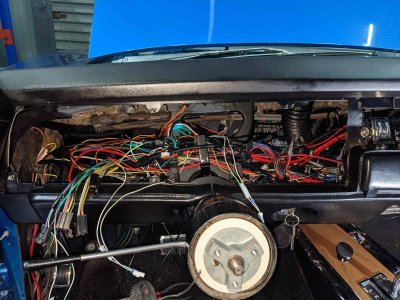
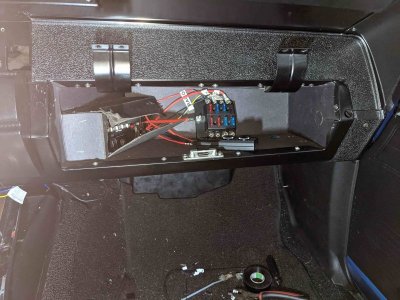
Power windows done, time for the next project - Classic Air. The car is a non-AC car so it will need a little more work. The kit is a beauty and the evaporator is much smaller and lighter than the stock non-AC unit. You lose the passenger vent and all the air is recirculated, the fresh air inlet is blocked off. Removing the stock evaporator was relatively easy. I thought I could do without moving the console backwards but you really have to. I have a spaghetti mess of wires and I'll sort that out with a new modern fuse box that will sit in the glove box.

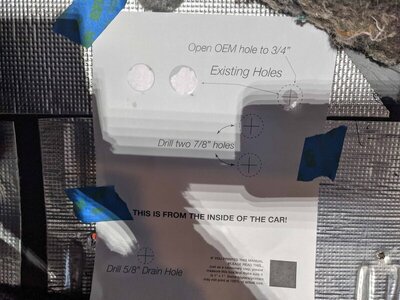
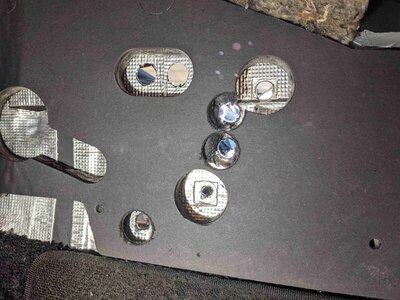
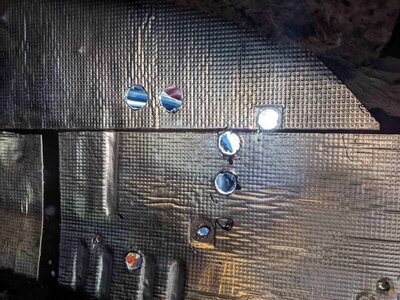
The template for the new holes was straight forward and the unit fit with a bit of wiggling. The pipes are quite mobile so even if the holes are not perfect, it will still fit. It is a 2 person job especially because you need to thread a screw through the firewall. I'll seal the holes with paint and should have most of the interior part done this week. I won't install the engine side yet because I'm waiting on the new donk.

PXL_20210805_063228051_compress49.jpg PXL_20210805_063319644_compress87.jpg PXL_20210805_063512234_compress36.jpg PXL_20210807_010211136_compress84.jpg PXL_20210807_011852067_compress49.jpg PXL_20210807_034324729_compress75.jpg PXL_20210807_042911263_compress75.jpg PXL_20210807_042926425_compress41.jpg
 
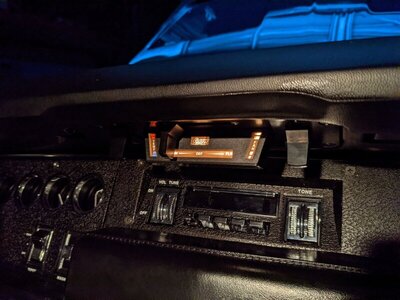
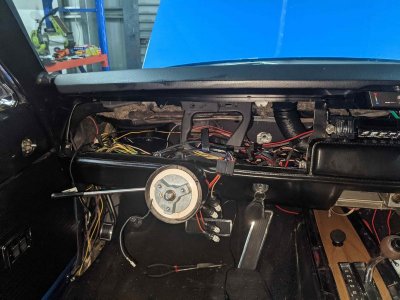
A bit more done. The interior part of the install is done, everything working as it should. The controls light up nicely at night. Pulled the cluster off because I should get the Dakota gauges next week or the one after. After that's in, I will re-organise all those wires

rsz_pxl_20210813_215734340.jpg rsz_pxl_20210811_071058034.jpg rsz_pxl_20210811_060438661.jpg rsz_pxl_20210811_060239955.jpg rsz_pxl_20210811_060234062.jpg
 
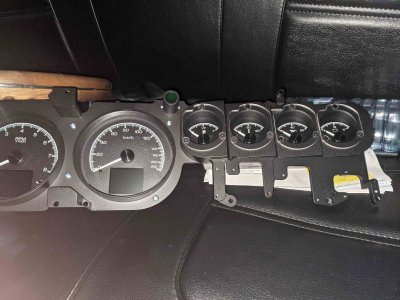
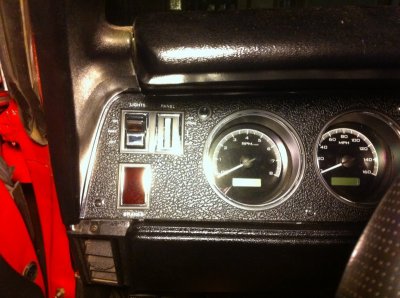
So finally I get the Dakota gauges, took a bit longer because I wanted them in metric.

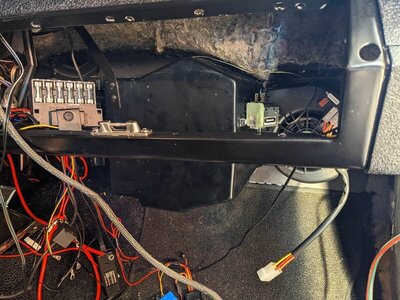
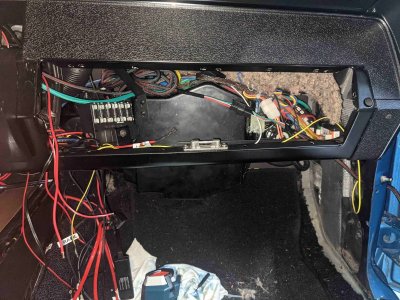
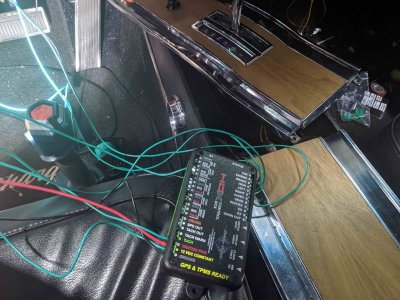
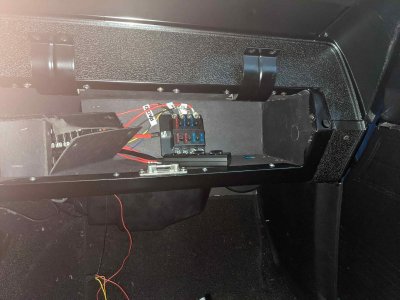
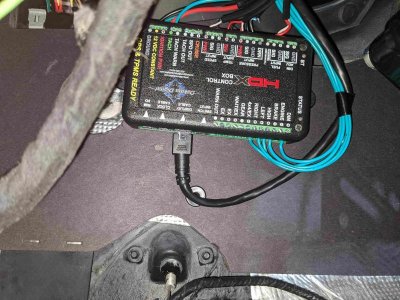
The install is fairly straight forward, lots of planning to route the wires etc. I know it now looks "less classic" but the pros outweigh the cons. You get an accurate fuel gauge, accurate speedo, tach and the extra options are infinite with 1/4 mile times, top speed, range etc etc. The whole thing is so customisable. I finally fixed the wiring mess buy putting an aftermarket fuse box in the glove box.

Scott from Dakota is so helpful. He answered my emails within minutes. I had a cracked water temp sensor which for what I know I could have broke myself. He sent me another two, no questions asked.

PXL_20210813_215725652_compress2.jpg PXL_20210813_215734340_compress30.jpg PXL_20210903_072611553_compress70.jpg PXL_20210903_072616862_compress87.jpg PXL_20210903_072634464_compress58.jpg PXL_20210903_072659254_compress3.jpg PXL_20210905_011558119_compress60.jpg PXL_20210905_011604601_compress80.jpg PXL_20210905_011613470_compress26.jpg
 
You are correct, my bad it's the HDX I ordered. I preferred the HDX because of the double display and I wanted a needle on the tach rather than an LED light. I wish the HDX came with the analog clock.
 
Maybe I'm not seeing it right but yours look like mine....which they call the VHX series.

DD cluster.JPG
DD panel 8.jpg
DD panel 6.jpg
IMG_2706.JPG
 
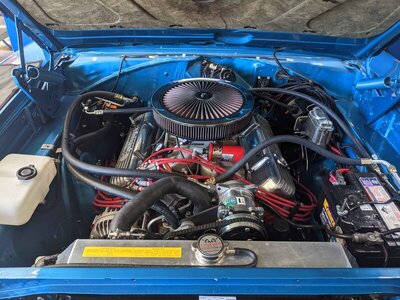
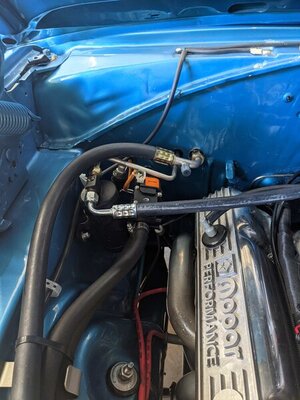
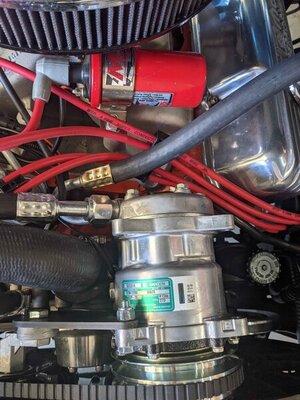
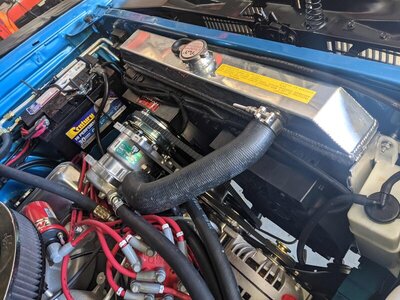
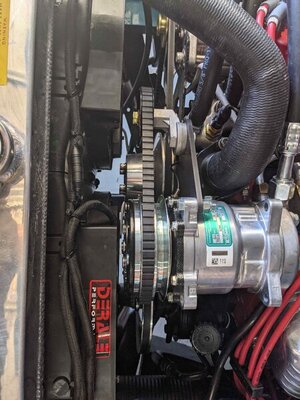
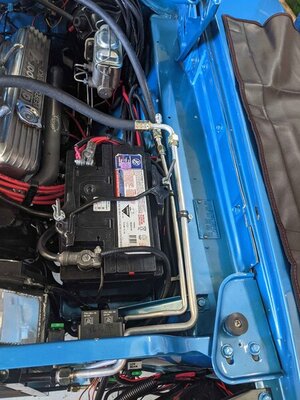
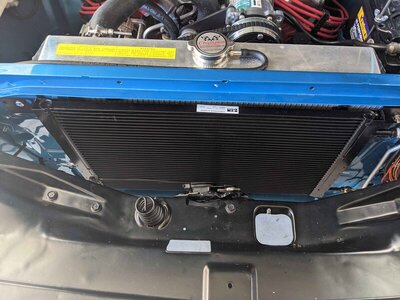
I finally got around to finishing the engine side of the A/C install. There was a lot of fiddling around especially with the orientation of the compressor on it's side to make the hoses line up. In the end everything came together well and I'm just waiting to borrow a vacuum pump from a mate so I can charge the system and give it a good test run.

I also installed a new Derale thermo fan (4000CFM) to replace the 2000 CFM fans. The shroud needed a fair bit of hacking but it fits. I tested it on a very hot day and boy it makes a difference. Once the temps climb to 185F, the fan kicks in and it drops the temp by 5 degrees in seconds. The older fan would keep up ok but it takes forever to drop the temp by 1 degree.

PXL_20211020_054459124_compress34.jpg PXL_20211020_054503004_compress6.jpg PXL_20211020_054506541_compress59.jpg PXL_20211020_055013399_compress23.jpg PXL_20211020_055018719_compress13.jpg PXL_20211020_055022618_compress39.jpg PXL_20211020_055027996_compress47.jpg
 
I also started work on the suspension. I removed the front valance and the front bumper. I had a small ding on the front bumper that I have been wanting to fix for a while. I couldn't believe how easy it is to get the front bumper out. It took less than 15 minutes.

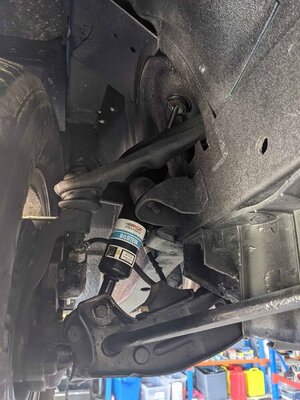
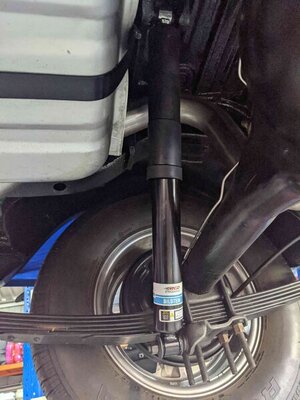
Bilstein shocks went in like a breeze. The rears are straight forward. The fronts were easy too, didn't need any control arm disassembly. Once the top and bottom shock bolts were removed, I compressed the old shock by pushing it upwards and out it came. The new shock was compressed before install. You will only have 2 seconds to install it in place before the shock shaft decompresses. It takes a few goes but it goes in easy.

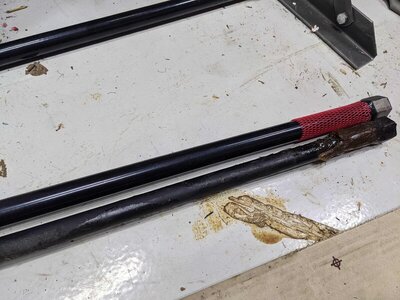
I was dreading replacing the torsion rods. I was afraid they were jammed in there but they popped right out without needing any tools or heat. The new PST are so much thicker and went it easily. That was an hour job. I couldn't get the new rubber boots on because they were too tight. I used the old ones because they were in good shape.

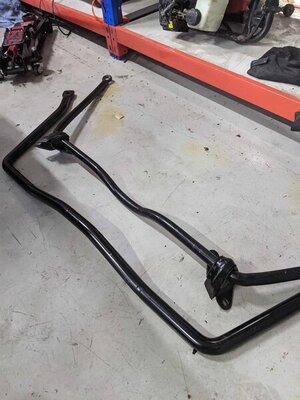
Next up is the sway bar, I'll keep you updated.

PXL_20211019_052933055_compress98.jpg PXL_20211019_053204949_compress75.jpg PXL_20211020_055634582_compress3.jpg PXL_20211020_055645364_compress0.jpg PXL_20211020_073319598_compress39.jpg
 
Auto Transport Service
Back
Top